


Contents
Objective
This guide provides instructions for using the Tool Kits in Omada APP.
Requirements
Introduction
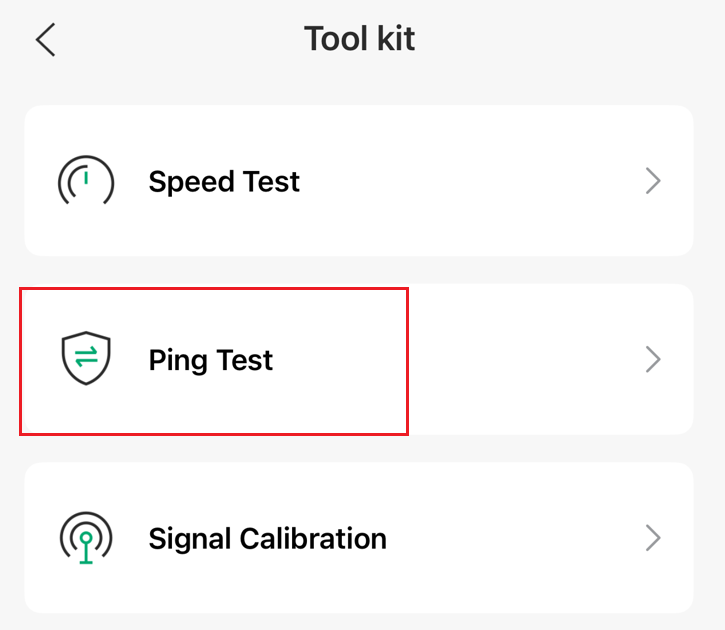
In the Omada APP, three commonly used network tools are built-in, including Speed Test, Ping Test, and Signal Calibration.
Speed Test is a tool used to evaluate the speed and performance of your network connection, which can help you know more about your download speed, upload speed and latency.
Ping tools allow network managers to detect the reachability of a host a local or internet-based network. They can use an IP address or domain name. TP-Link has built a Ping tool into the Omada APP. You can use it to check the connection to any node right from your phone.
Signal Calibration ensures that your wireless devices can obtain a more stable and faster network connection by accurately measuring and adjusting the signal strength. Whether at home or in the office, signal calibration can help enhance your network performance and provide a smoother online experience.
Note: The built-in tool kits only provide the basic function in the Omada APP. If you want the more advanced network improvement, please use other specialized apps.
Configuration
Find the Tool Kits
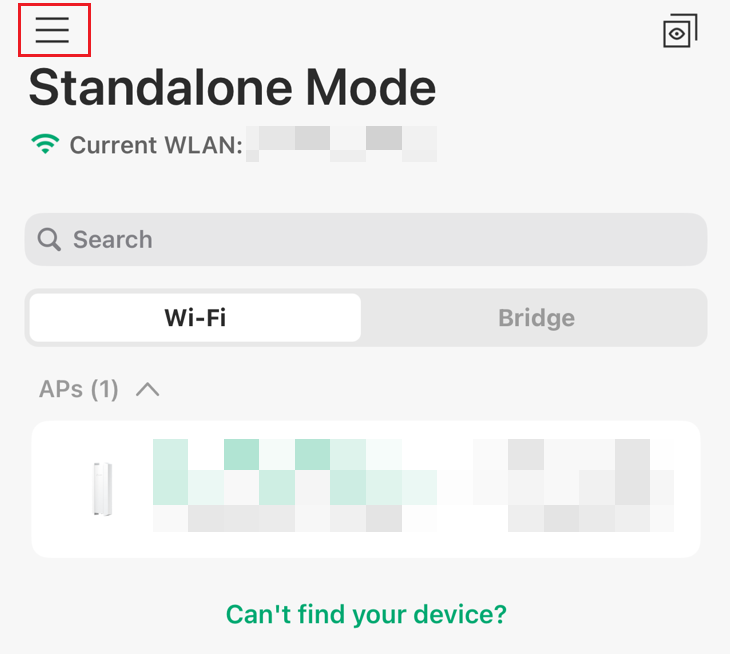
Step 1. Open and login to your Omada APP, then click the top left icon to open the sidebar
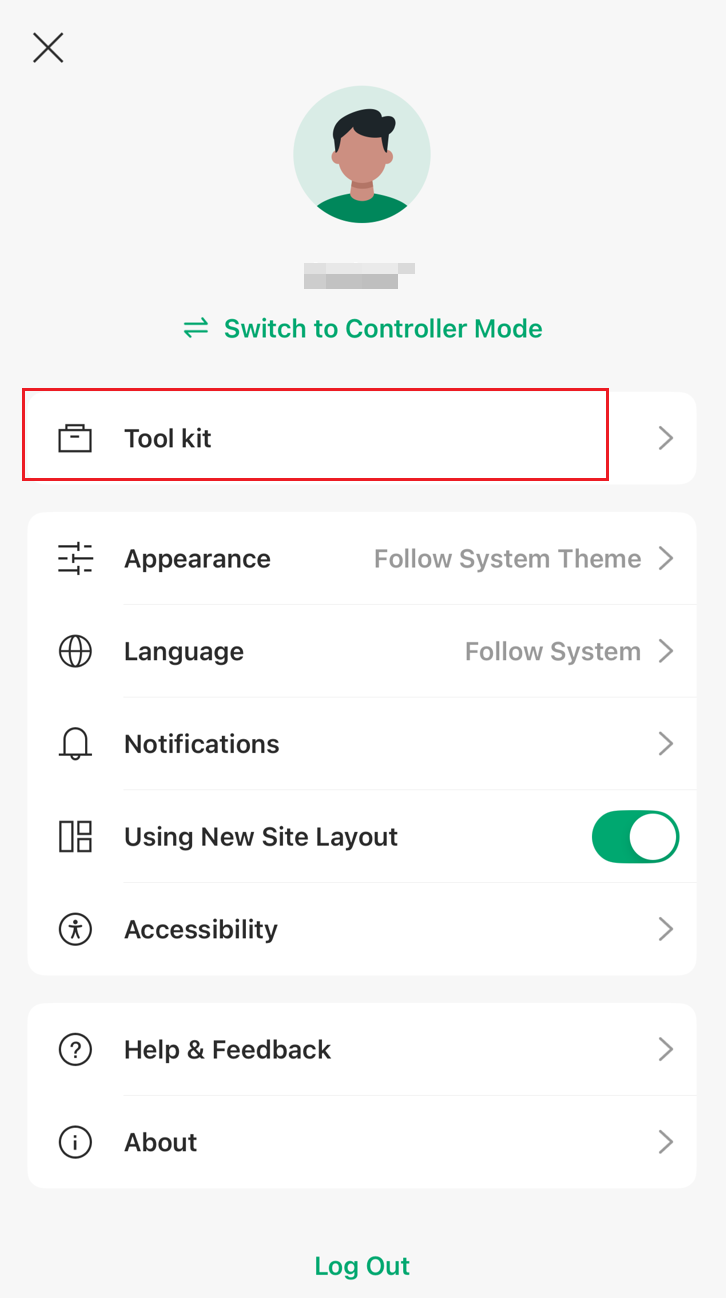
Step 2. In the Sidebar tap on ‘Network Tools’
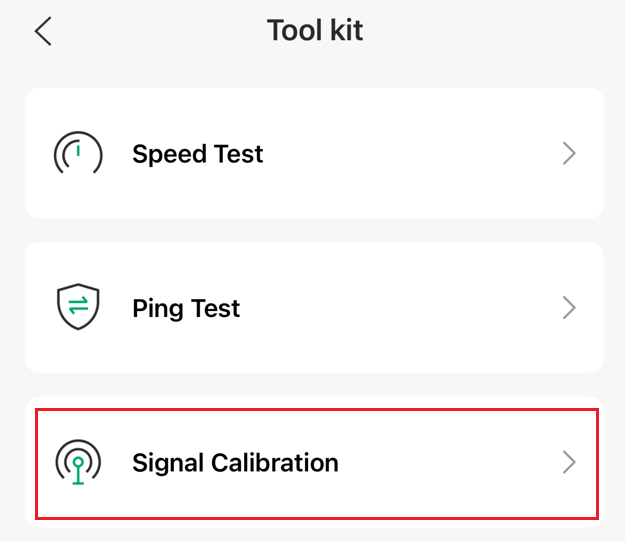
Speed Test
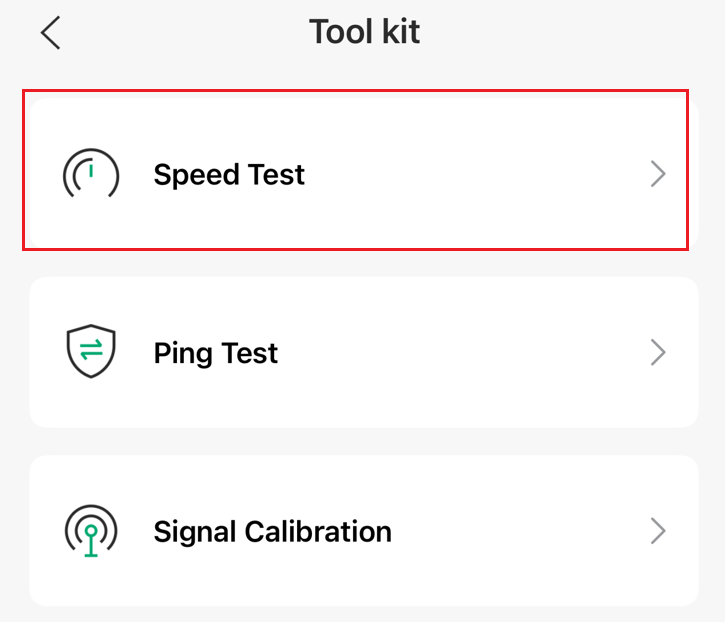
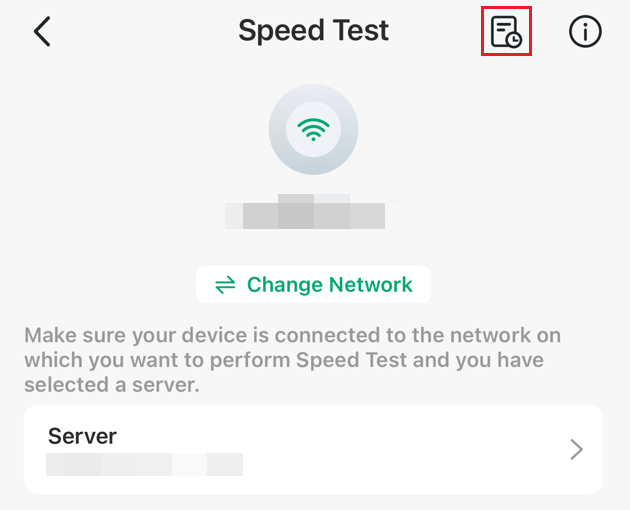
Step 1. Tap the ‘Speed Test’ to enter the speed test tool.
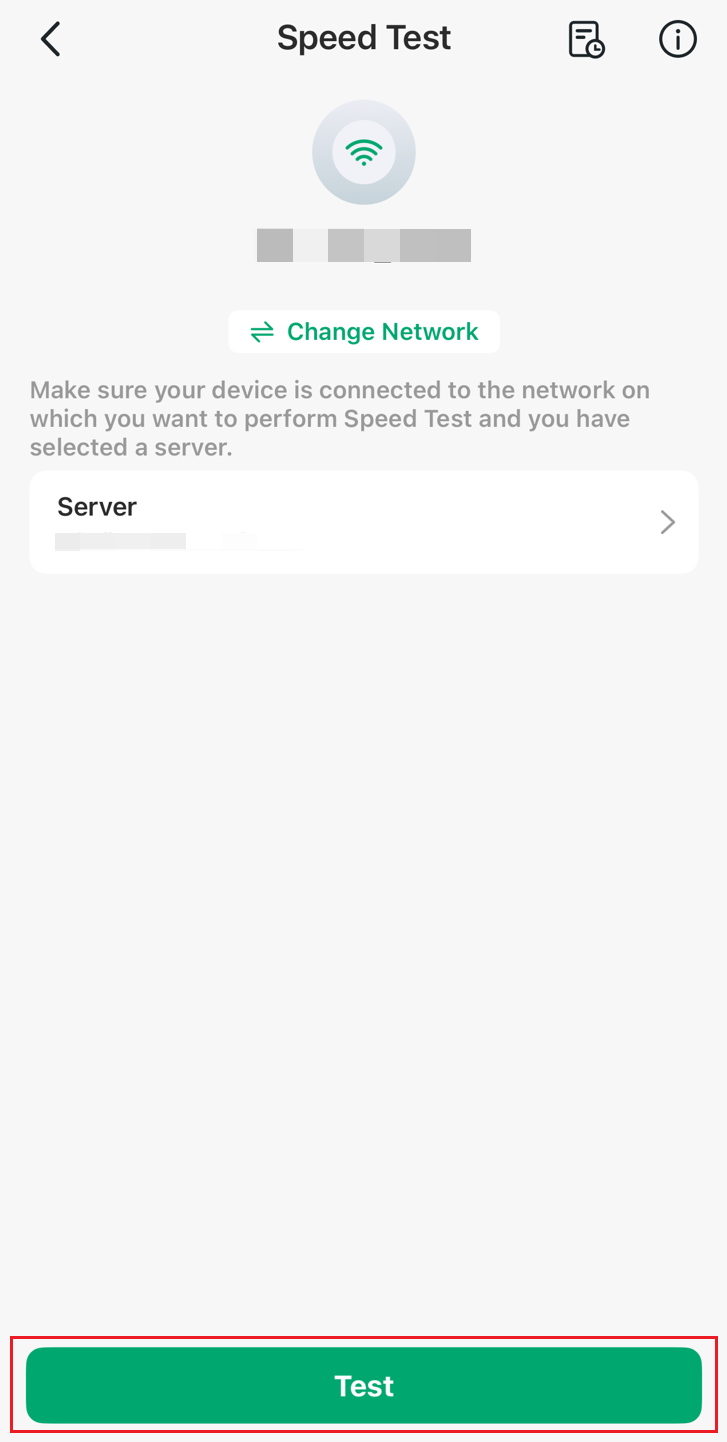
Step 2. Tap on ‘Test’ to start the speed test.
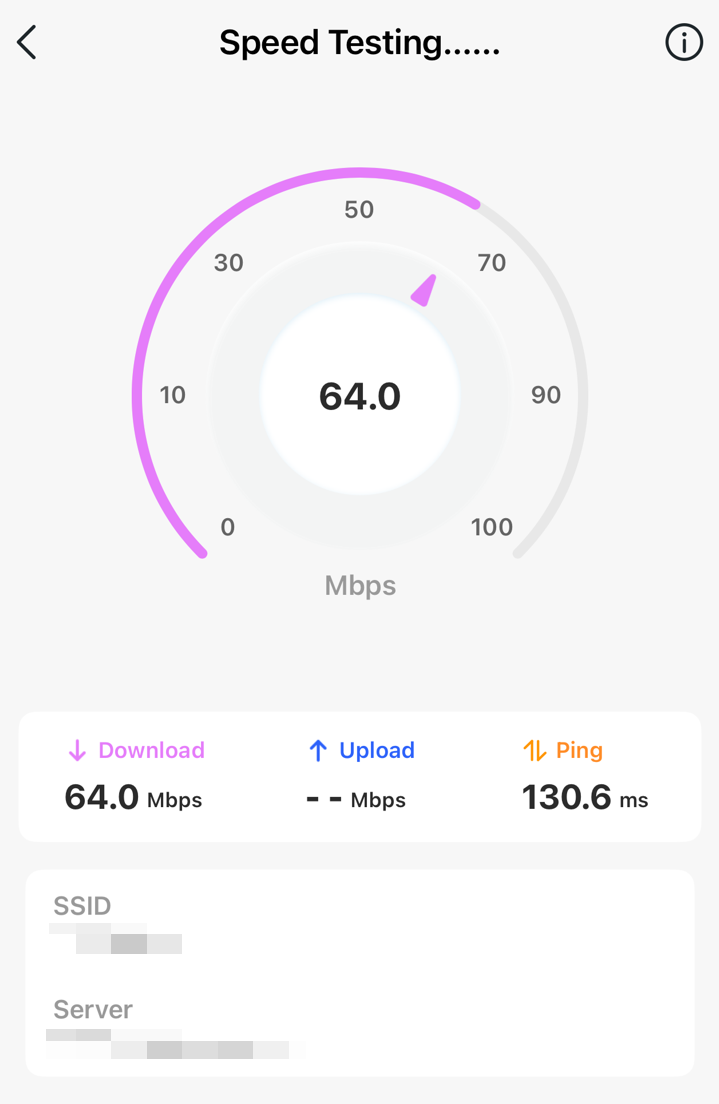
Step 3. Monitoring the result during testing.
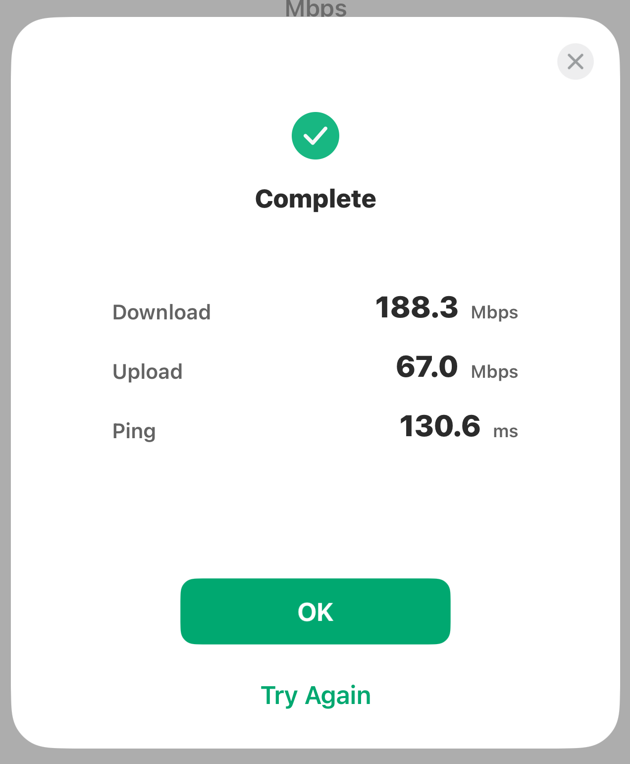
Step 4. After the speed test is complete, you can check the result and tap on ‘OK’ to exit or tap on ’Try Again’ to do the test again.
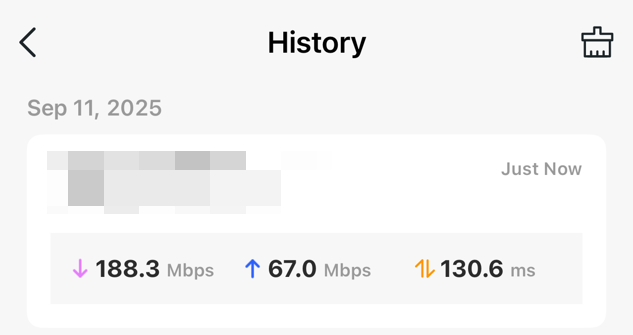
Step 5. If you want to view the past ping test results, you can click the icon in the upper right corner of the ping test page.
Ping Test
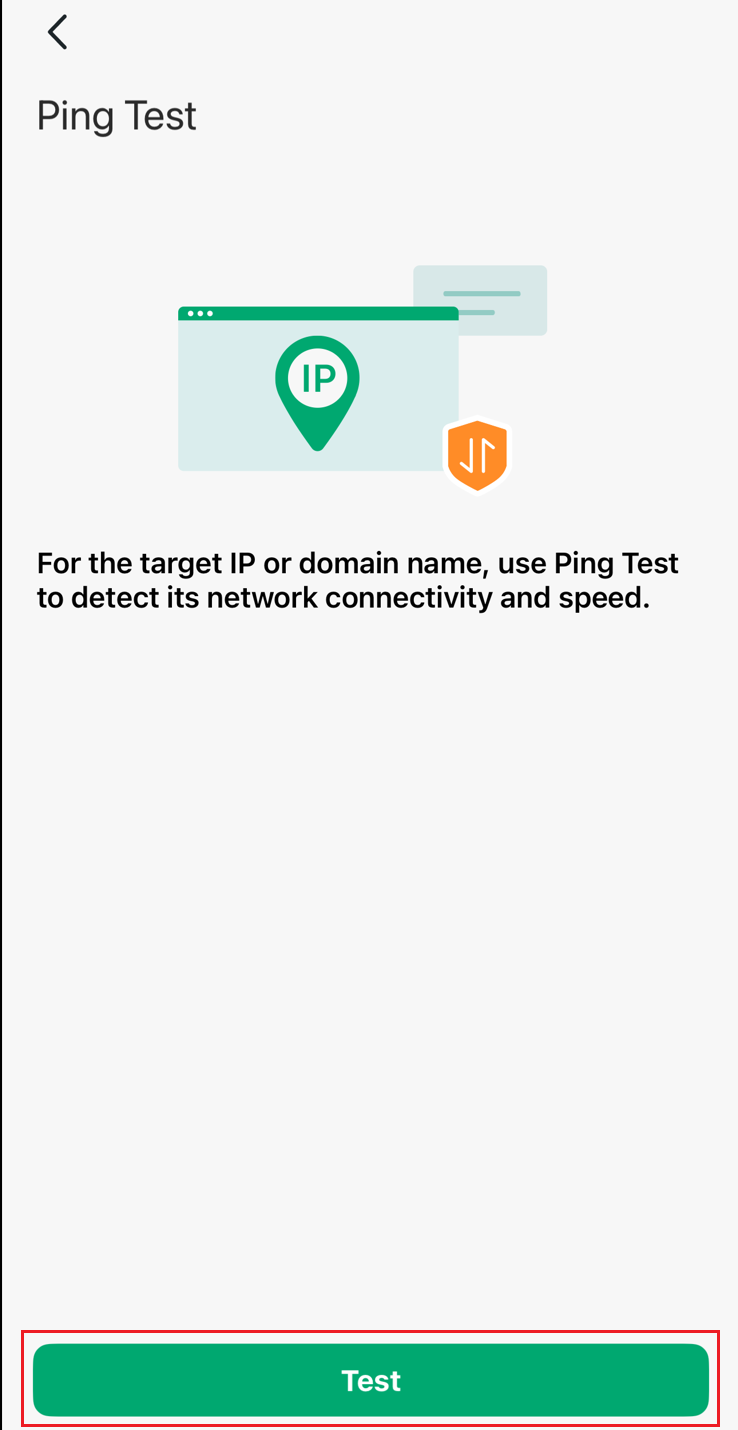
Step 1. Tap the ‘Ping Test’ to enter the ping tool.
Step 2. Read the instruction and tap on ‘Test’.
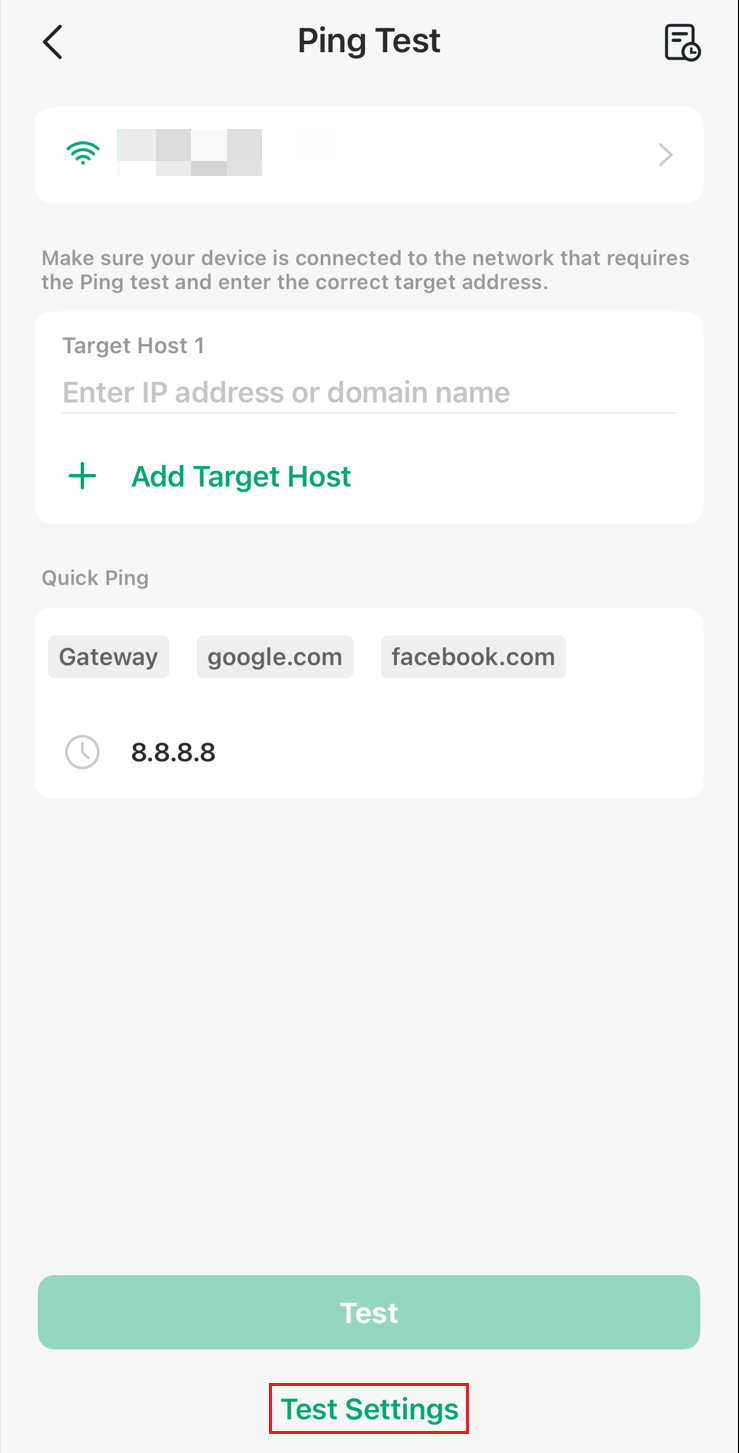
Step 3. Tap on ‘Test Settings’ to customize your Ping test.
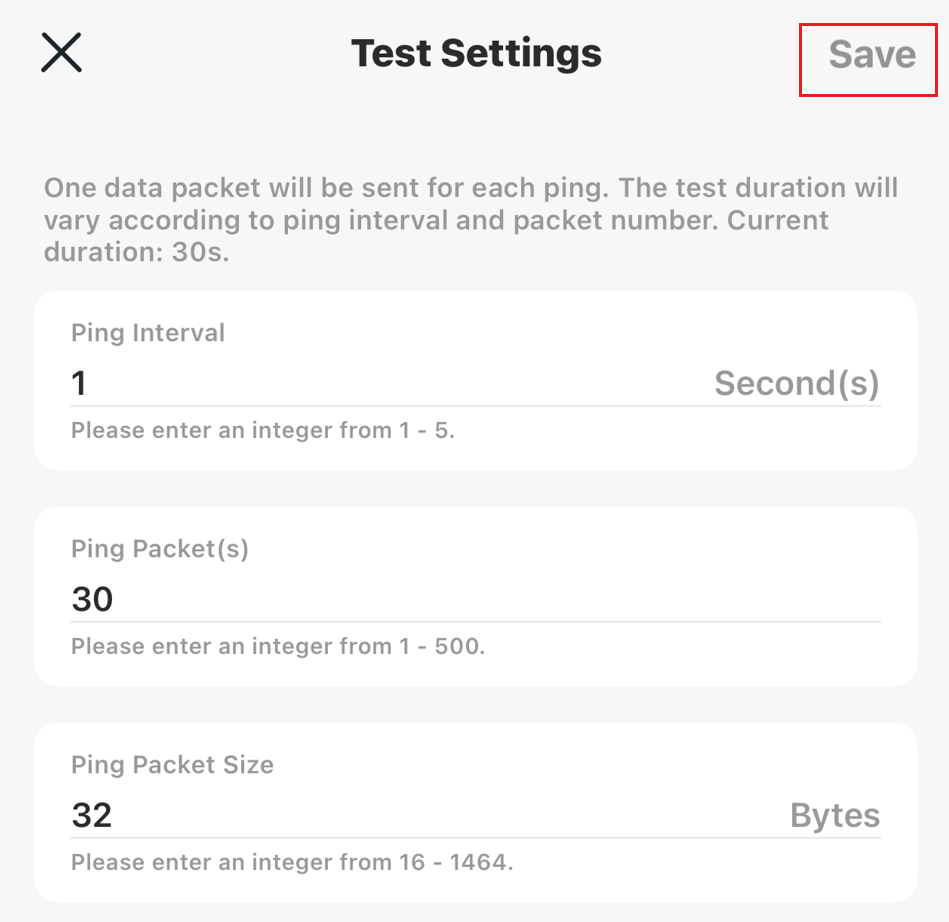
Step 4. Configure the Interval、Packet and Packet Size, then click ‘save’.
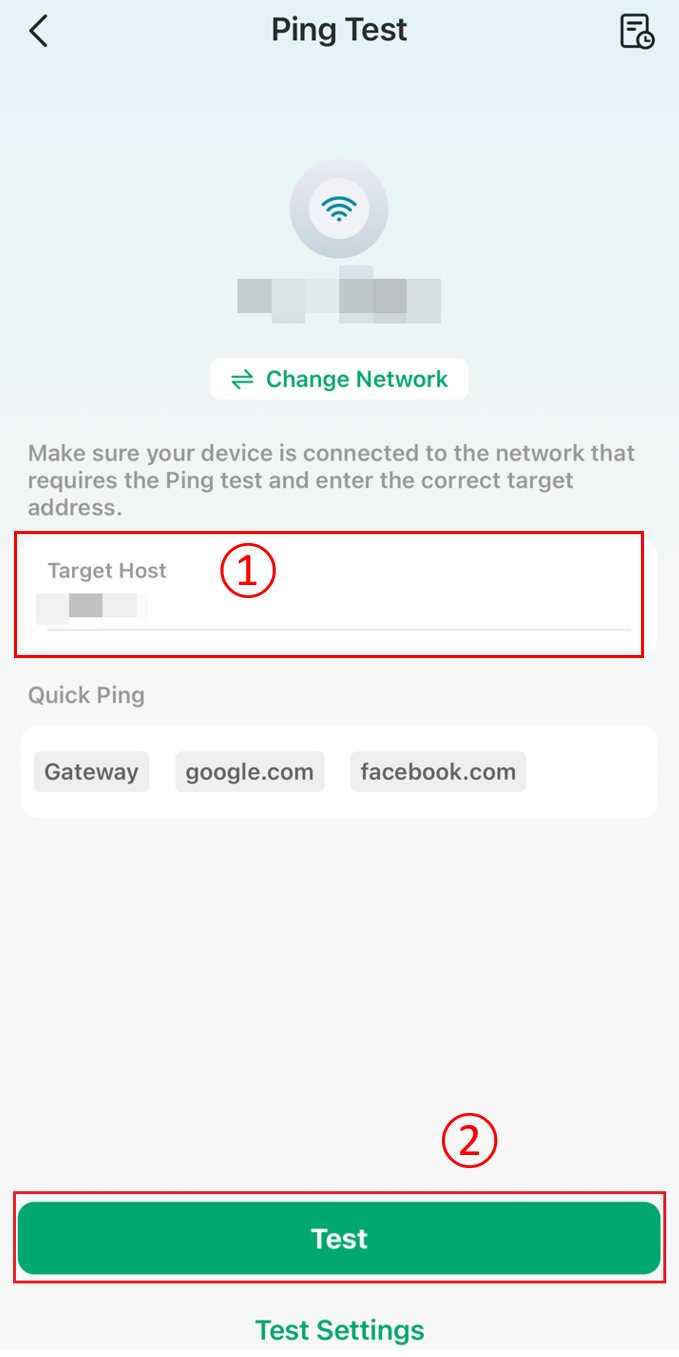
Step 5. Enter the target host and tap on ‘Test’ to start the ping test.
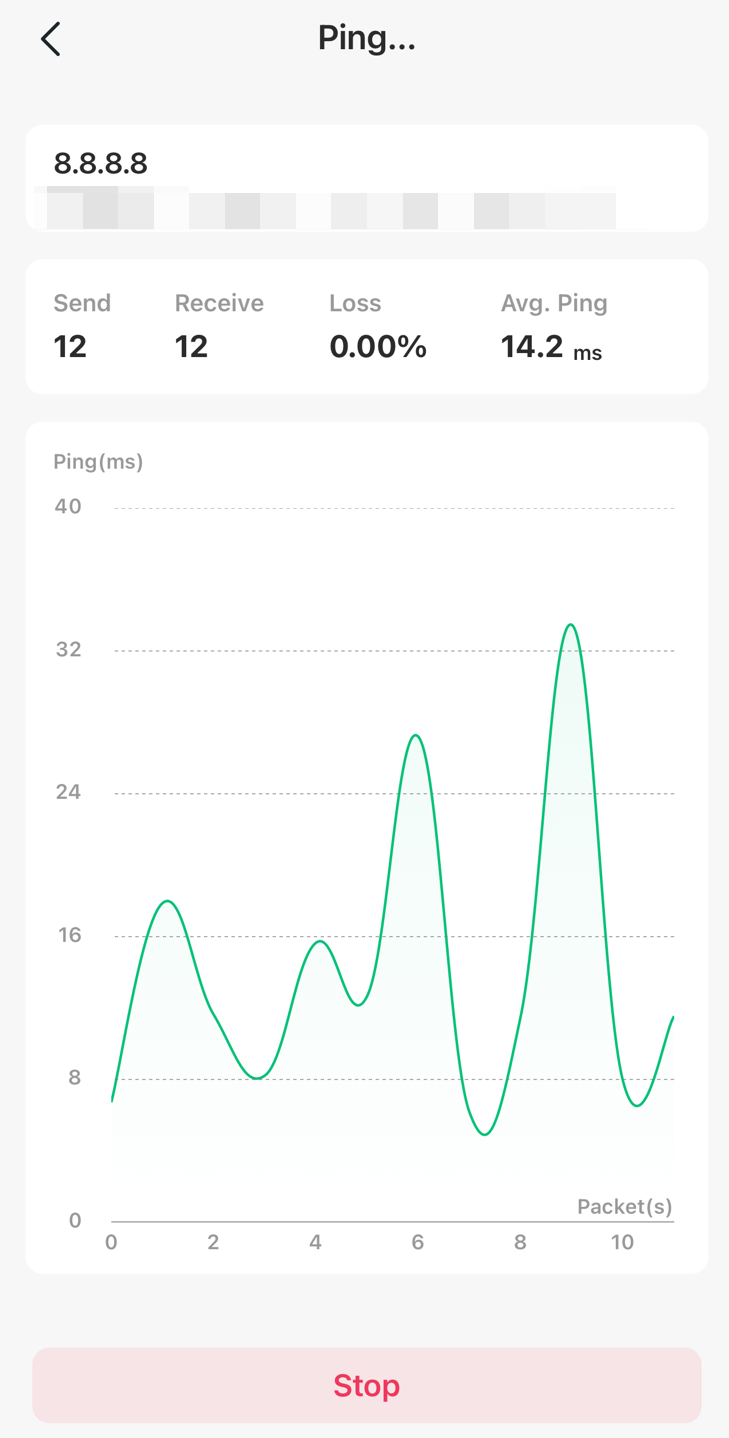
Step 6. Wait for the ping test to complete.
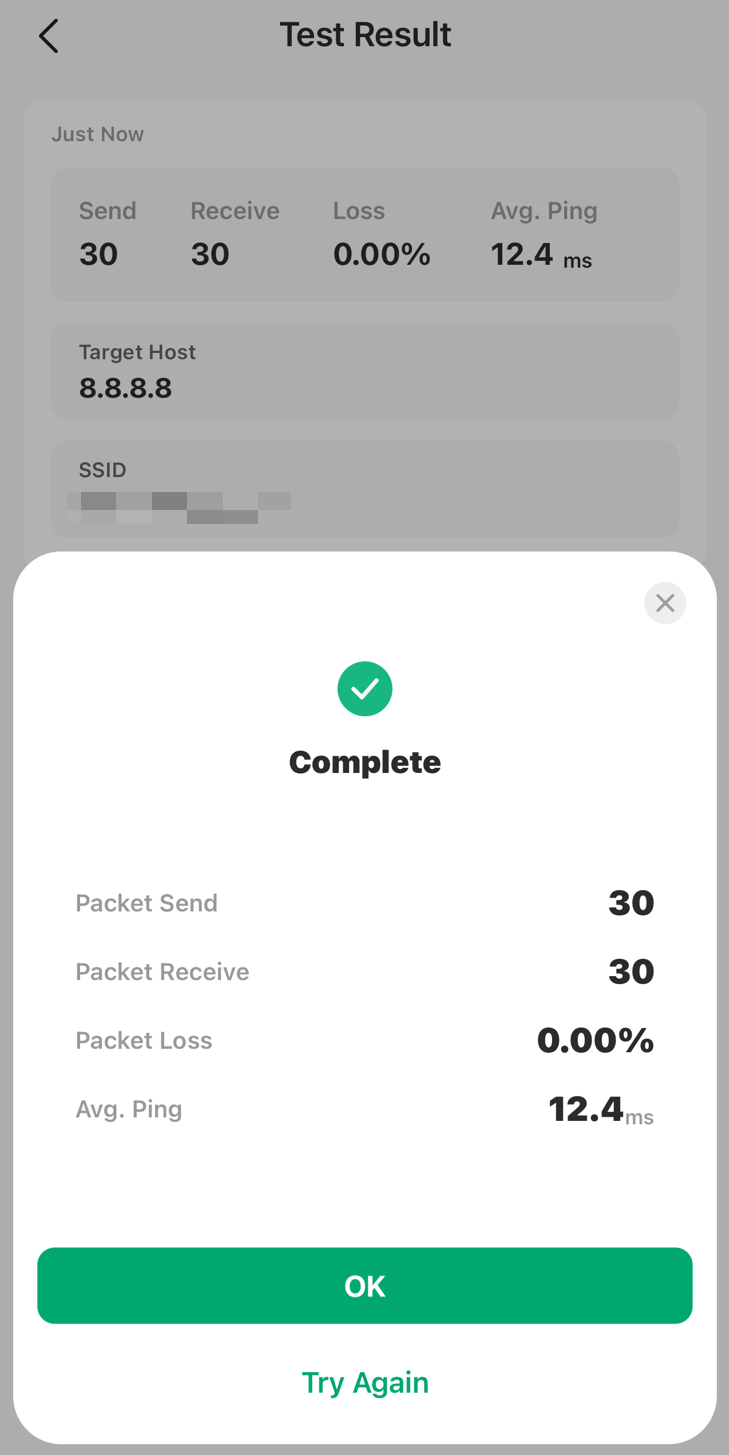
Step 7. When the ping test finish, you can check the result and tap on ‘OK’ to exit or tap on ’Try Again’ to do the test again.
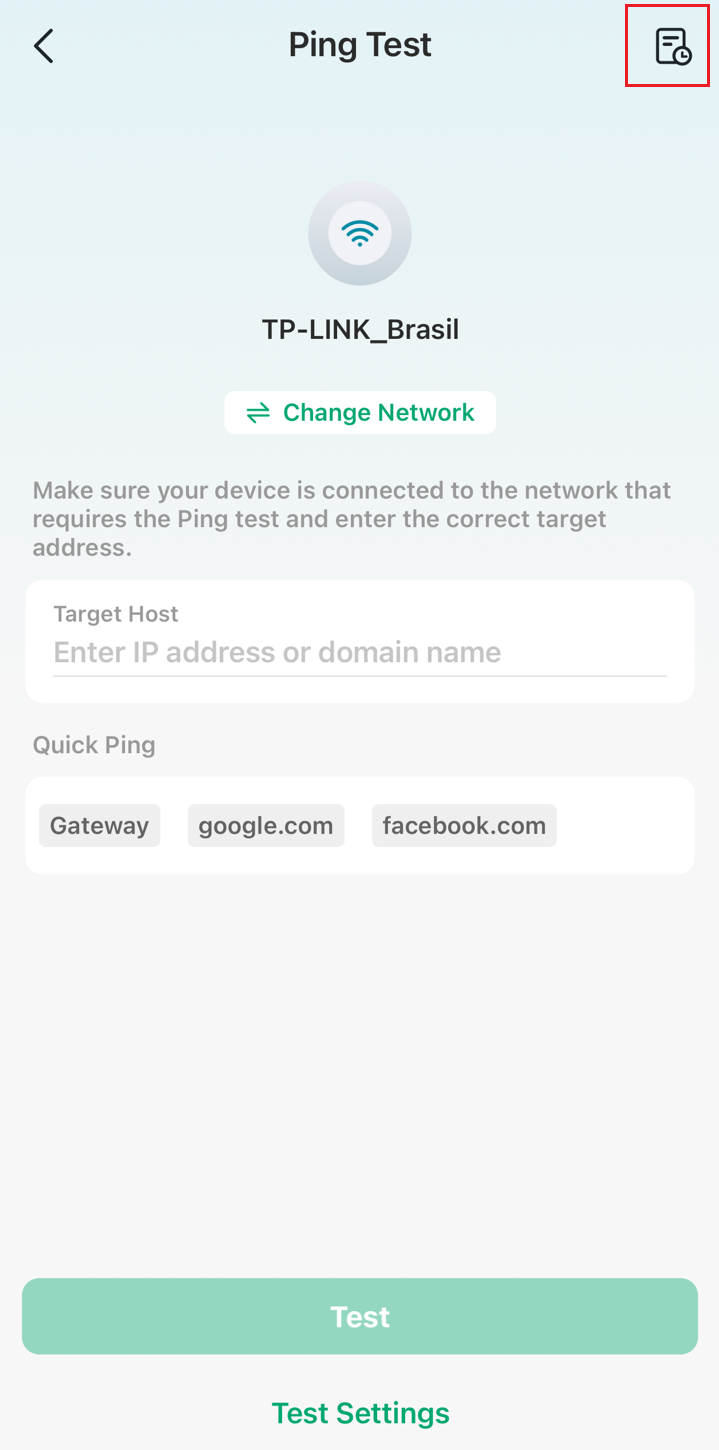
Step 8. If you want to view the past ping test results, you can click the icon in the upper right corner of the ping test page
Signal Calibration
Step 1. Tap the ‘Signal Calibration’ to enter the Signal Calibration tool.
Note: This feature requires a 5G OGU gateway to support it.
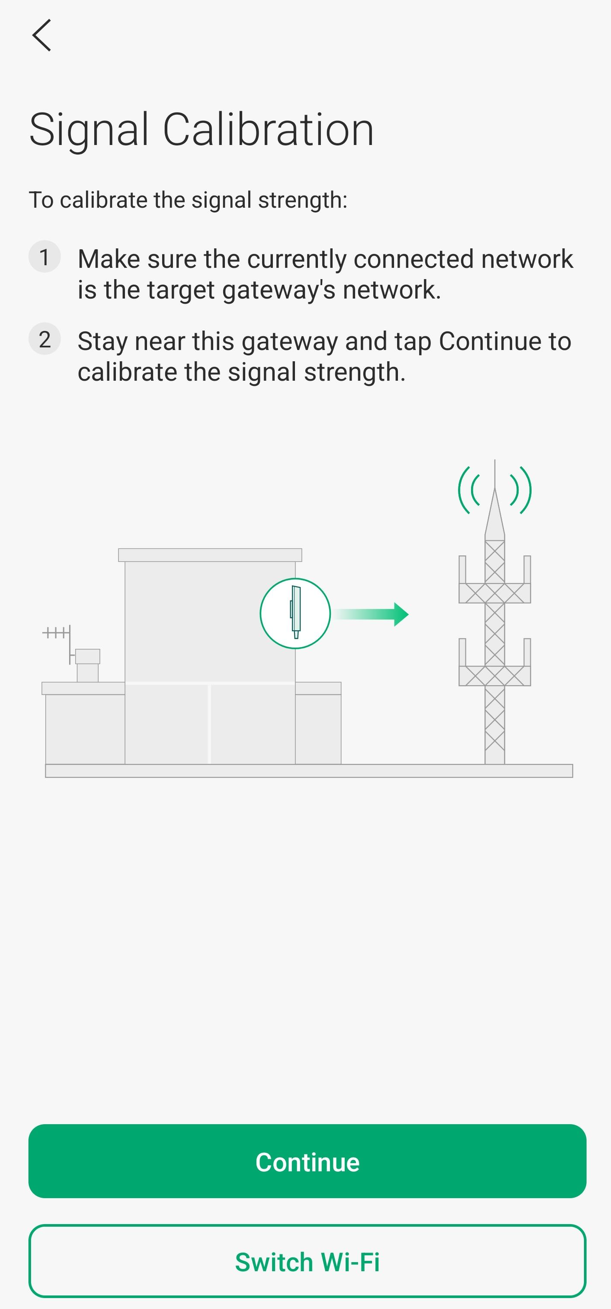
Step 2. Tap on ‘Continue’ to start the signal calibration or tap on Switch Wi-Fi to change network.
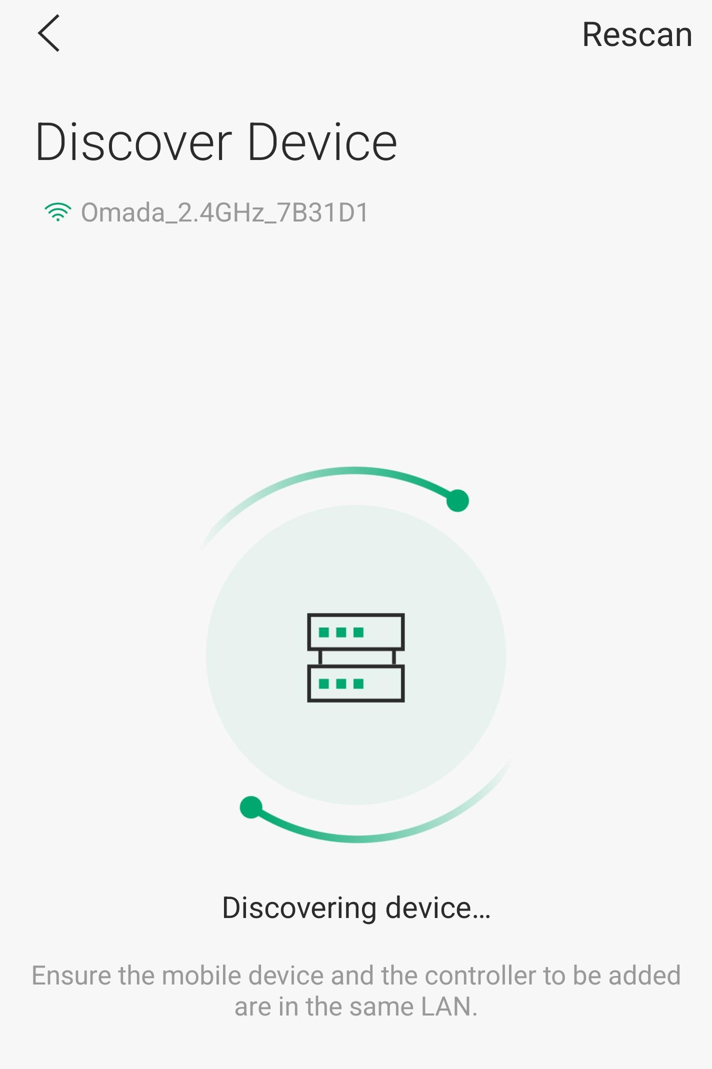
Step 3. Waiting for discovering device.
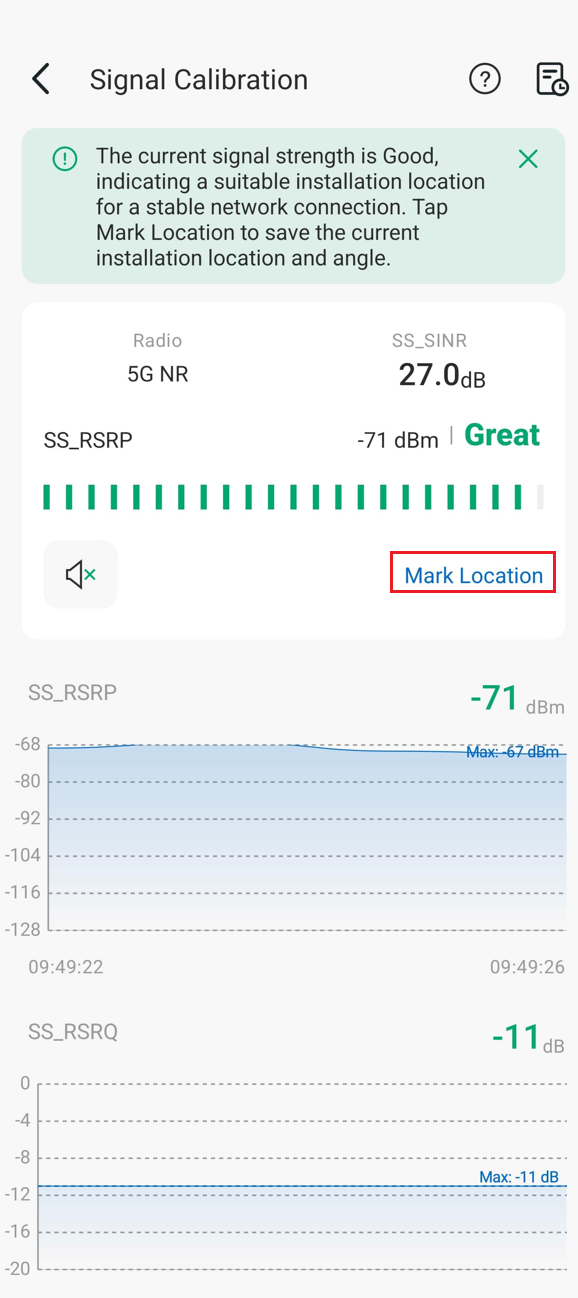
Step 4. Check the Signal Calibration result. Tap on ‘Mark Location’ to record the calibration.

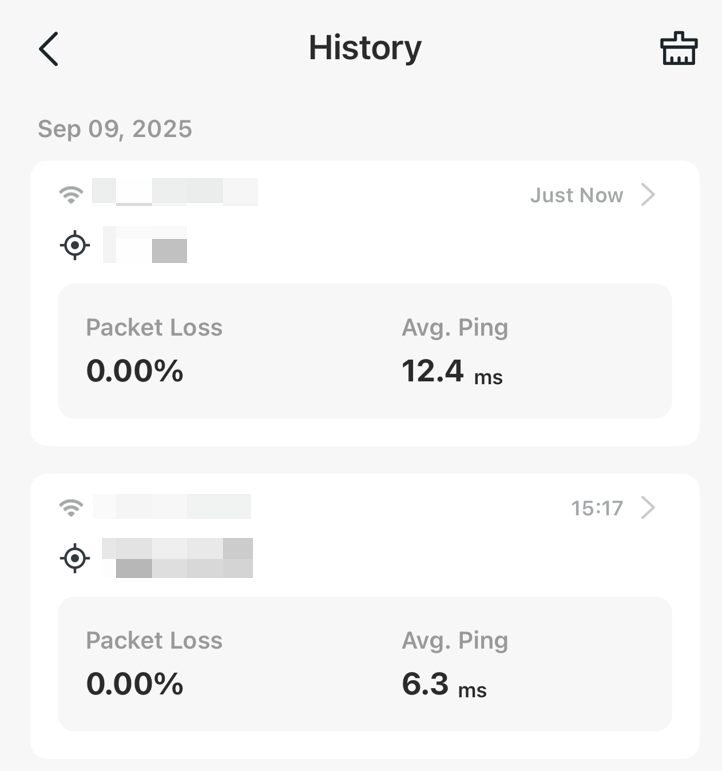
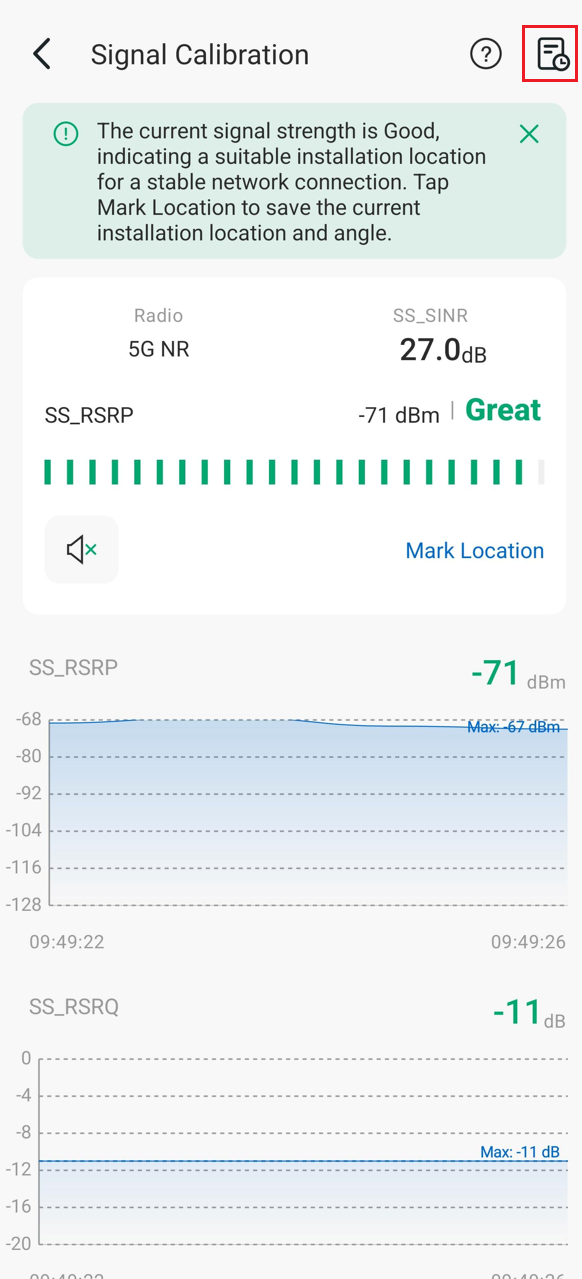
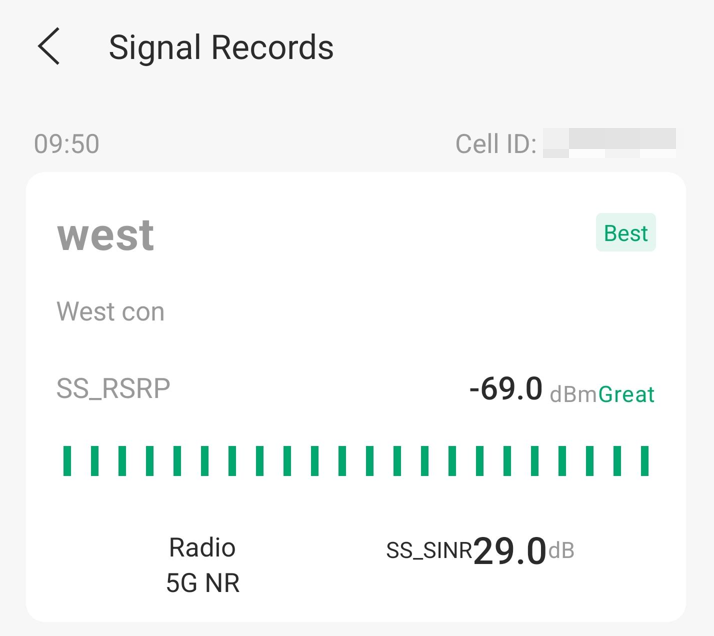
Step 5. If you want to view the past signal calibration, you can click the icon in the upper right corner of the signal calibration page.
Wi-Fi Scan (Android)
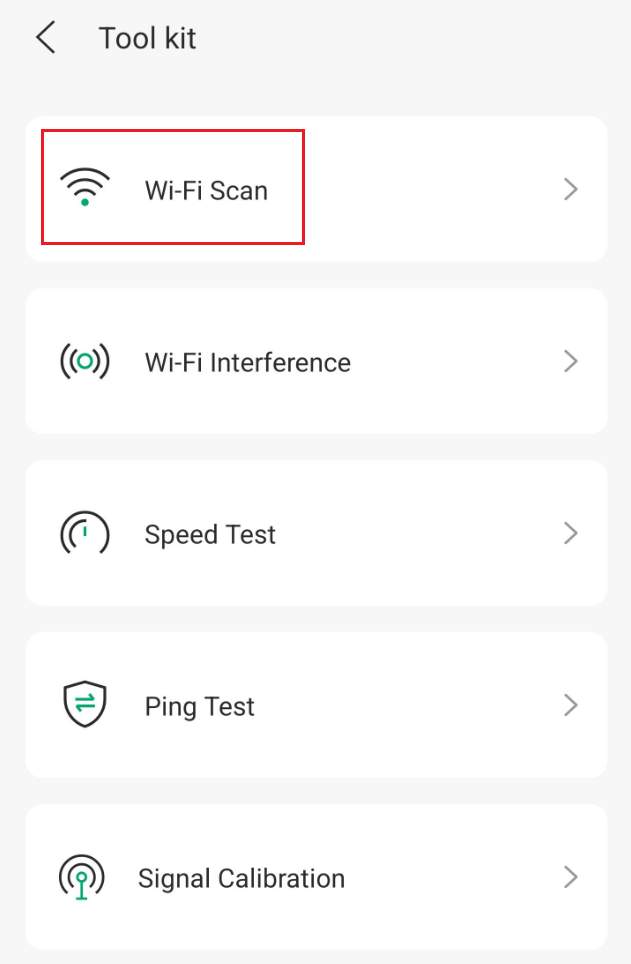
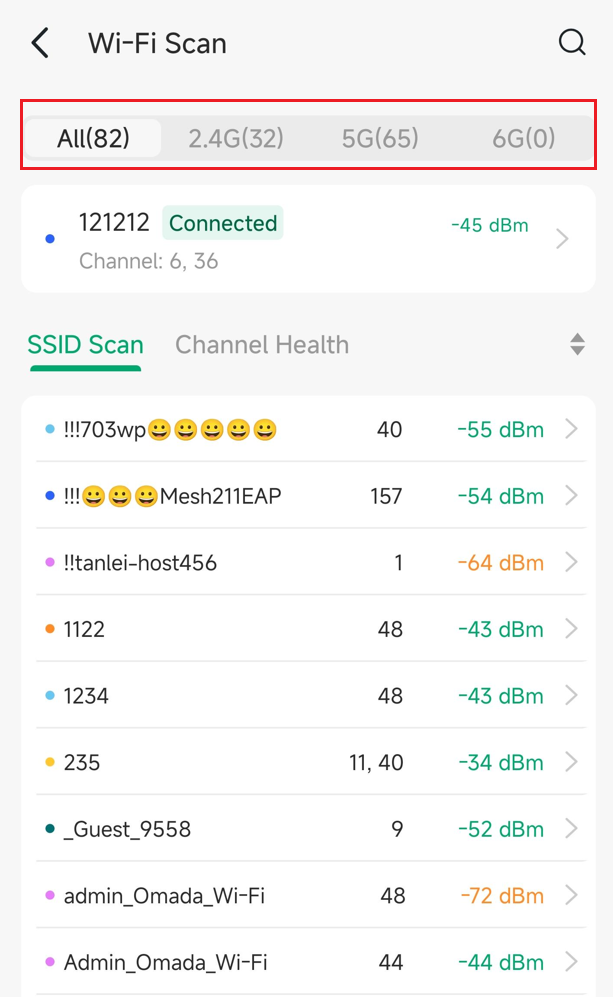
Step 1. Tap the ‘Wi-Fi Scan’ to enter the Wi-Fi Scan tool.
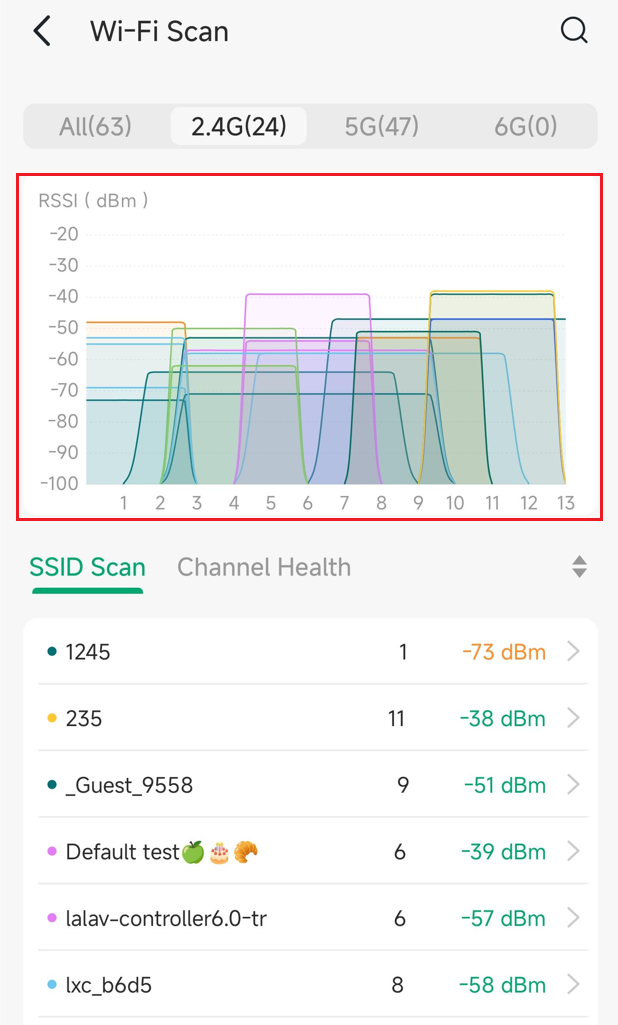
Step 2. It will show the result of all bands by default. You can click the tab at the top of the page to select the band to scan.
Step 3. In the scanning results of each frequency band, the signal strength of the specific channel will be displayed.
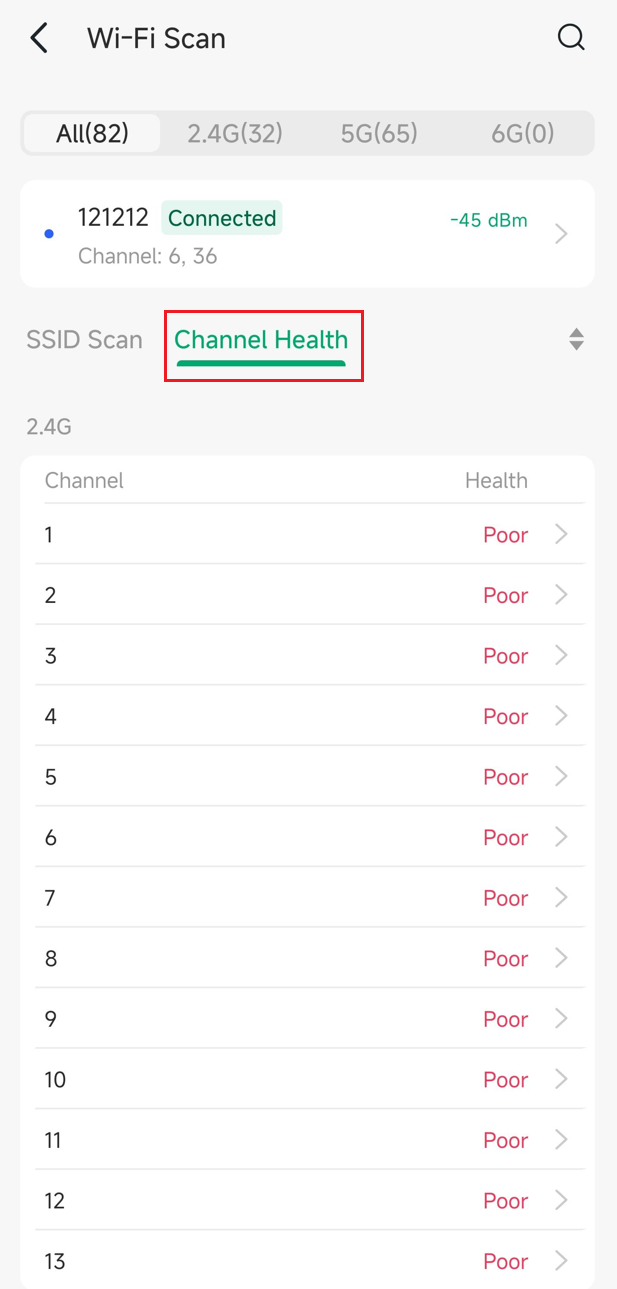
Step 4. Click ‘Channel Health’ to switch to channel scanning. And you can check the health of every channel.
Wi-Fi Interference (Android)
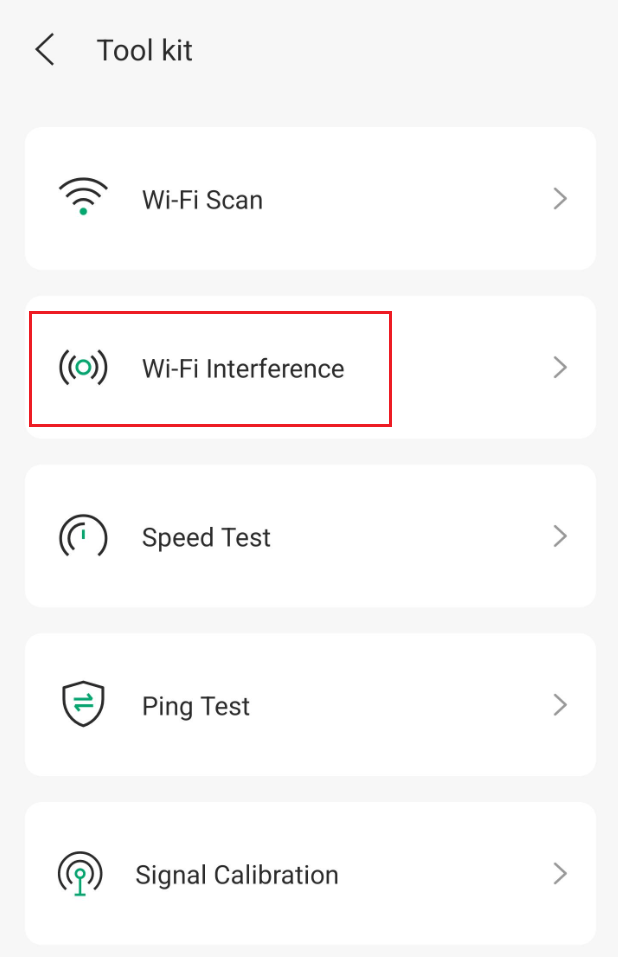
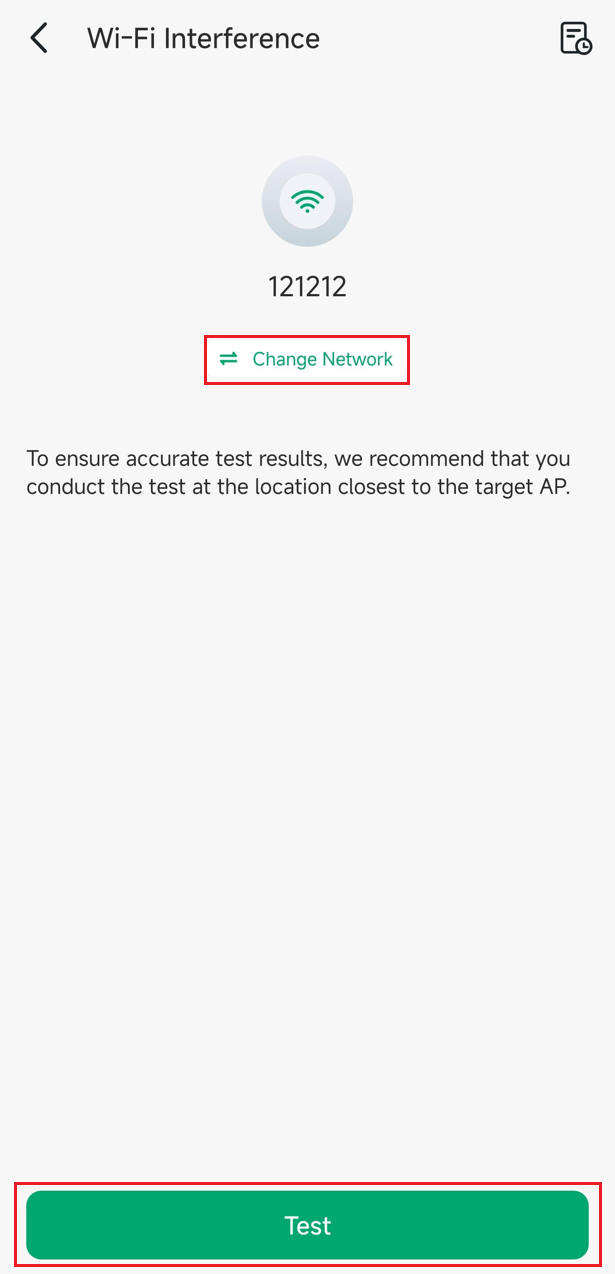
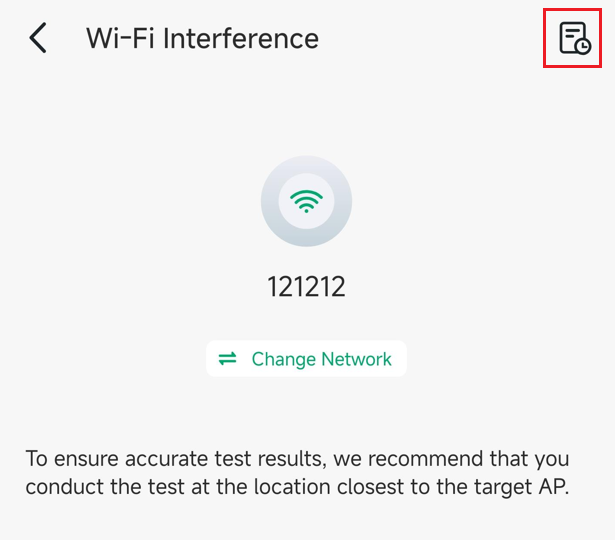
Step 1. Tap the ‘Wi-Fi Interference‘ to enter the Wi-Fi Interference tool.
Step 2. If you want to change the network for testing, click ‘Change Network’. Then click Test to start testing.
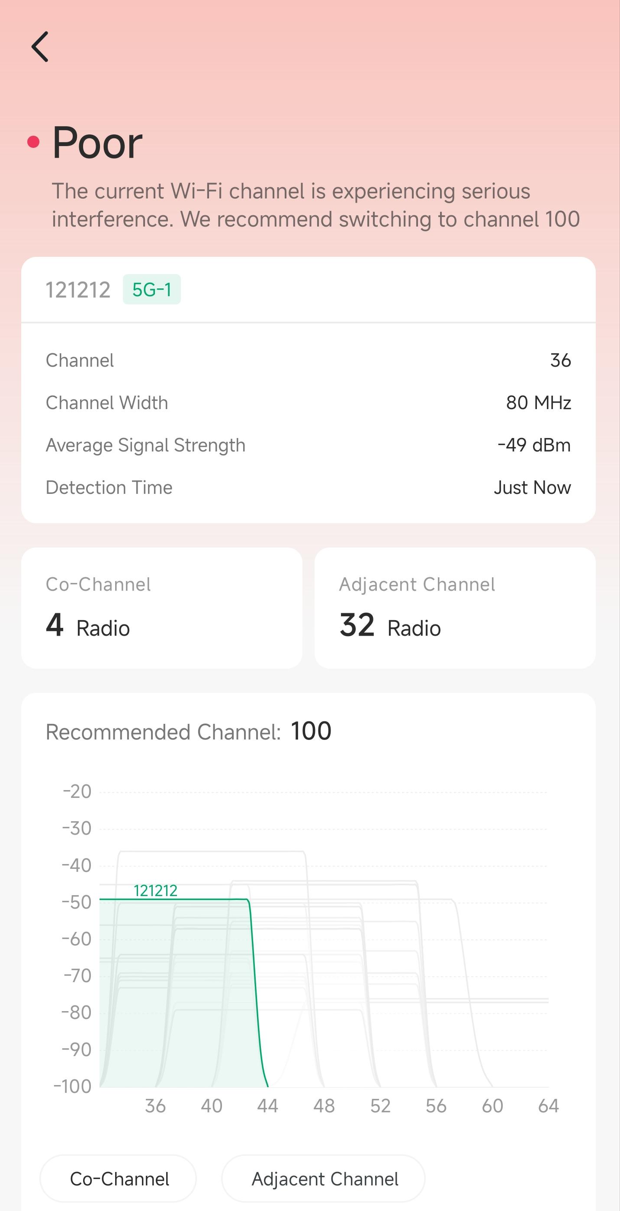
Step 3. Waiting for the testing result.

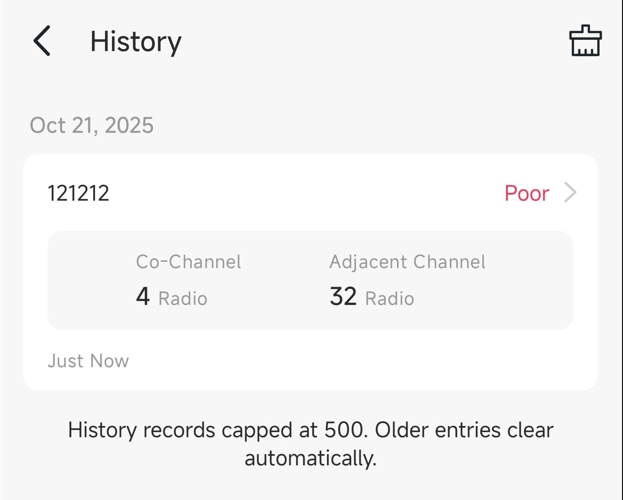
Step 4. After testing, the result will show the details of currently channel.
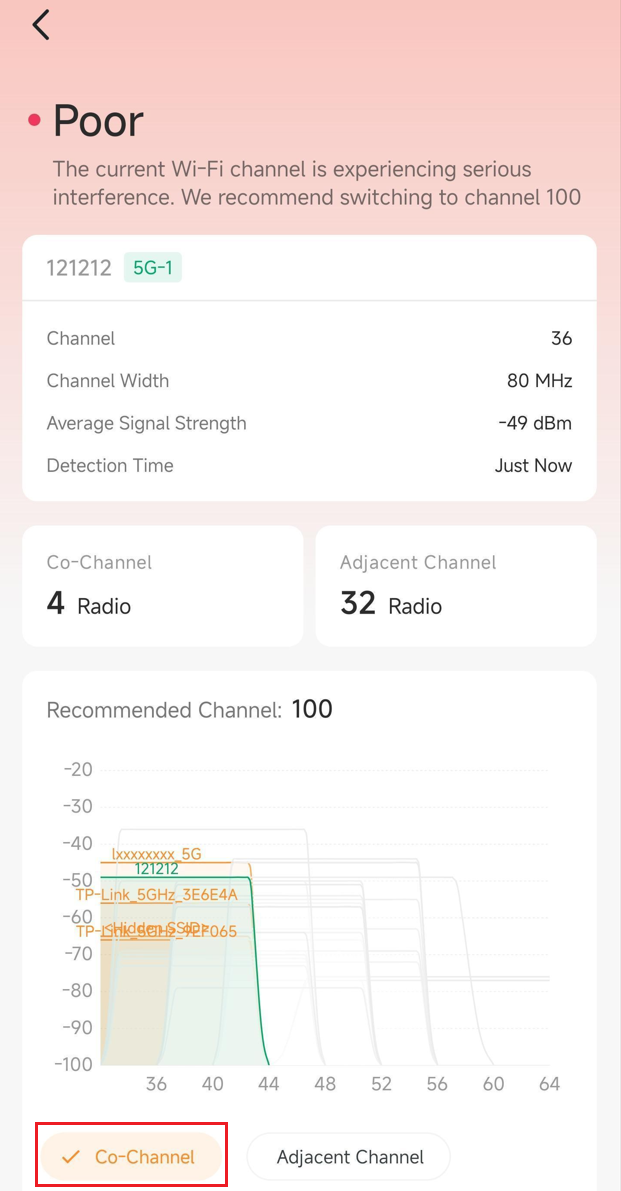
Step 5. Clicking ‘Co-Channel’ will display the same-channel signals in the chart. When multiple Wi-Fi networks use the same channel, the overlapping signals will cause conflicts.
Step 6. Clicking ‘Adjacent Channel’ will display the adjacent-channel signals in the chart. Adjacent channels may have overlapping frequencies and may also cause interference (such as channel 1 and 3).
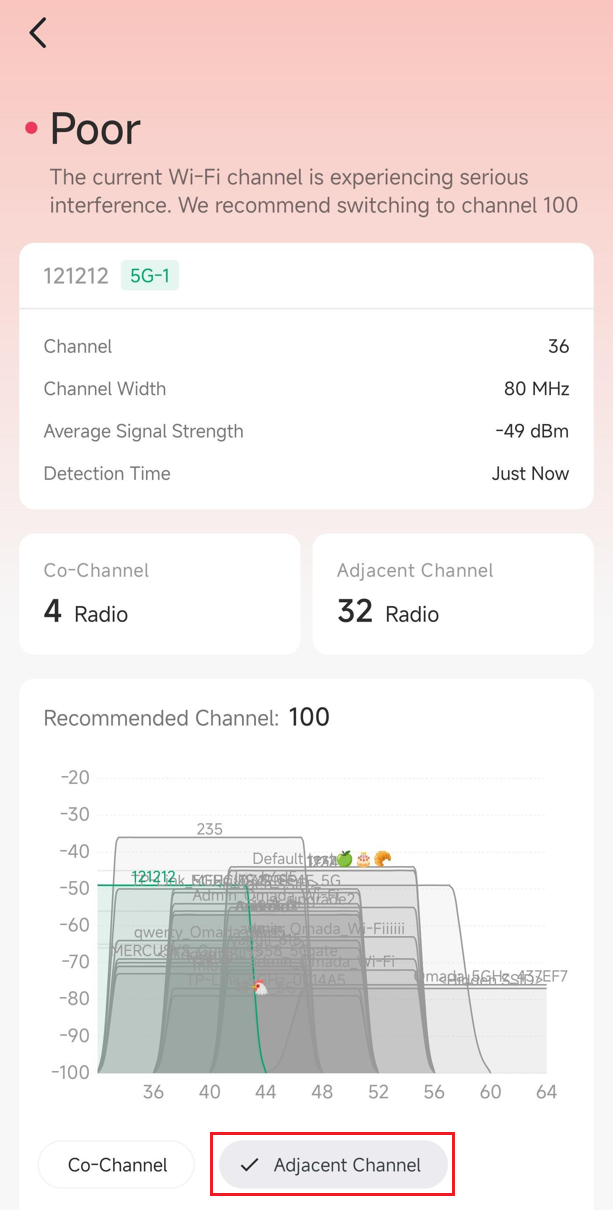
Step 7. If you want to view the past Wi-Fi Interference, you can click the icon in the upper right corner of the Wi-Fi Interference page.
Conclusion
Now that you’ve learned how to use several tools in the Omada app, try using them to help optimize your network!
