


Contents
Install Omada Software Controller on Ubuntu 22.04
Install Omada Software Controller
Install Chromium Browser (Optional)
Introduction
This article explains how to install the Omada Software Controller on Linux systems, including Ubuntu and Debian. It covers the required software dependencies, such as OpenJDK, MongoDB, and JSVC, and provides step-by-step installation instructions using Ubuntu 22.04 as an example. The same procedure also applies to Debian.
Requirements
- Omada SDN Controller installation package
- Ubuntu 16.04, 18.04, 20.04, 22.04, 24.04 (v5.15.20 and above)
- Debian 8, 9, 10, 11,12
Install Omada Software Controller on Ubuntu 22.04
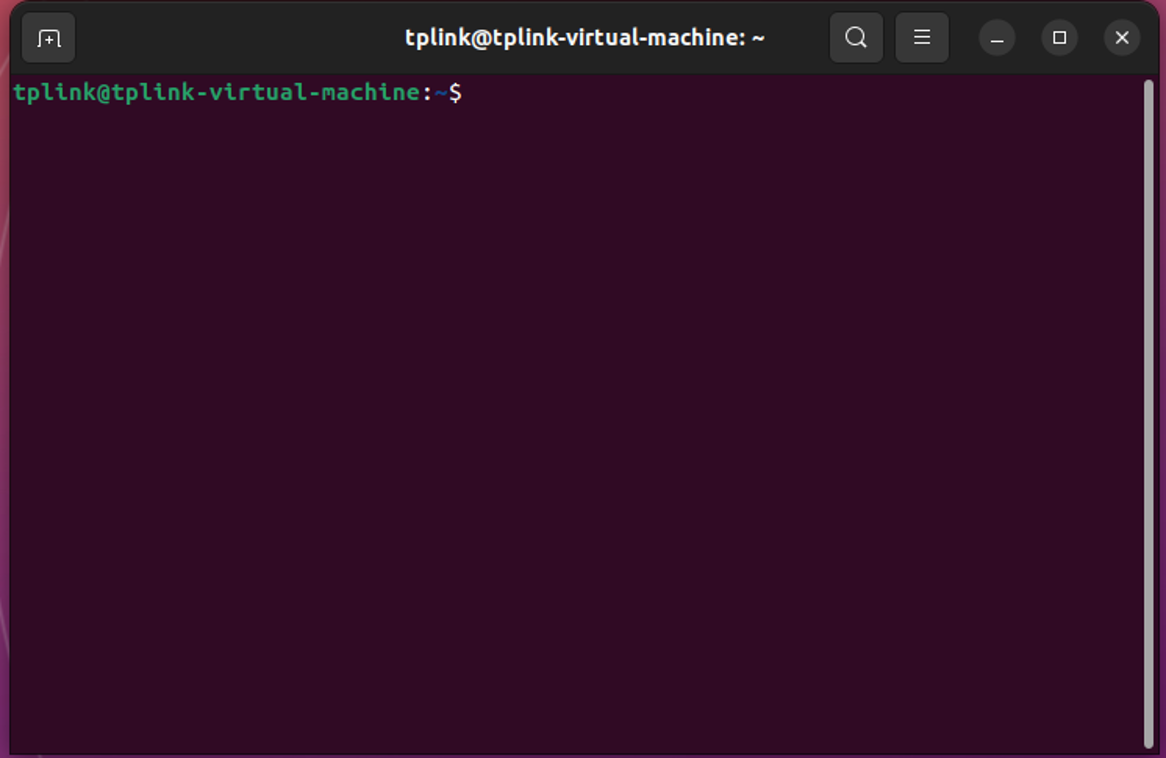
Open a Terminal
On Ubuntu or Debian, press Ctrl + Alt + T to open a Terminal window. Then, run the commands in the following sections to install the Omada Software Controller.
Install OpenJDK
The required Java version depends on your Omada Software Controller version:
- Controller v5.15.20 and later requires 64-bit Java 17 or later.
- Controller earlier than v5.15.20 supports 64-bit Java 8 or later.
Follow the instructions below to install the appropriate OpenJDK version for your Controller.
For Omada Software Controller v5.15.20 and above
Controller v5.15.20 and later requires 64-bit Java 17 or later. Follow the steps below to install OpenJDK 17 and JSVC.
Install OpenJDK 17
Step 1. Update apt sources.
sudo apt update
Step 2. Install OpenJDK-17 with the command.
sudo apt install -y openjdk-17-jre-headless
Step 3. Verify the Java version.
java -version
Step 4. Install dependencies for JSVC.
sudo apt install -y jsvc
Step 5. Verify the JSVC version (v1.0.15 is recommended).
jsvc -version
For Omada Software Controller v5.15.20 and Earlier
Omada Software Controller v5.15.20 and earlier supports 64-bit Java 8 and above. You can install either OpenJDK 8 or OpenJDK 11 according to your requirements.
Install OpenJDK 8
Step 1. Install OpenJDK-8 with the command.
sudo apt install –y openjdk-8-jre-headless
Step 2. Install JSVC for OpenJDK 8 with the command.
sudo apt install jsvc
Install OpenJDK 11
Step 1. Install OpenJDK-11 with the command.
sudo apt install –y openjdk-11-jre-headless
Step 2. Install dependencies for JSVC.
sudo apt install autoconf make gcc
Step 3. Download the JSVC source code from the official website. In this example, JSVC v1.2.4 is used.
wget https://archive.apache.org/dist/commons/daemon/source/commons-daemon-1.2.4-src.tar.gz
tar zxvf commons-daemon-x.y.z-src.tar.gz
cd commons-daemon-x.y.z-src/src/native/unix
Step 4. Compile and install
sh support/buildconf.sh./configure --with-java=/usr/lib/jvm/java-11-openjdk-amd64 (default path of OpenJDK-11-JDK)
Make
Step 5. Create a soft link from your JSVC path:
ln –s /YOUR_ABSOLUTE_PATH/commons-daemon-1.2.4-src/src/native/unix/jsvc /usr/bin/
Note:You can refer to the following link to download the latest JSVC source code (v1.1.0 and above): https://archive.apache.org/dist/commons/daemon/source/
Install MongoDB
|
Omada Software Controller Version |
Supported MongoDB Version |
|
Earlier than v5.14.20 |
MongoDB v3.4 ~ v4.4 (up to MongoDB v4.4) |
|
v5.14.20 to earlier than v5.15.20 |
MongoDB v4.4 ~ v7(up to MongoDB v7) |
|
v5.15.20 and above |
MongoDB v4.4 ~ v8 |
Note:
1. MongoDB 5.0 and later require AVX support on x86_64/amd64 CPUs. You can check AVX support {{amd64-avx}} by running:
sudo cat /proc/cpuinfo | grep avx
If AVX is supported, it should highlight {{avx}}; if not, it will return an empty string.
2. If you have already installed an earlier version of MongoDB and want to upgrade it, refer to the MongoDB upgrade guide based on your current MongoDB version. Do not skip major versions, and make sure to back up the database before upgrading.
How to Upgrade MongoDB from v3.6 to v4.4 | TP-Link
How to upgrade MongoDB from v4.4 to v7 on Linux System | TP-Link
How to Upgrade MongoDB from v7 to v8 on Linux System | Omada Network Support
This section provides installation examples for MongoDB v4.4, v7, and v8. Select the MongoDB version that matches your Omada Software Controller version and system requirements.
Install MongoDB v4.4
Step 1. Download Libssl dependency.
On Ubuntu 22.04, libssl1.1 is required to install MongoDB v4.4. If you are using an Ubuntu version earlier than 22.04, skip Steps 1 and 2.
wget http://archive.ubuntu.com/ubuntu/pool/main/o/openssl/libssl1.1_1.1.1-1ubuntu2.1~18.04.23_amd64.deb
Step 2. Install libssl.
sudo dpkg -i libssl1.1_1.1.1-1ubuntu2.1~18.04.23_amd64.deb
Note: The download link will update time to time, you can refer to the following link to choose the latest download link:http://archive.ubuntu.com/ubuntu/pool/main/o/openssl/
Step 3. Import the MongoDB public GPG key.
wget -qO - https://www.mongodb.org/static/pgp/server-4.4.asc | sudo apt-key add –
Step 4. Create the MongoDB 4.4 repository file /etc/apt/sources.list.d/mongodb-org-4.4.list using the command that matches your Ubuntu version.
- For Ubuntu 16.04
echo "deb [ arch=amd64,arm64 ] https://repo.mongodb.org/apt/ubuntu xenial/mongodb-org/4.4 multiverse" | sudo tee /etc/apt/sources.list.d/mongodb-org-4.4.list
- For Ubuntu 18.04
echo "deb [ arch=amd64,arm64 ] https://repo.mongodb.org/apt/ubuntu bionic/mongodb-org/4.4 multiverse" | sudo tee /etc/apt/sources.list.d/mongodb-org-4.4.list
- For Ubuntu 20.04
echo "deb [ arch=amd64,arm64 ] https://repo.mongodb.org/apt/ubuntu focal/mongodb-org/4.4 multiverse" | sudo tee /etc/apt/sources.list.d/mongodb-org-4.4.list
- For Ubuntu 22.04
echo "deb [ arch=amd64,arm64 ] https://repo.mongodb.org/apt/ubuntu jammy/mongodb-org/4.4 multiverse" | sudo tee /etc/apt/sources.list.d/mongodb-org-4.4.list
Step 5. Reload the local package database.
sudo ap update
Step 6. Install MongoDB
sudo apt install -y mongodb-org
Note: You can also follow the MongoDB official guide below to install MongoDB:
MongoDB v4.4: https://www.mongodb.com/docs/v4.4/tutorial/install-mongodb-on-ubuntu/
Install MongoDB v7
Step 1. Import the public key used by the package management system. From a terminal, install gnupg and curl if they are not already available:
sudo apt-get install gnupg curl
Step 2. Import the MongoDB public GPG key
curl -fsSL https://www.mongodb.org/static/pgp/server-7.0.asc | \
sudo gpg -o /usr/share/keyrings/mongodb-server-7.0.gpg \
--dearmor
Step 3. Create the MongoDB 7.0 repository file /etc/apt/sources.list.d/mongodb-org-7.0.list for your Ubuntu version.
echo "deb [ arch=amd64,arm64 signed-by=/usr/share/keyrings/mongodb-server-7.0.gpg ] https://repo.mongodb.org/apt/ubuntu jammy/mongodb-org/7.0 multiverse" | sudo tee /etc/apt/sources.list.d/mongodb-org-7.0.list
Step 4. Reload local package database:
sudo apt-get update
Step 5. Install the MongoDB v7.0.7 packages:
sudo apt-get install -y mongodb-org=7.0.7 mongodb-org-database=7.0.7 mongodb-org-server=7.0.7 mongodb-mongosh=7.0.7 mongodb-org-mongos=7.0.7 mongodb-org-tools=7.0.7
Note: You can also refer to the MongoDB official guide below for detailed installation instructions:
https://www.mongodb.com/docs/manual/tutorial/install-mongodb-on-ubuntu/
Install MongoDB v8
Step 1. Import the public key used by the package management system. From a terminal, install gnupg and curl if they are not already available:
sudo apt-get install gnupg curl
Step 2. To import the MongoDB public GPG key, run the following command:
curl -fsSL https://www.mongodb.org/static/pgp/server-8.0.asc | \
sudo gpg -o /usr/share/keyrings/mongodb-server-8.0.gpg \
--dearmor
Step 3. Create the MongoDB 8.0 repository file /etc/apt/sources.list.d/mongodb-org-8.0.list for your Ubuntu version.
- For Ubuntu 20.04, Create the list file for Ubuntu 20.04 (Focal):
echo "deb [ arch=amd64,arm64 signed-by=/usr/share/keyrings/mongodb-server-8.0.gpg ] https://repo.mongodb.org/apt/ubuntu focal/mongodb-org/8.0 multiverse" | sudo tee /etc/apt/sources.list.d/mongodb-org-8.0.list
- For Ubuntu 22.04, Create the list file for Ubuntu 22.04 (Jammy):
echo "deb [ arch=amd64,arm64 signed-by=/usr/share/keyrings/mongodb-server-8.0.gpg ] https://repo.mongodb.org/apt/ubuntu jammy/mongodb-org/8.0 multiverse" | sudo tee /etc/apt/sources.list.d/mongodb-org-8.0.list
- For Ubuntu 24.04, Create the list file for Ubuntu 24.04 (Noble):
echo "deb [ arch=amd64,arm64 signed-by=/usr/share/keyrings/mongodb-server-8.0.gpg ] https://repo.mongodb.org/apt/ubuntu jammy/mongodb-org/8.0 multiverse" | sudo tee /etc/apt/sources.list.d/mongodb-org-8.0.list
Step 4. Reload the package database.
sudo apt-get update
Step 5. Install MongoDB Community Server. You can install either the latest stable version of MongoDB or a specific MongoDB version.
- To install the latest stable version, run the following command:
sudo apt-get install -y mongodb-org
- To install a specific MongoDB version, specify the version number for each MongoDB component package, as shown in the following example:
sudo apt-get install -y \
mongodb-org=8.0.12 \
mongodb-org-database=8.0.12 \
mongodb-org-server=8.0.12 \
mongodb-mongosh \
mongodb-org-shell=8.0.12 \
mongodb-org-mongos=8.0.12 \
mongodb-org-tools=8.0.12 \
mongodb-org-database-tools-extra=8.0.12
Note: If you install only mongodb-org=8.0.12 without specifying the versions of the component packages, the latest version of each MongoDB package will be installed instead of the specified version.
For more information, refer to the MongoDB official installation guide:
Install MongoDB Community Edition - Database Manual - MongoDB Docs
Install Omada Software Controller
Download the Omada Software Controller installation package from the official website, and use the following command to enter the directory where the installation package is saved:
cd <directory_where_the_deb_package_is_saved>
For example:
cd ~/Downloads
then install it using the following command:
For deb software package
sudo dpkg -i Omada_SDN_Controller_v5.x.y.z_Linux_x64.deb
Note: If you are using OpenJDK 11 or later and JSVC v1.1.0 or later, install the Omada Software Controller using the following command:
sudo dpkg --ignore-depends=jsvc -i Omada_SDN_Controller_v5.x.y.z_Linux_x64.deb
For tar.gz software package
If you downloaded the tar.gz package, decompress the package and run the installation script:
- below command to unzip the installation package:
tar zxvf Omada_SDN_Controller_v5.x.y.z_Linux_x64.tar.gz
- Use the following command to enter the unzipped folder:
cd Omada_SDN_Controller_v5.x.y.z_Linux_x64
- Use the below command to install Controller:
sudo bash ./install.sh
Install Chromium Browser (Optional)
Chromium Browser is an optional dependency used for exporting reports in PDF format. If you do not need to export reports as PDF files, you can skip this section.
Note:
1. Download the Chromium package that matches your operating system version. You can find the available packages at:
- Linux Mint Downloads: https://www.linuxmint.com/download_all.php
- Chromium Package Repository: http://packages.linuxmint.com/pool/upstream/c/chromium/
2. The supported Chromium version depends on your Omada Software Controller version.
|
Controller version |
Chromium version |
|
Earlier than v6.0.0 |
v90–v128 |
|
v6.0.0 and above |
v120–v140 |
Step 1. Download Chromium Debian package from Linuxmint.
Wget http://packages.linuxmint.com/pool/upstream/c/chromium/chromium_x.y.z~linuxmint1+xxx_amd64.deb
Step 2. Install Chromium
sudo dpkg -i chromium_x.y.z~linuxmint1+xxx_amd64.deb
Step 3. Check installation by returning version
chromium –version
Verification
Use the following commands to manage and verify the status of the Omada Software Controller service.
Step 1. Start the Omada Controller
tpeap start
Step 2. Show the status of Controller
tpeap status
Step 3. Stop running the Omada Controller
tpeap stop
Conclusion
You have now completed the installation of the Omada Software Controller on your Linux system. Before accessing the controller, verify that all required dependencies, including OpenJDK, MongoDB, and JSVC, are installed correctly and that the controller service is running properly. Once the installation is verified, access the controller through a supported web browser to begin configuring and managing your Omada devices.
To learn more about each function and configuration, please visit Support Home to download or check the manual for your product.
