


How to transfer the Cloud Owner permission on the Omada Controller


Contents
Introduction
The local controller already supports the transfer of local owner permissions; since controller version 6.2.10, it has also supported the transfer of cloud owner permissions. This FAQ provides a guide to transferring cloud owner permissions effectively.
Requirements
- Omada Controller (v6.2.10 and above)
- PC
Configuration
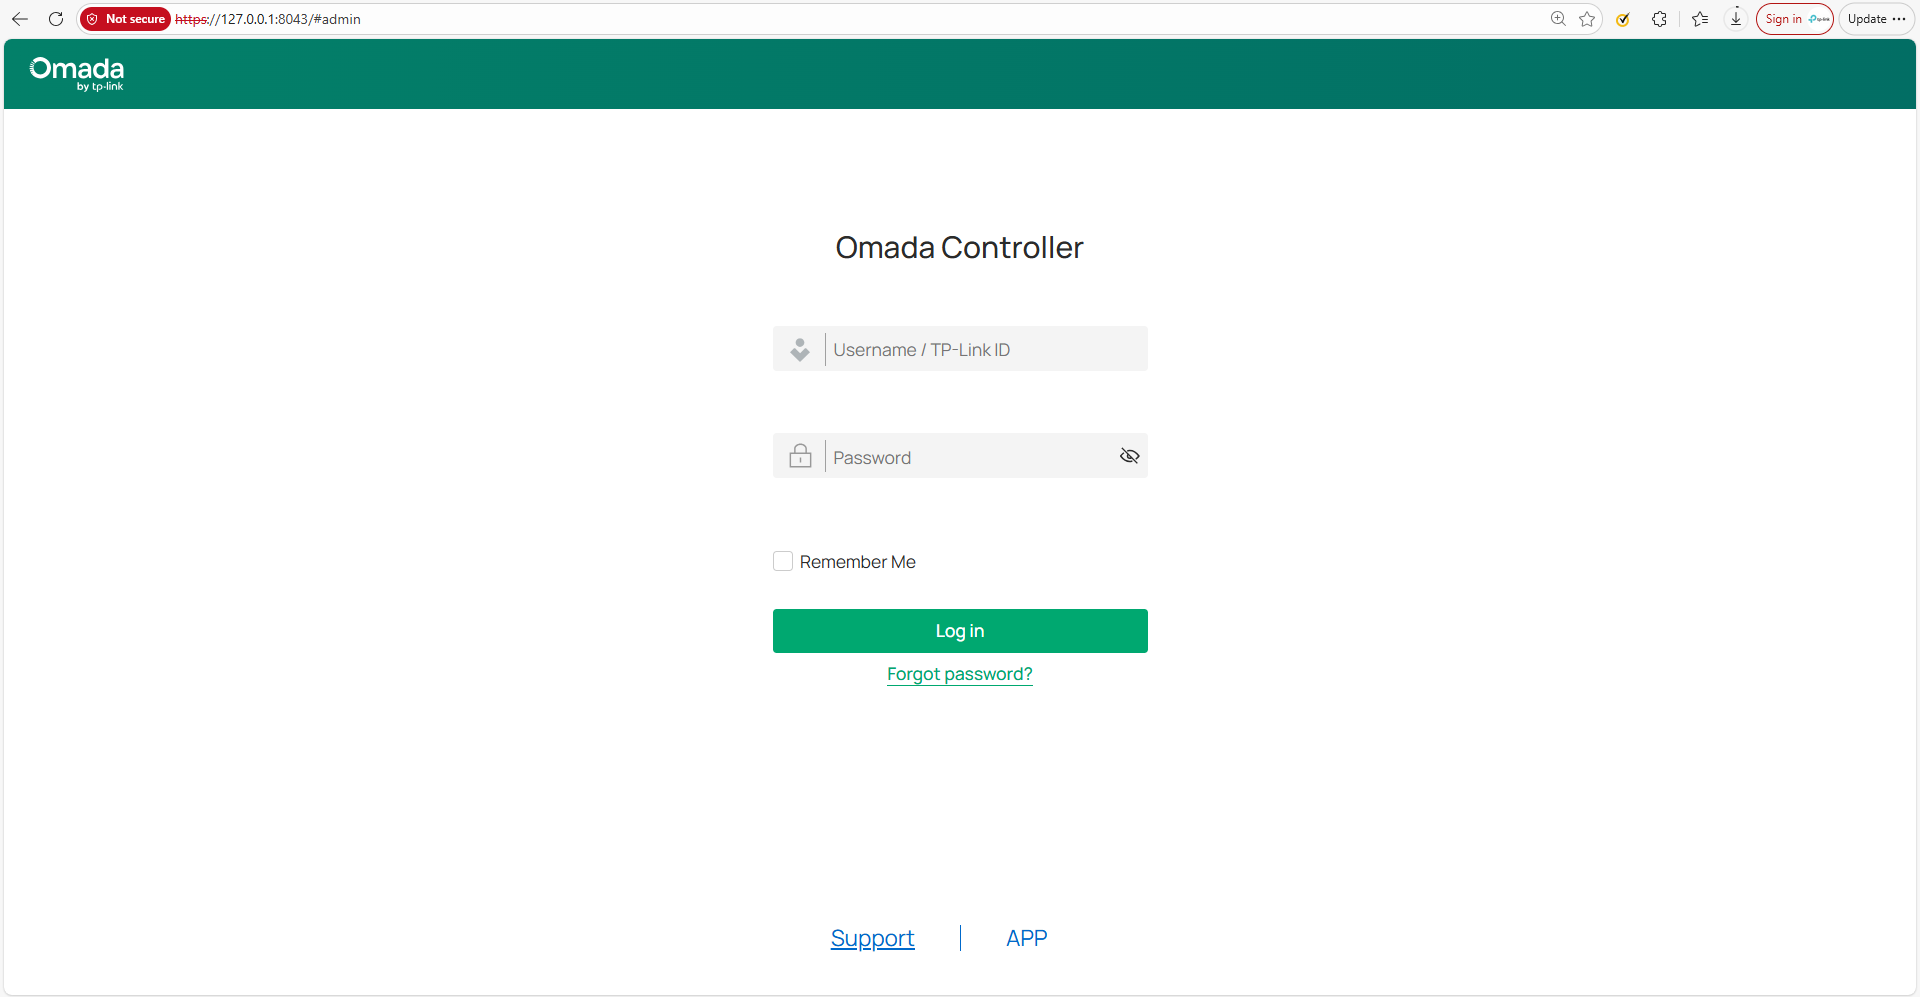
Step 1. Log in to the controller locally using the local owner account or the cloud owner account. (Taking the software controller as an example)
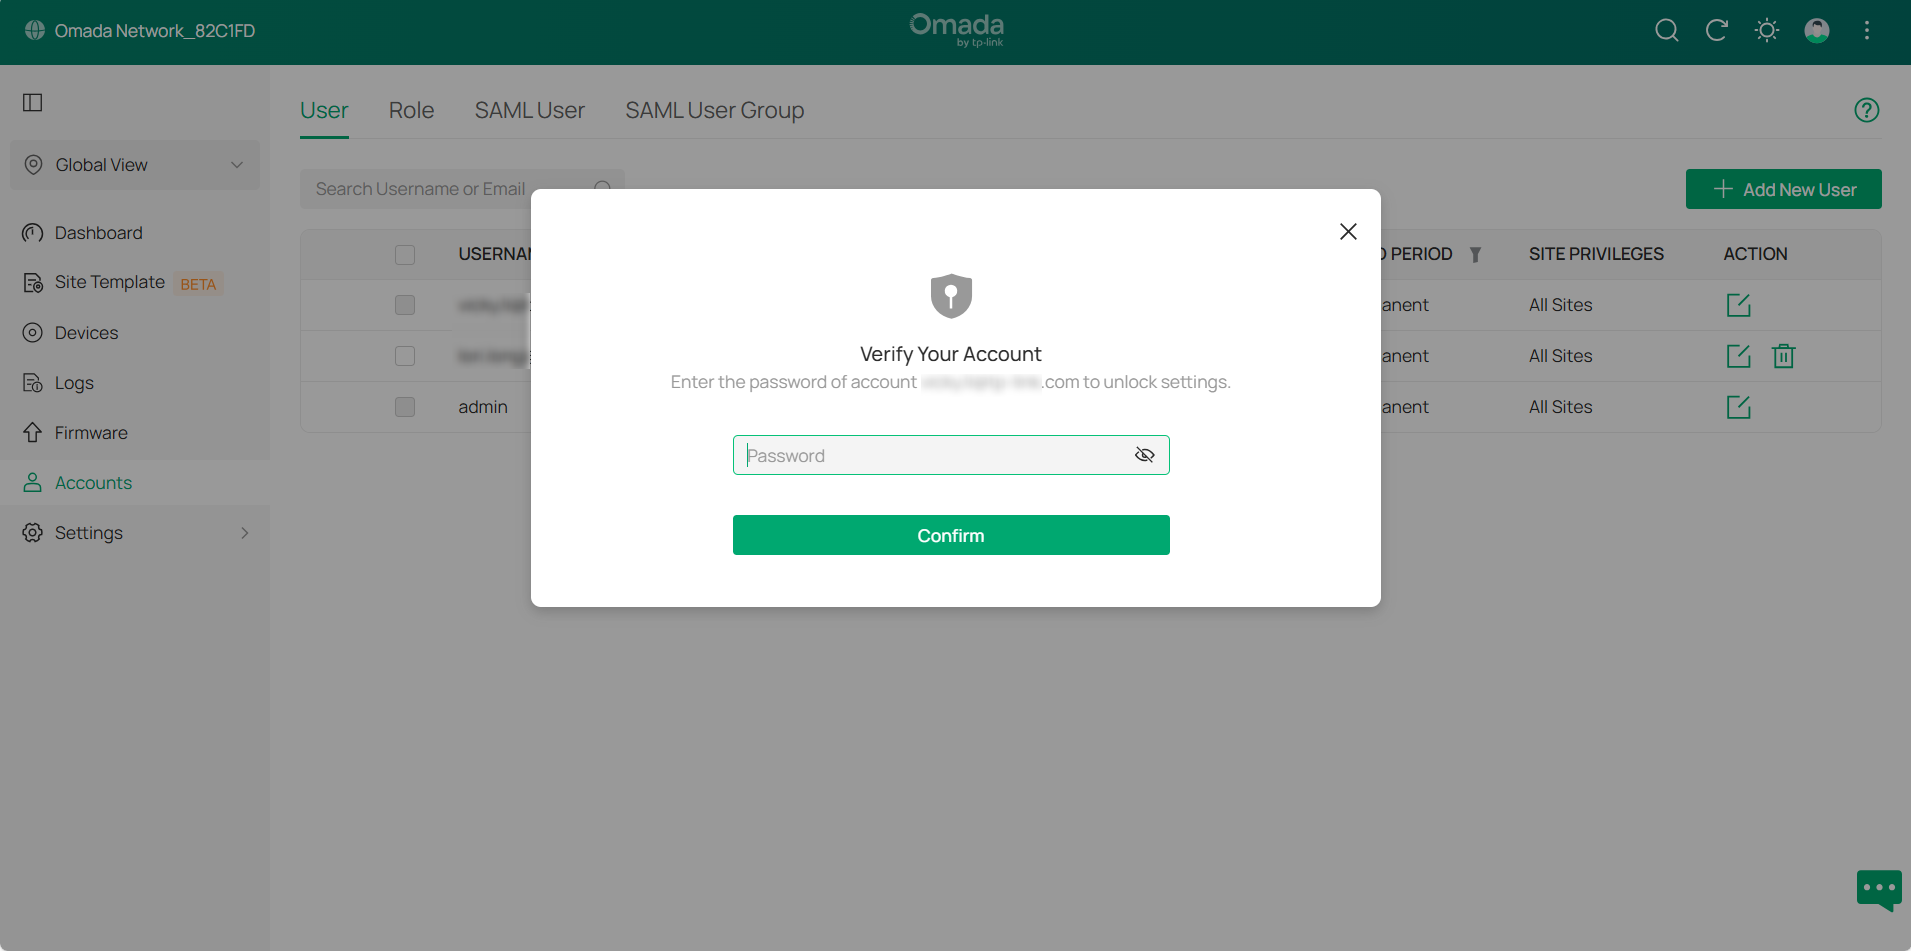
Step 2. Navigate to Global view > Accounts > User > Cloud User and click the Edit button.
Note: Only supports transfers to permanent cloud users

Step 3. Enter the password for the cloud owner account.
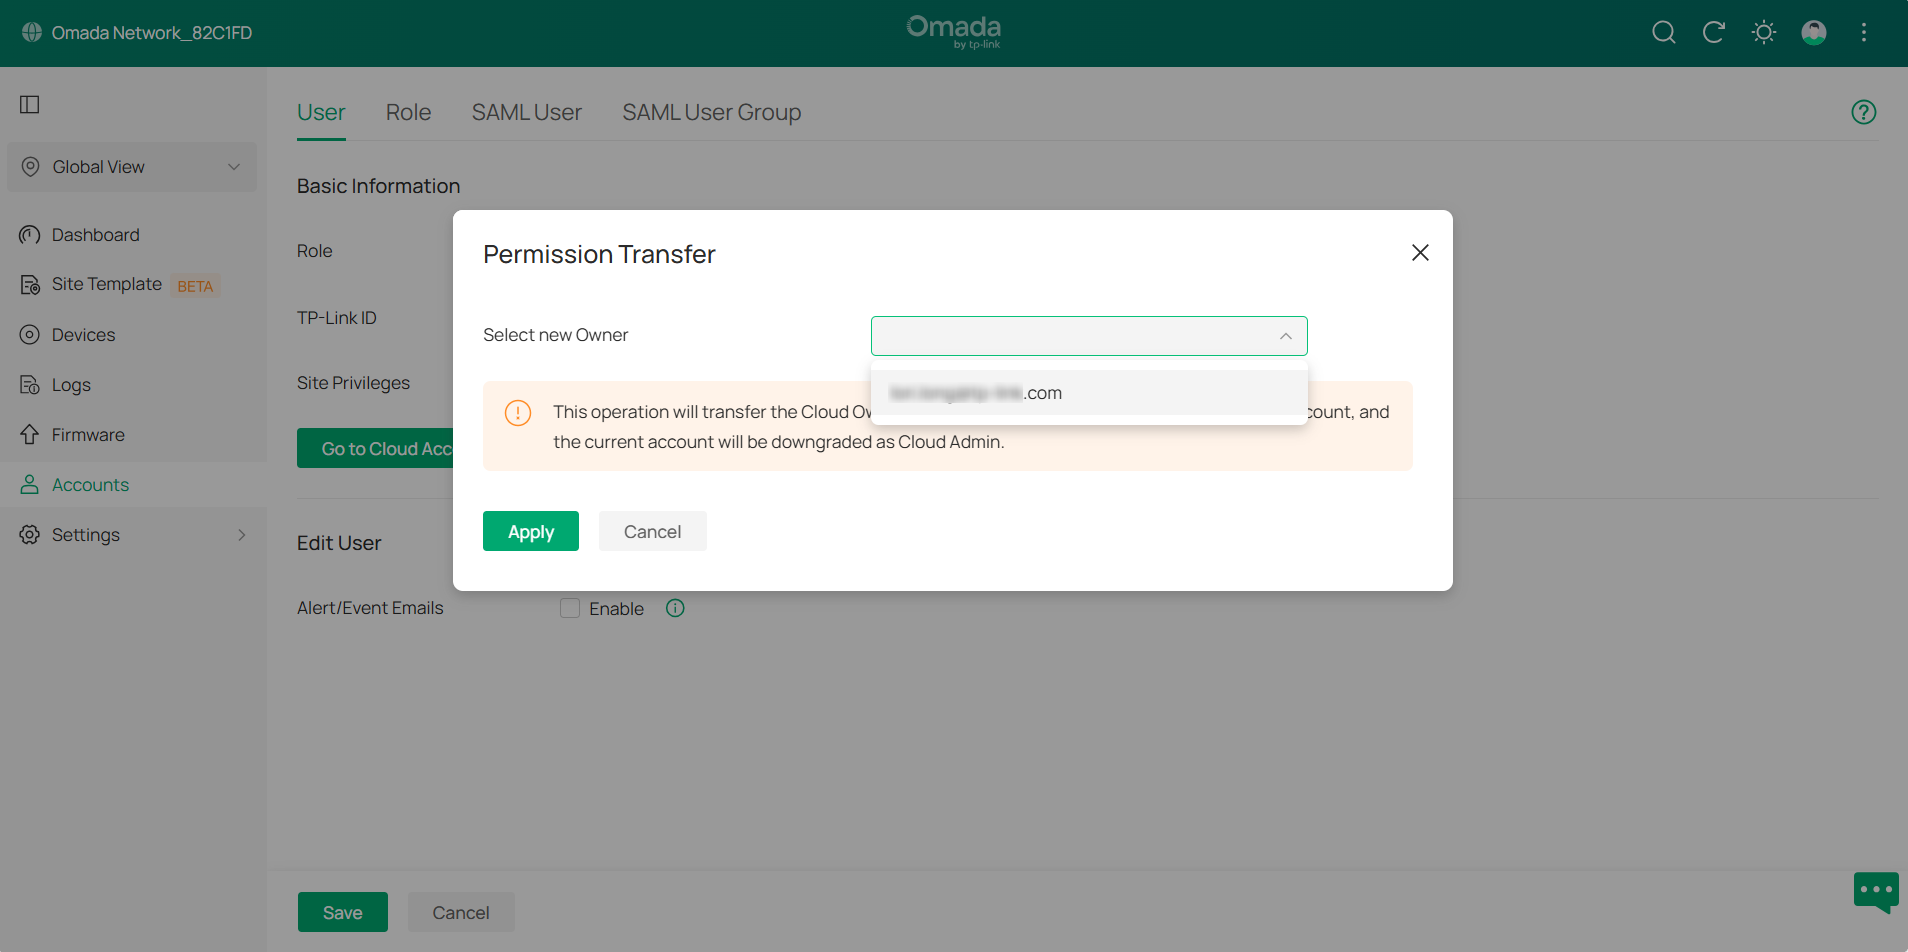
Step 4. Click Permission Transfer, then select the cloud account that has accepted the invitation. Next, click Apply to save settings.

Verification
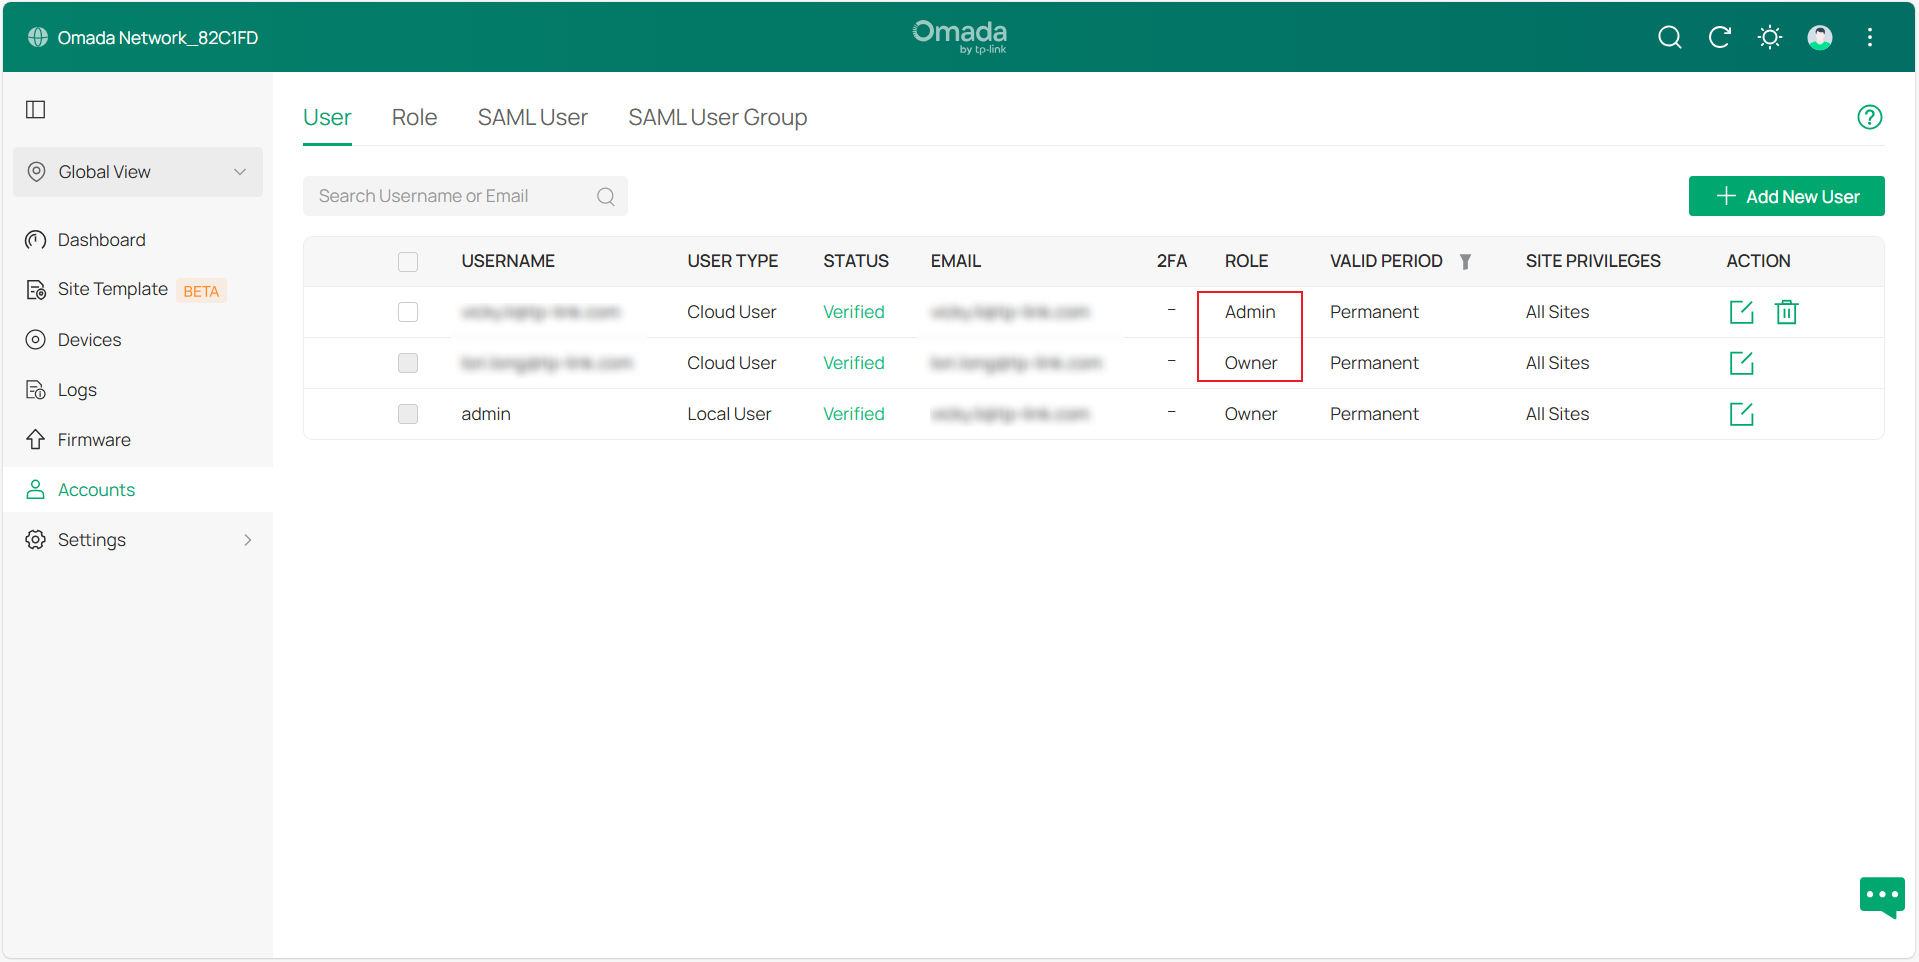
Once completed, the Cloud Owner permissions will be transferred from the current account to the new account, and the current account will be downgraded to Cloud Admin.
Conclusion
Now, you have learnt how to transfer cloud owner permissions to another account.
Get to know more details of each function and configuration please go to Download Center to download the manual of your product.
