


How to Troubleshoot Omada Software Controller Installation Failure on Windows and Linux


Introduction
This article introduces the methods to troubleshoot when you failed to install Omada Controller on your Windows or Linux system.
Requirements
- Windows 10 and above; Windows Server 2016 and above
- Ubuntu 20.04/22.04/24.04, Debian 11/12
- Omada Software Controller v6.0 and above
Troubleshooting
The Omada Software Controller relies on multiple runtime components and system configurations.
Note: Before performing any operations, ensure that you have backed up the Controller data and saved it on other storage media.
Troubleshooting on Windows
The current Windows version of the installer has integrated almost all the runtime dependencies.
Therefore, based on both laboratory tests and user feedback, encountering problems during the Windows version installation process is extremely rare.
If you encounter an installation failure, you can try the following steps to resolve it.
Step 1. Try changing your network environment. For example, you can use your phone's hotspot or connect to a different Wi-Fi network.
Step 2. Download the installation package again from the official website. Available at Support > Software Download > Omada Controller.
Download Omada Software Controller | Omada Network Support
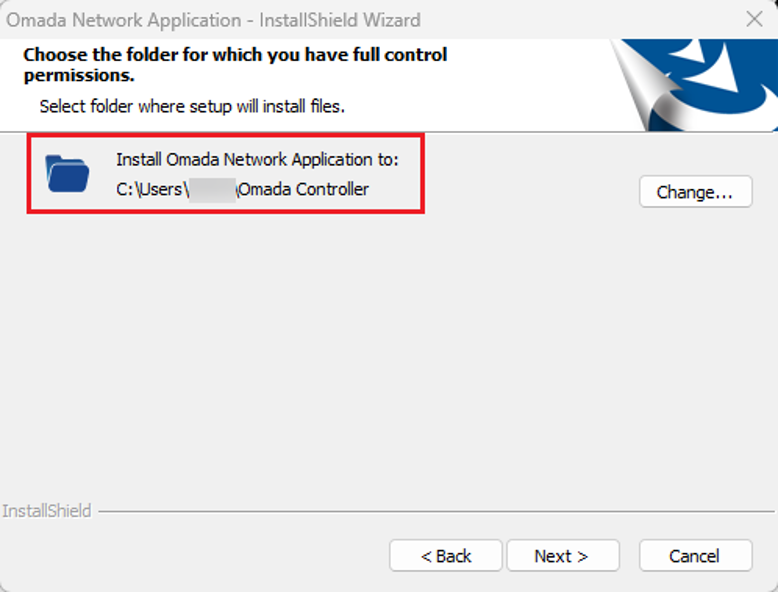
Step 3. Check the installation directory for corrupted files or potential permission issues that could cause installation failure. The installation path can be found during the installation process.
Troubleshooting on Linux
The Omada Controller does not rely on any specific Linux distribution. However, installing the Linux version requires manually setting up dependencies such as MongoDB and Java, and the installation process can vary in complexity across distributions. For improved compatibility and a smoother setup experience, Debian and Debian-based distributions are recommended.
Step 1. Open the terminal.
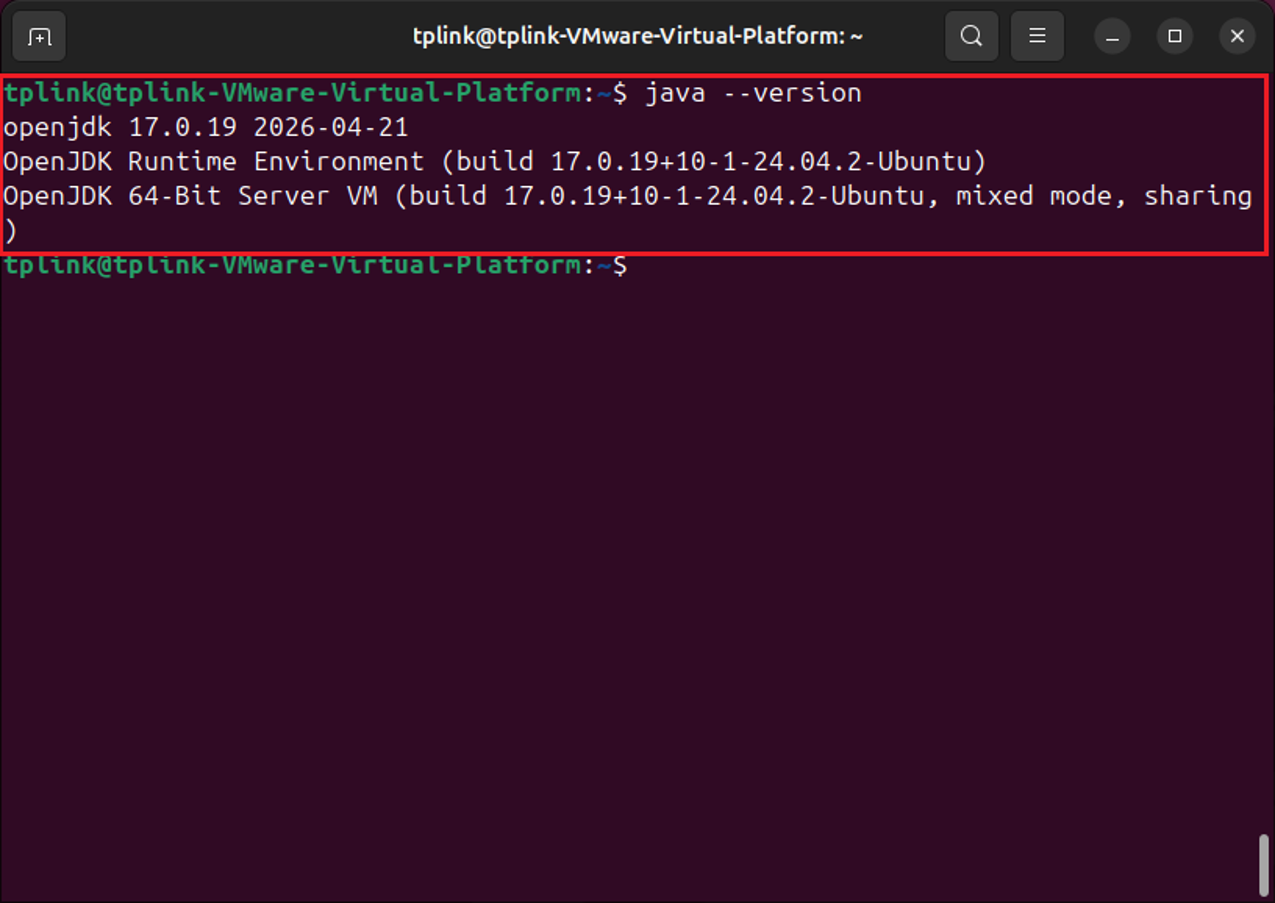
Step 2. Use java –version to check your Java version. We recommend using a 64-bit stable version of Java 8 or above.
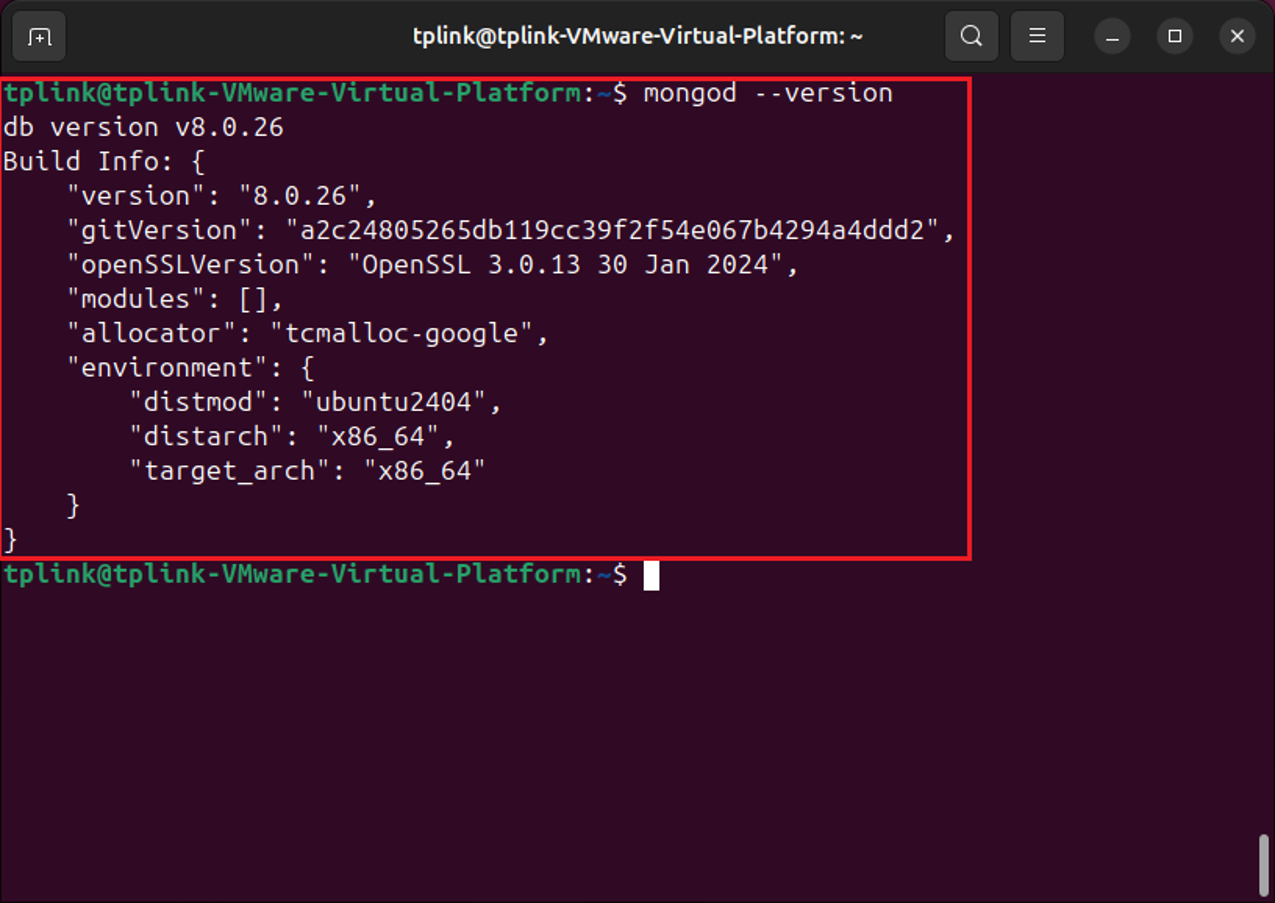
Step 3. Check your MongoDB version information. For version 5.15.20 and above, support up to MongoDB v8.
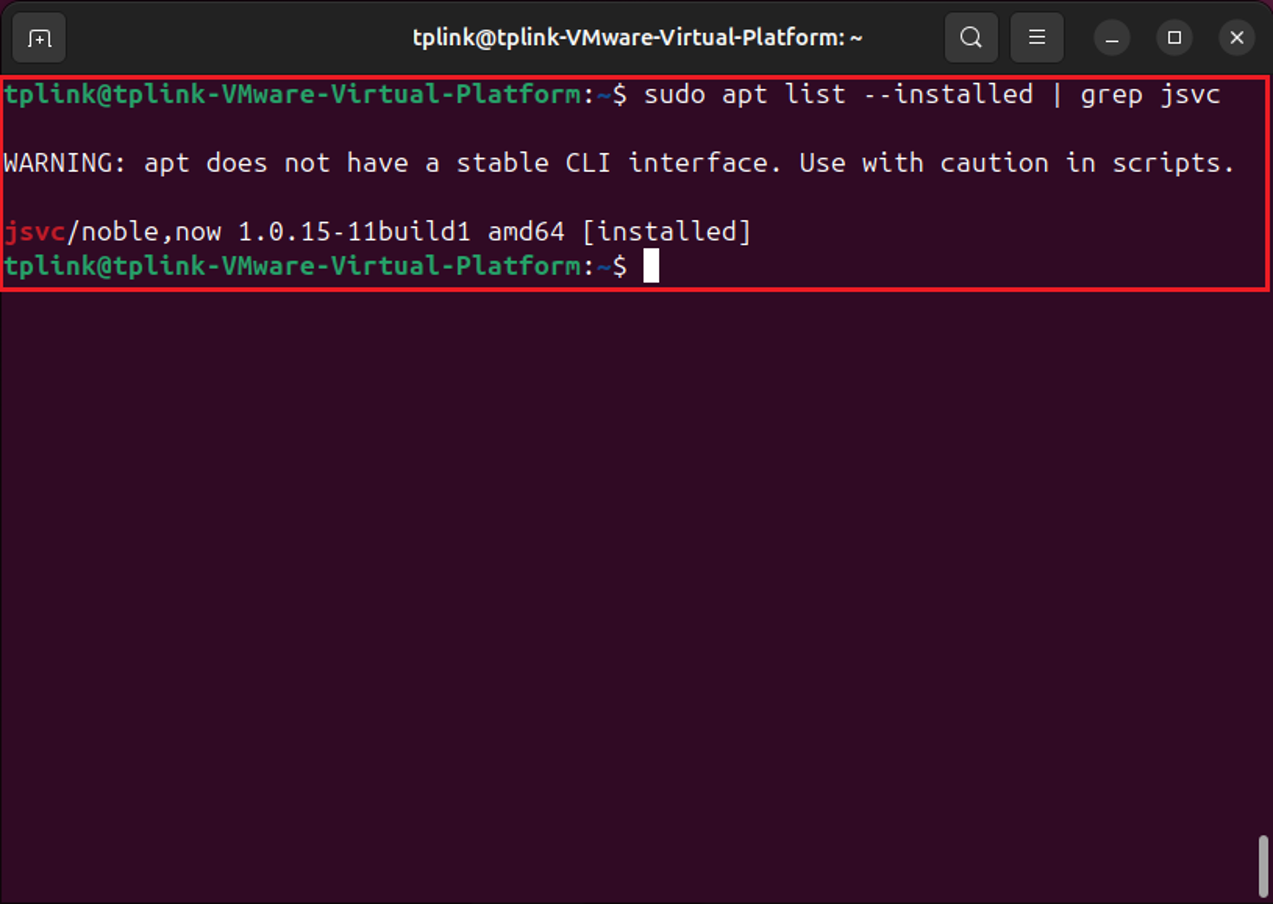
Step 4. If you installed dependencies using a package manager, you can use the package manager to check the dependencies. Important dependencies include Java, MongoDB, and JSVC.
Note: A common issue on Linux is that the Controller is installed via a .deb package before Java has been installed. As shown in the image below.
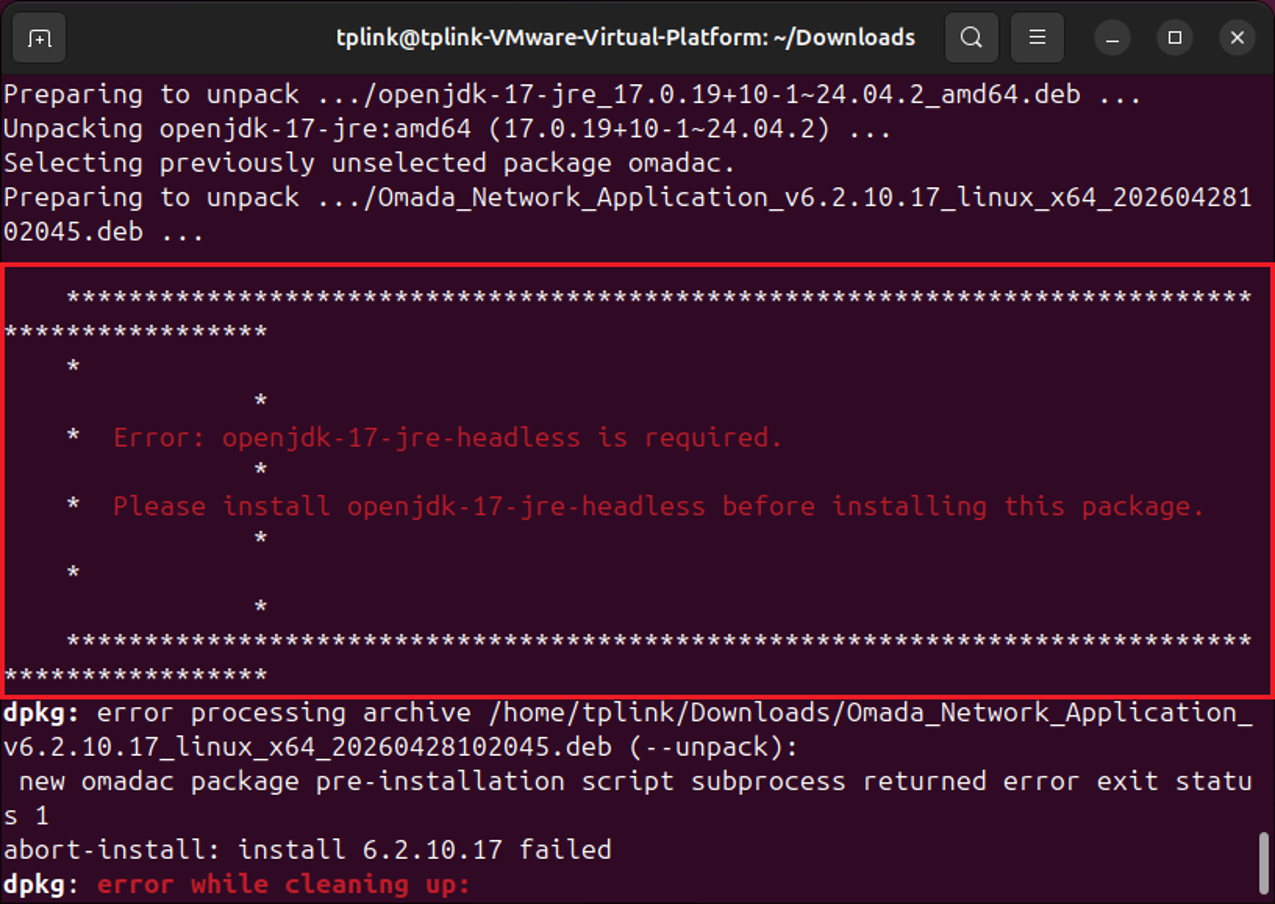
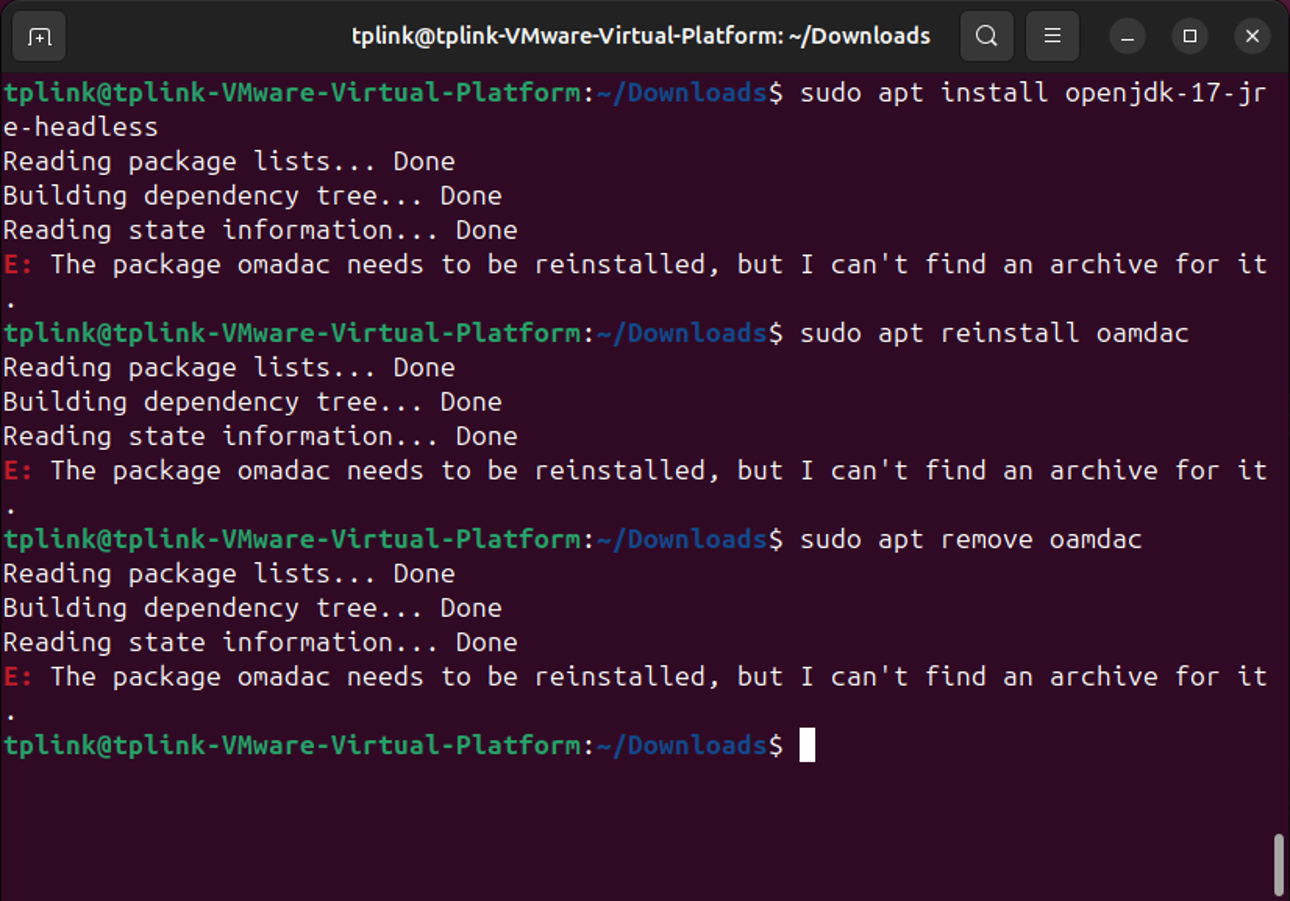
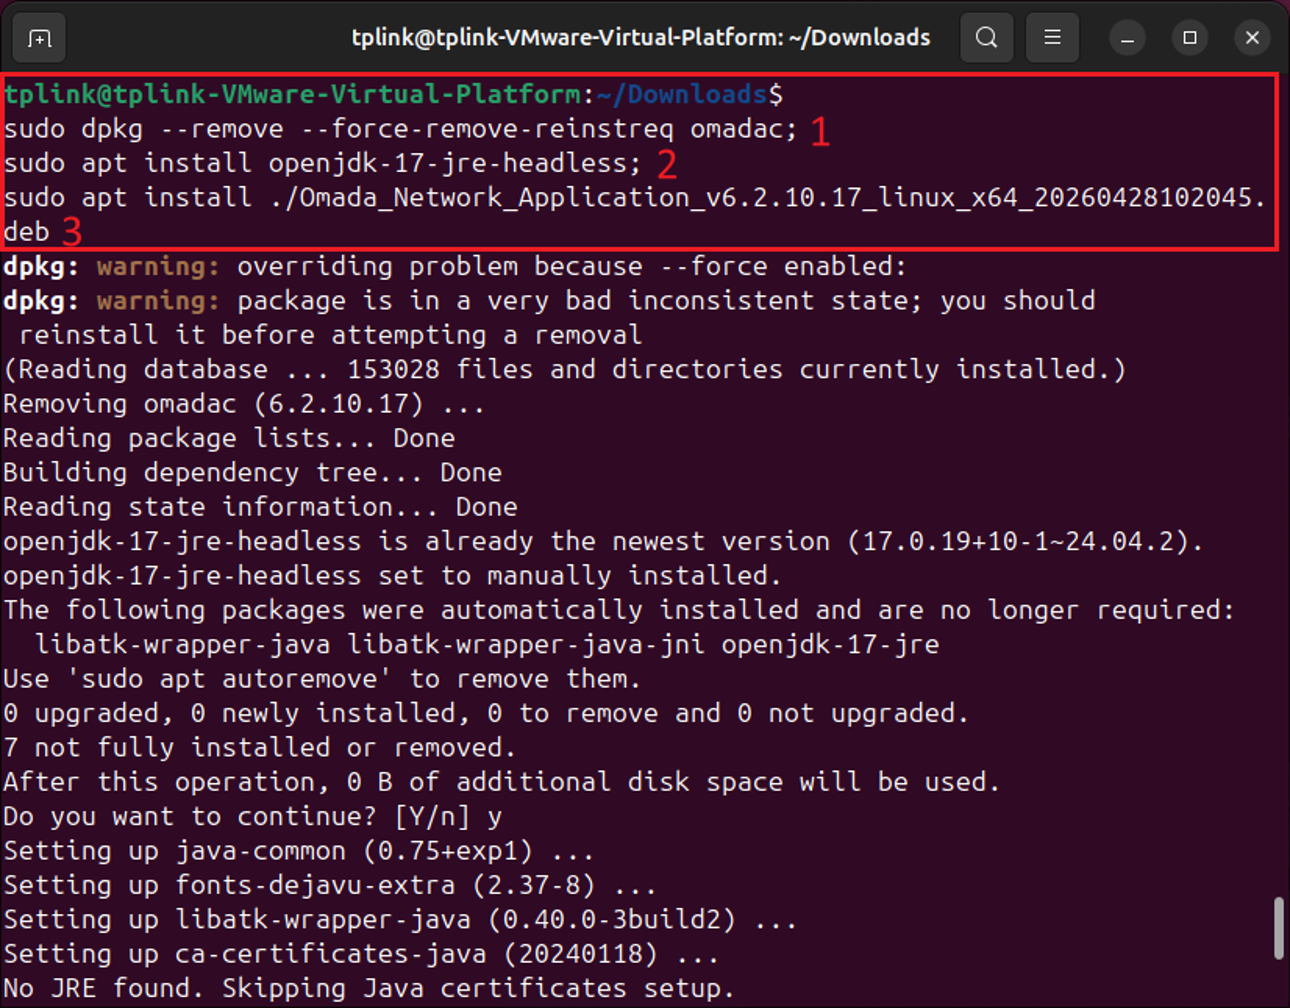
The solution is to forcibly remove omadac, then install Java first, followed by Omada Controller. You can use this command to forcibly remove omadac:
sudo dpkg --remove --force-remove-reinstreq omadac
Conclusion
The above are common problems encountered during Controller installation and their solutions.
To learn more about each function and configuration, please visit Support Home to download or check the manual for your product.
