


Getting Started with Omada Security Cameras


Contents
Introduction
Omada Cameras can be managed and initialized in multiple ways. The most basic method is using the web management interface. The Omada Guard App comes in handy if you only have a mobile phone. This article introduces these two initialization options.
To initialize an Omada Camera, you need to ensure the camera and the device used for configuration are on the same network segment.
Requirements
- Omada Camera
- Omada Guard App
- PC
Configuration
Web Management Interface
Step 1. Power on the camera and connect it to the network. Ensure that the PC is connected to the same network and then access the camera’s web management interface using its IP address.
Note: If there’s a DHCP server (router) in the same network with camera, you may check camera’s IP address on DHCP client list. But if there is no DHCP server in the same network, camera’s fallback IP address is 192.168.0.60.
Step 2. Configure the country/region, time zone, and language settings. The default language is English.
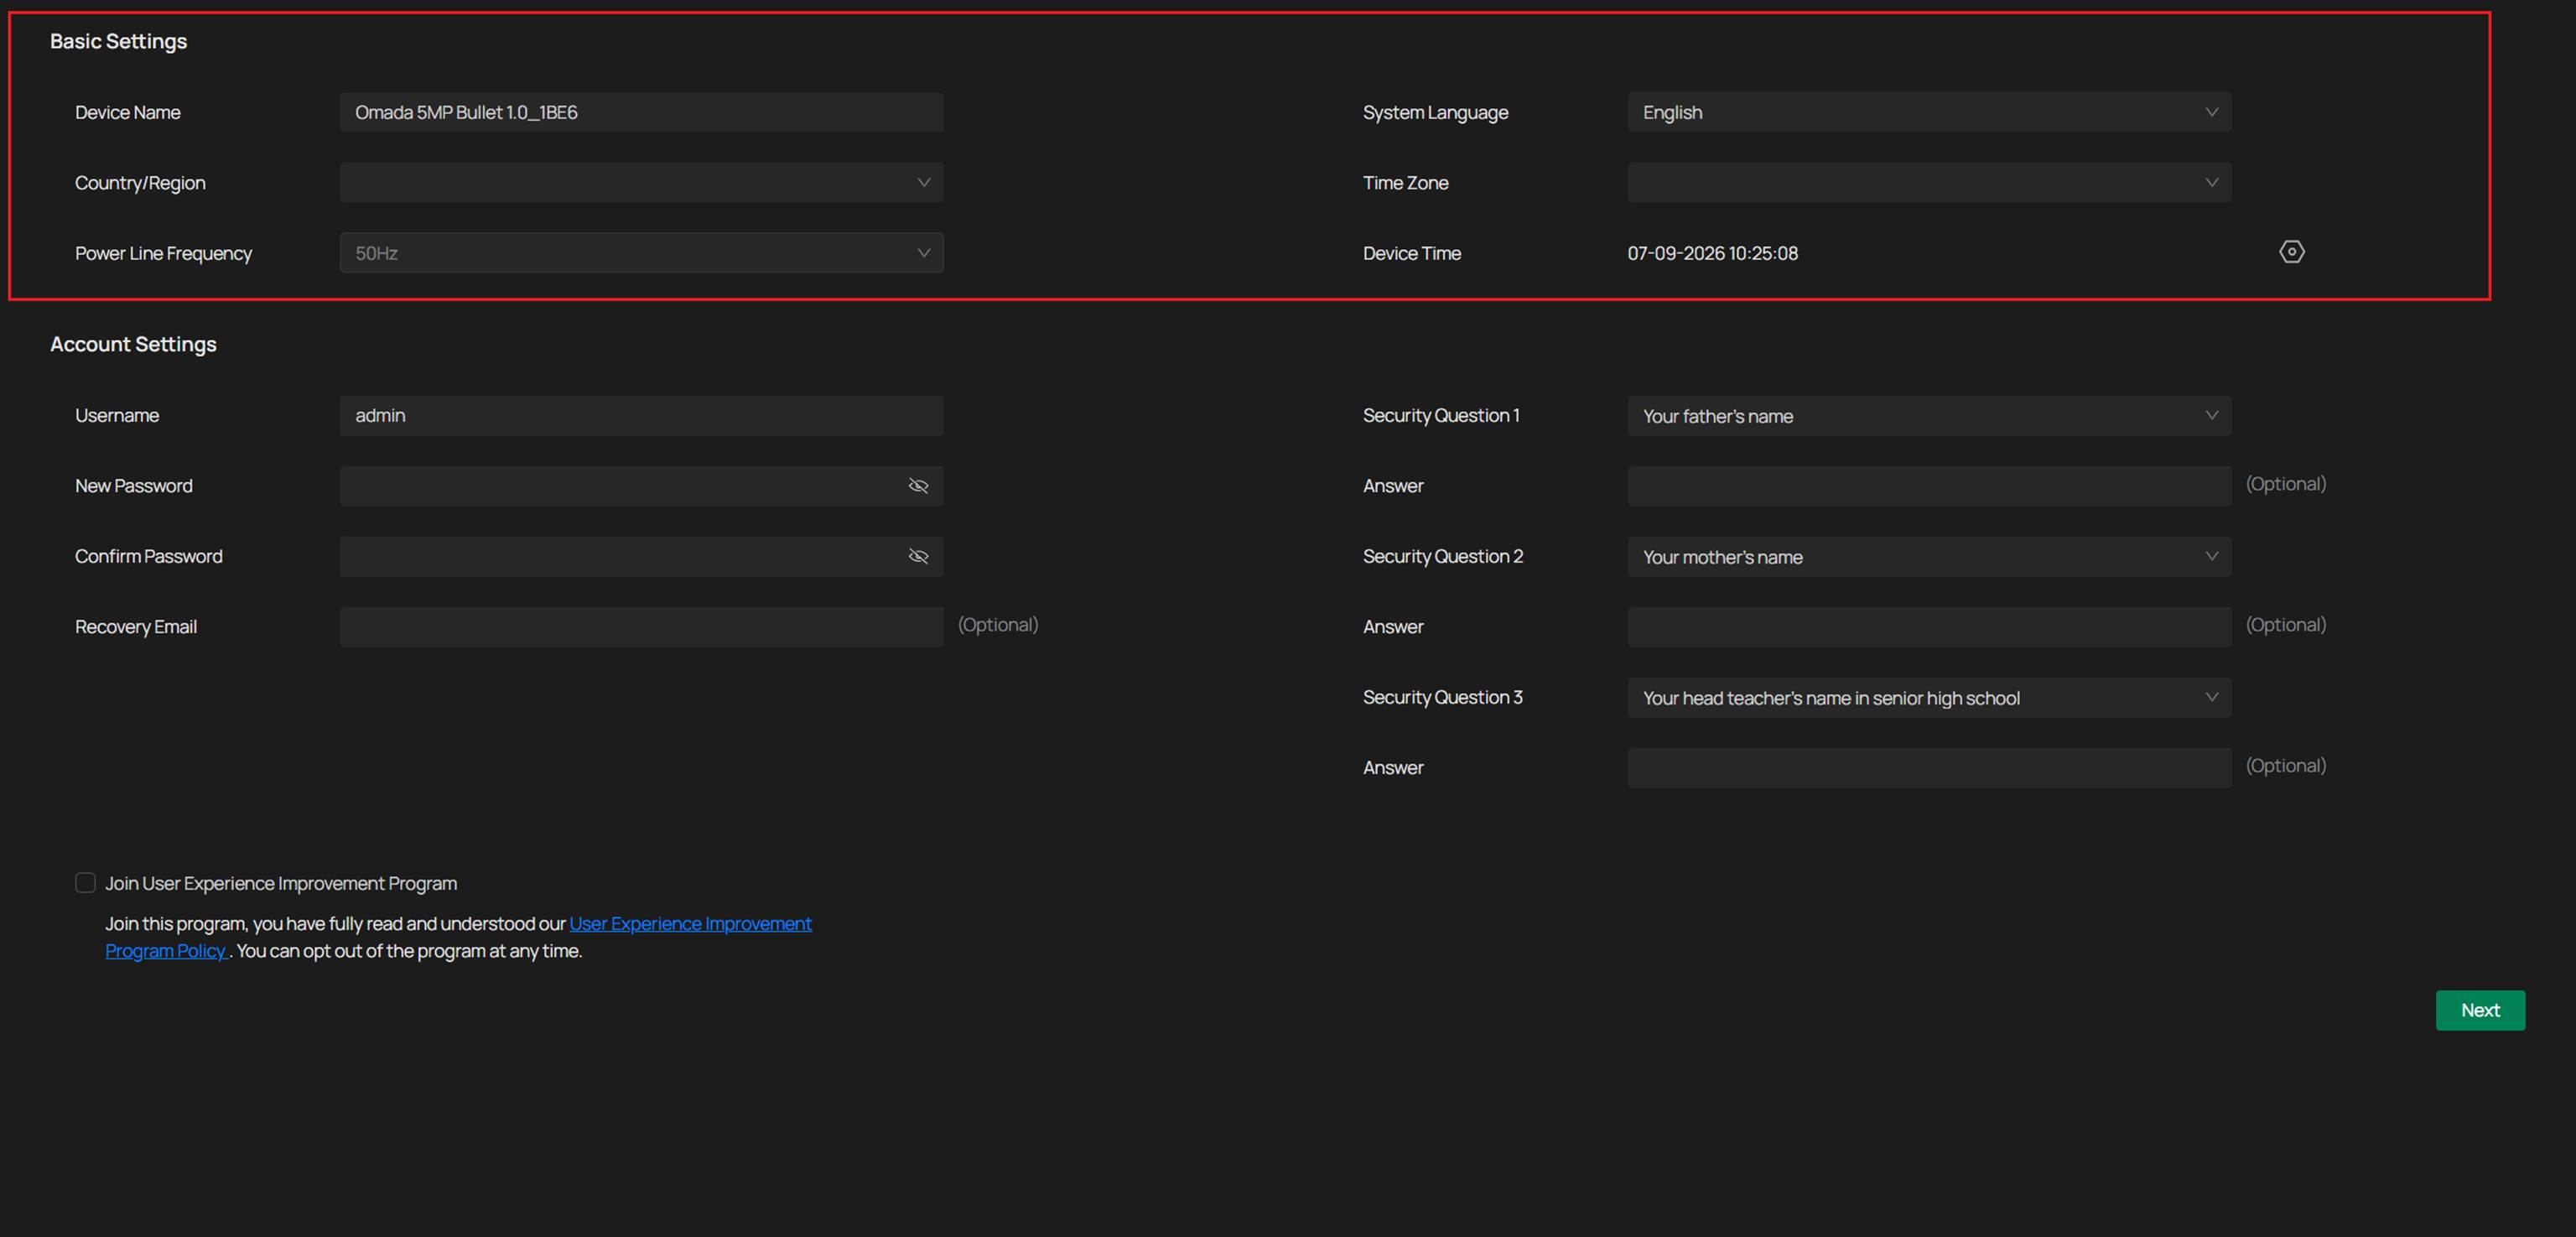
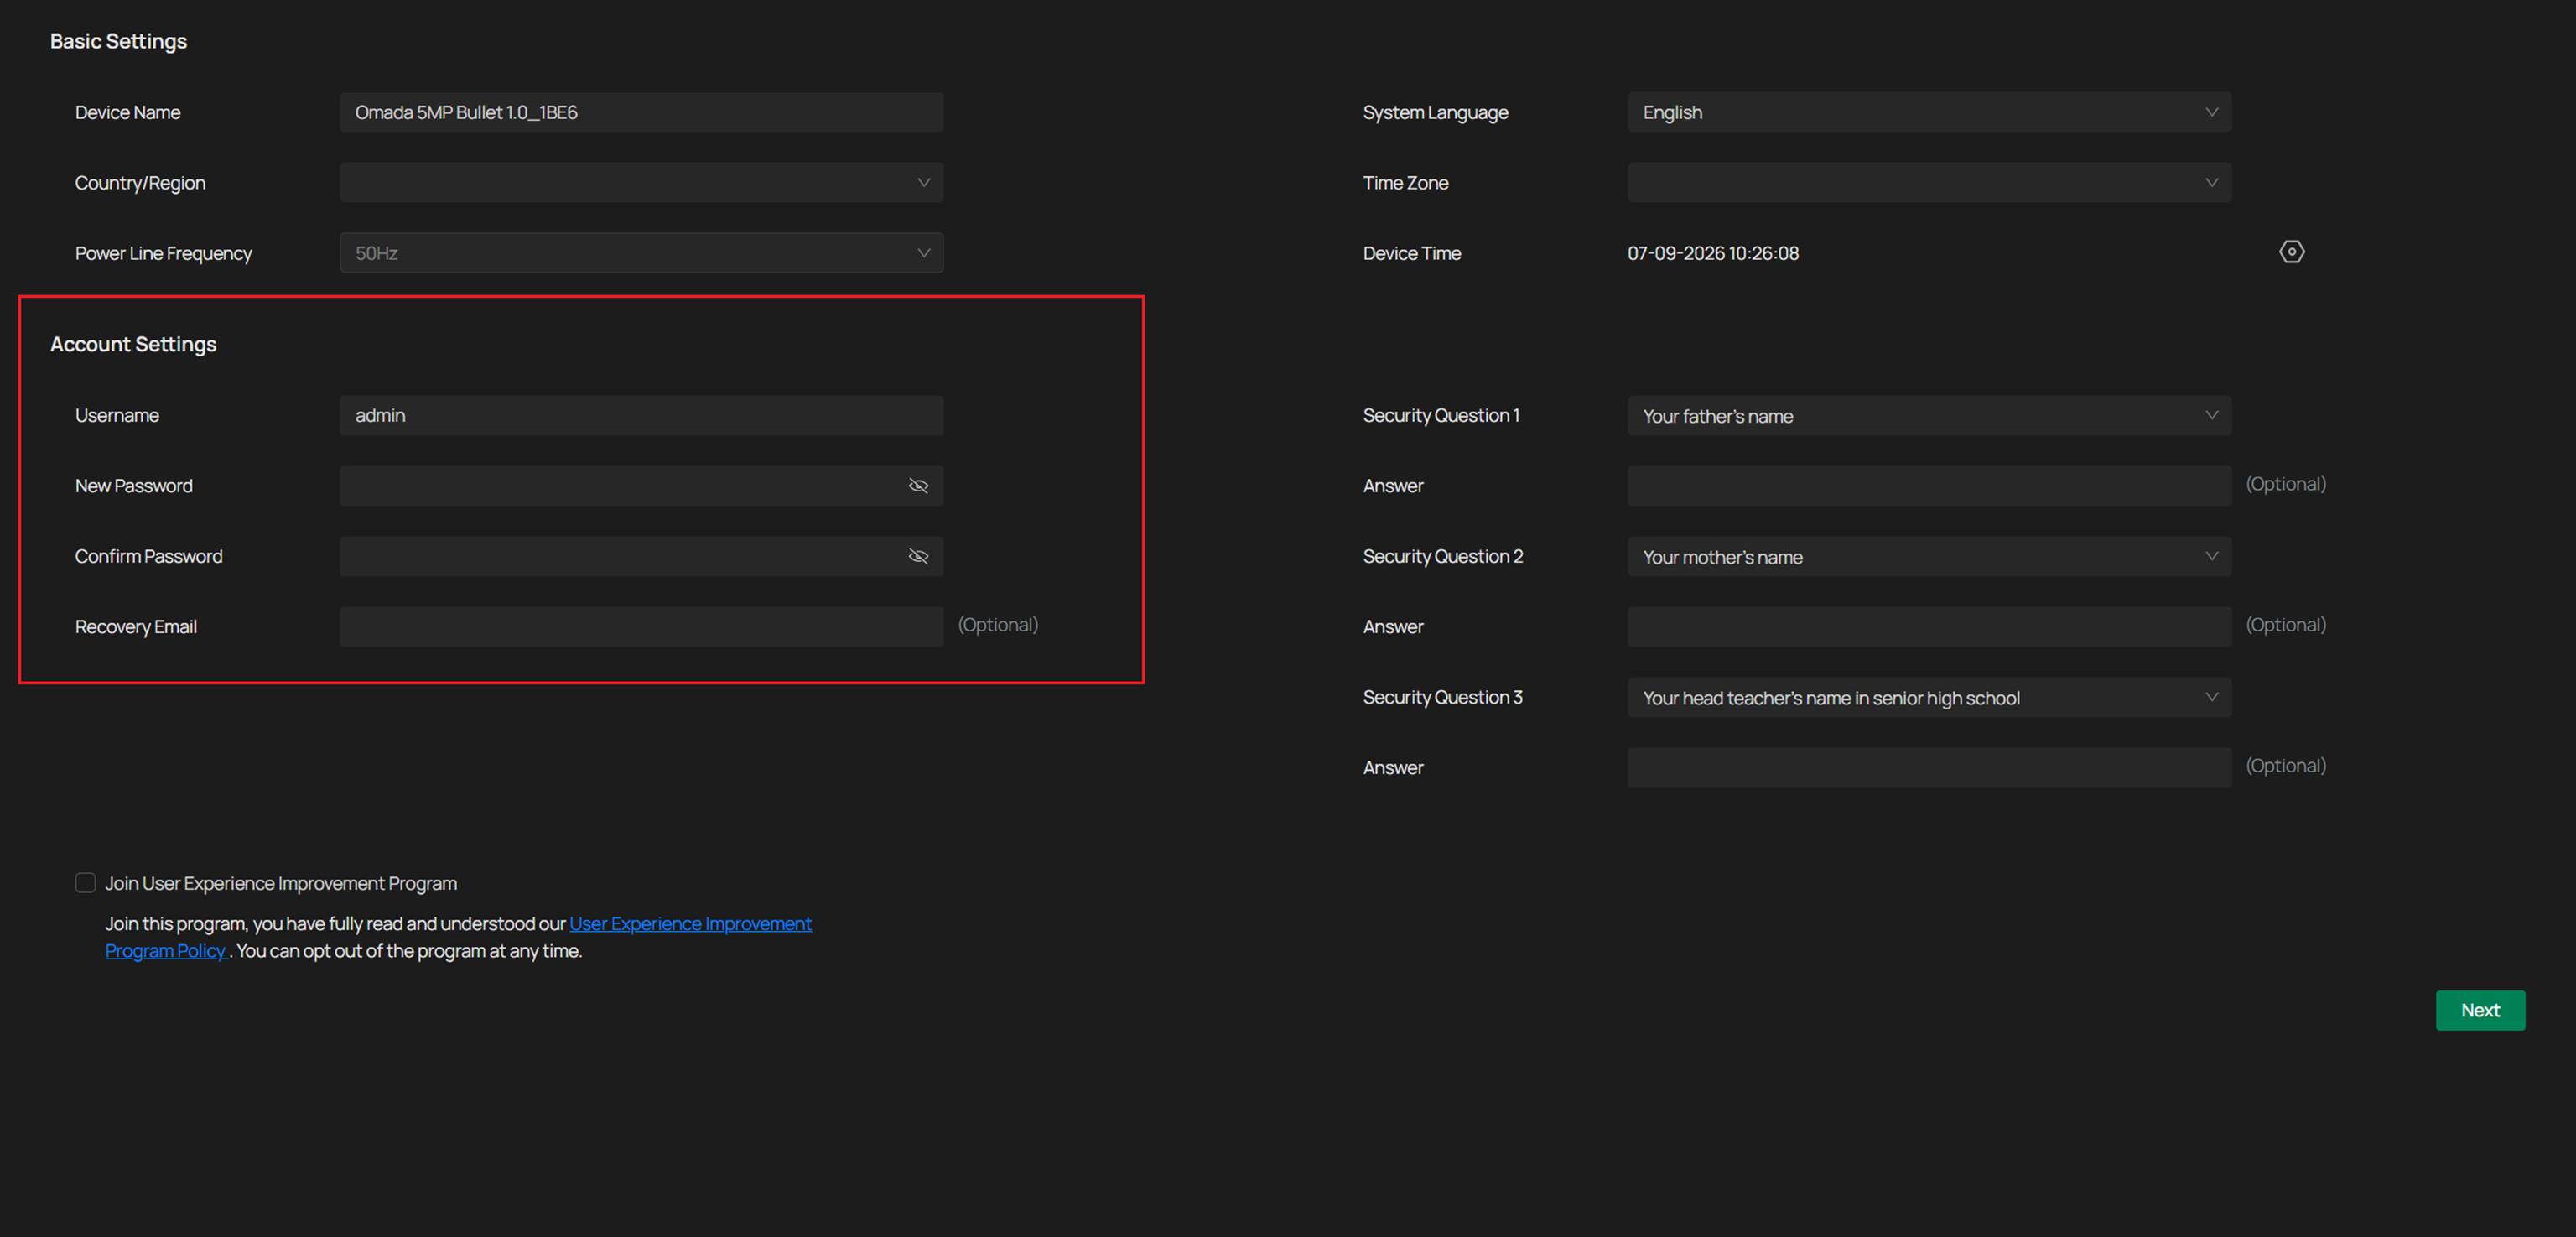
Step 3. Set the management password for the device. The default username is "admin" and cannot be changed. If you don’t need password recovery email, you may skip this setting.
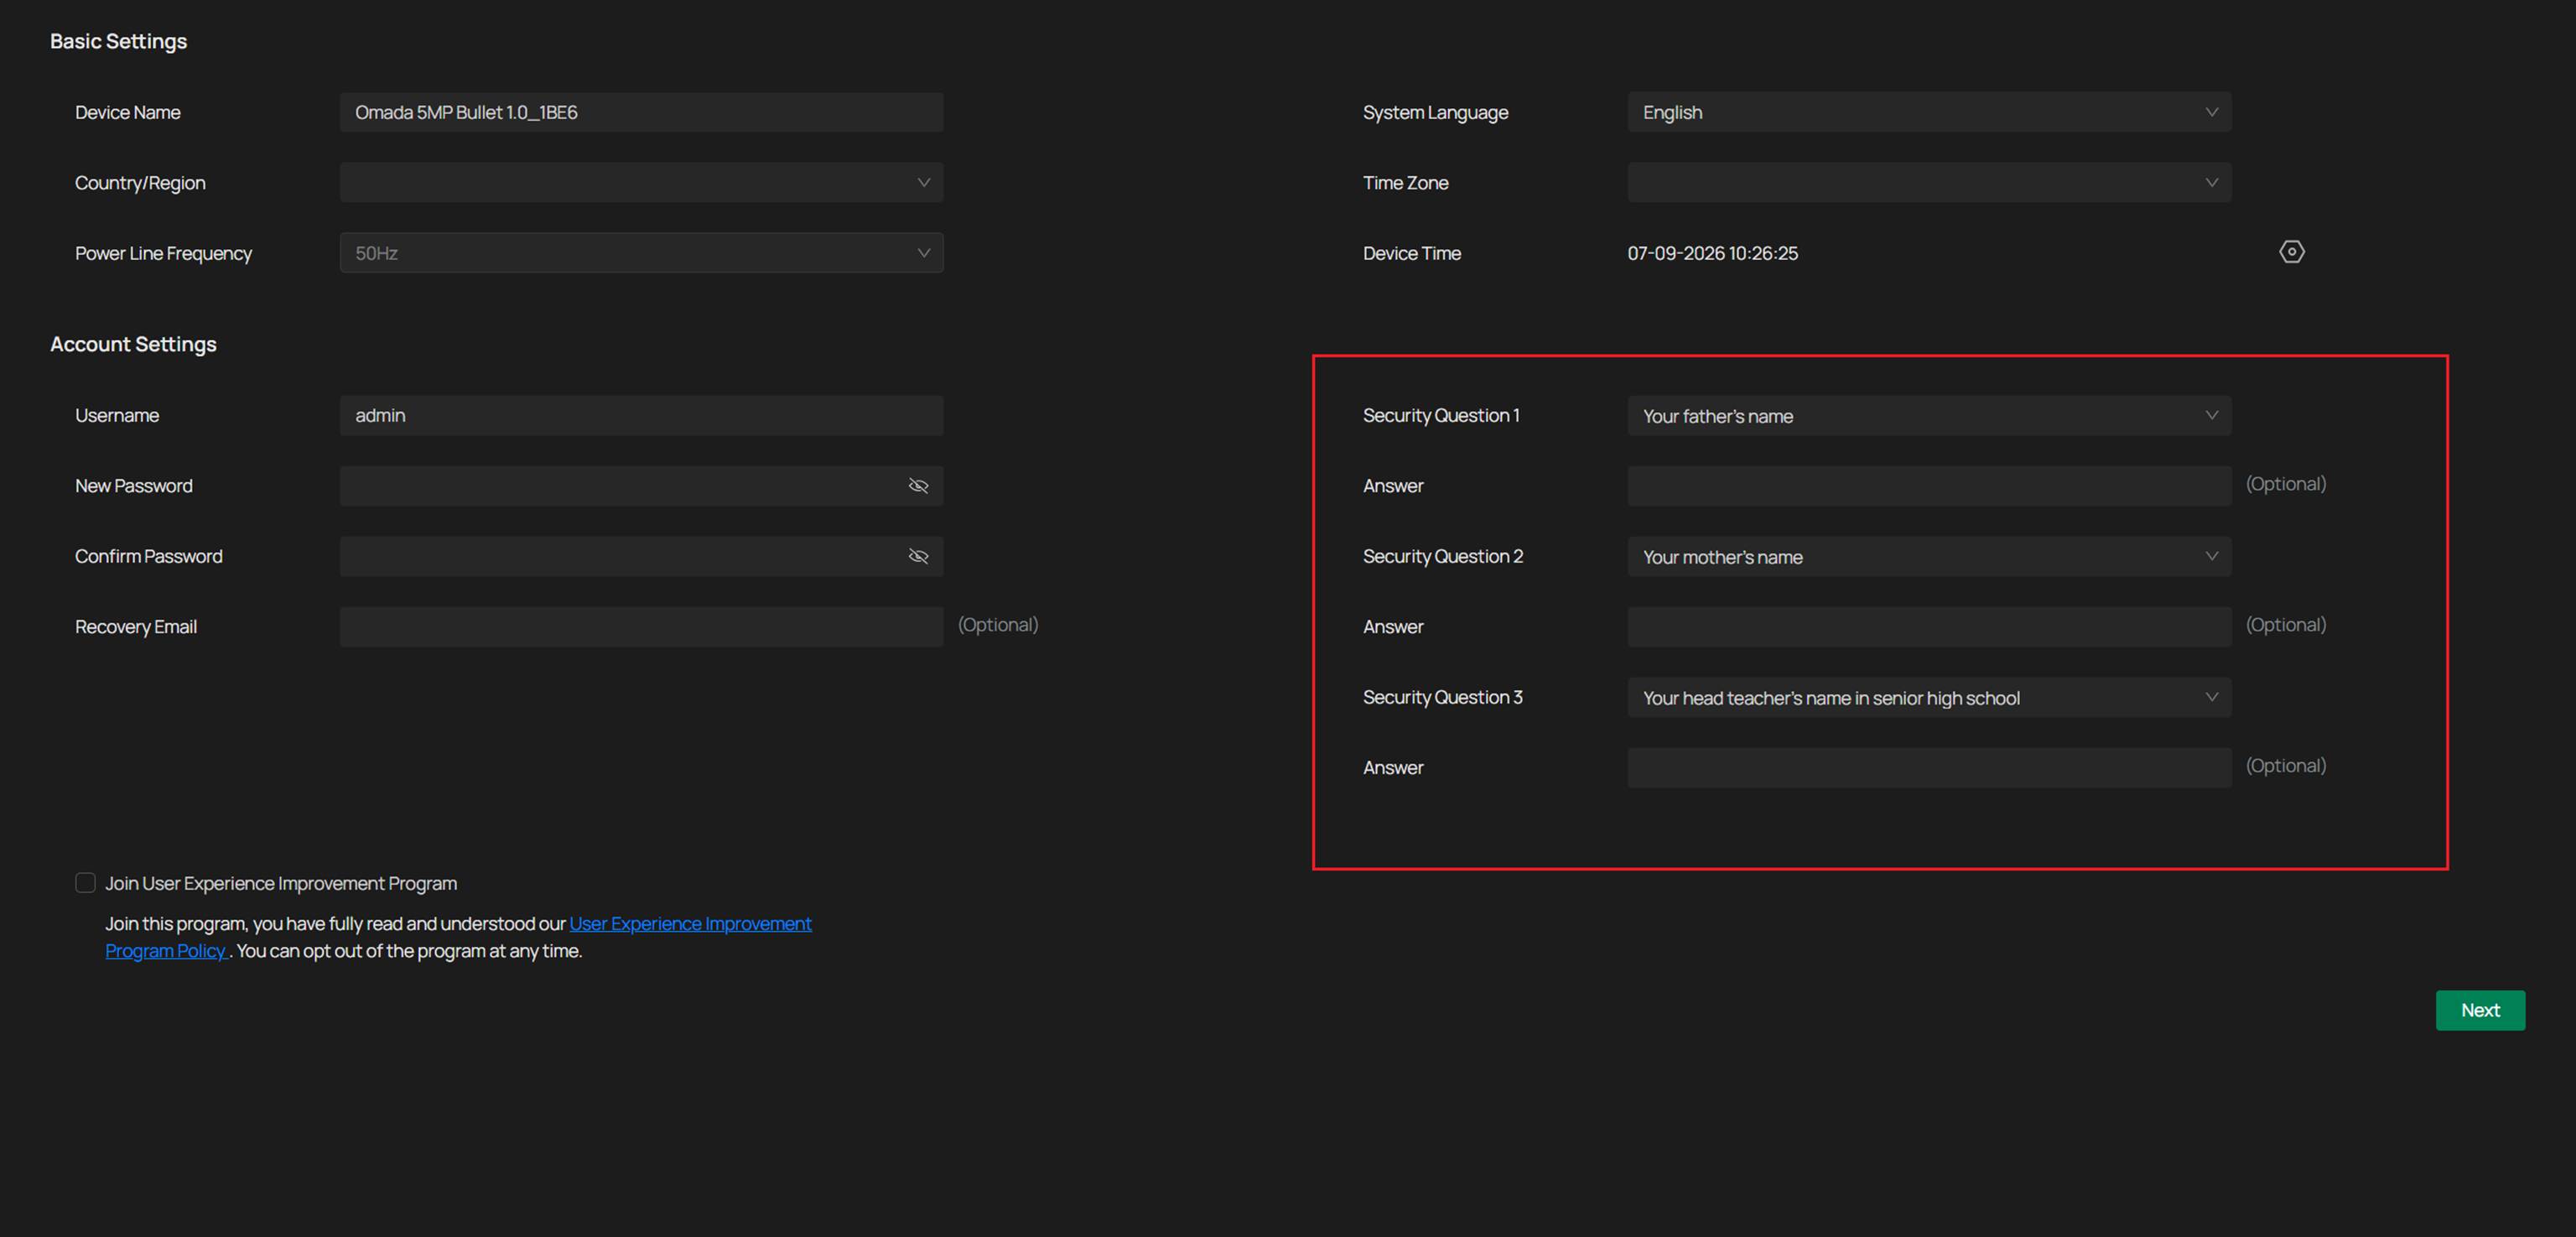
Step 4. (Optional) Configure security questions. You may skip this step.
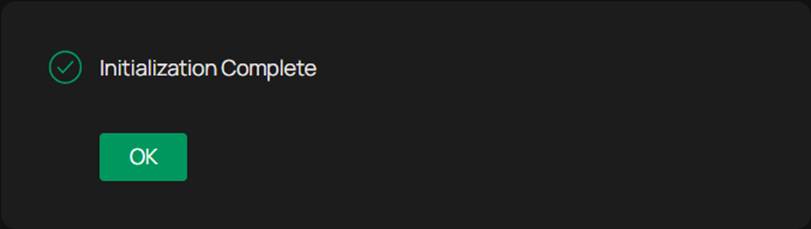
Step 5. Click Next. Initialization is complete.
Omada Guard App
If a PC is unavailable, you can quickly configure the camera via the Omada Guard App. Once you log in to the Omada Guard App with a TP-Link ID and connect your mobile device to the network, you can link the camera to the TP-Link ID.
Step 1. Log in to the Omada Guard App. For optimal connection, it is recommended to connect both the phone and Omada Camera to the same network.
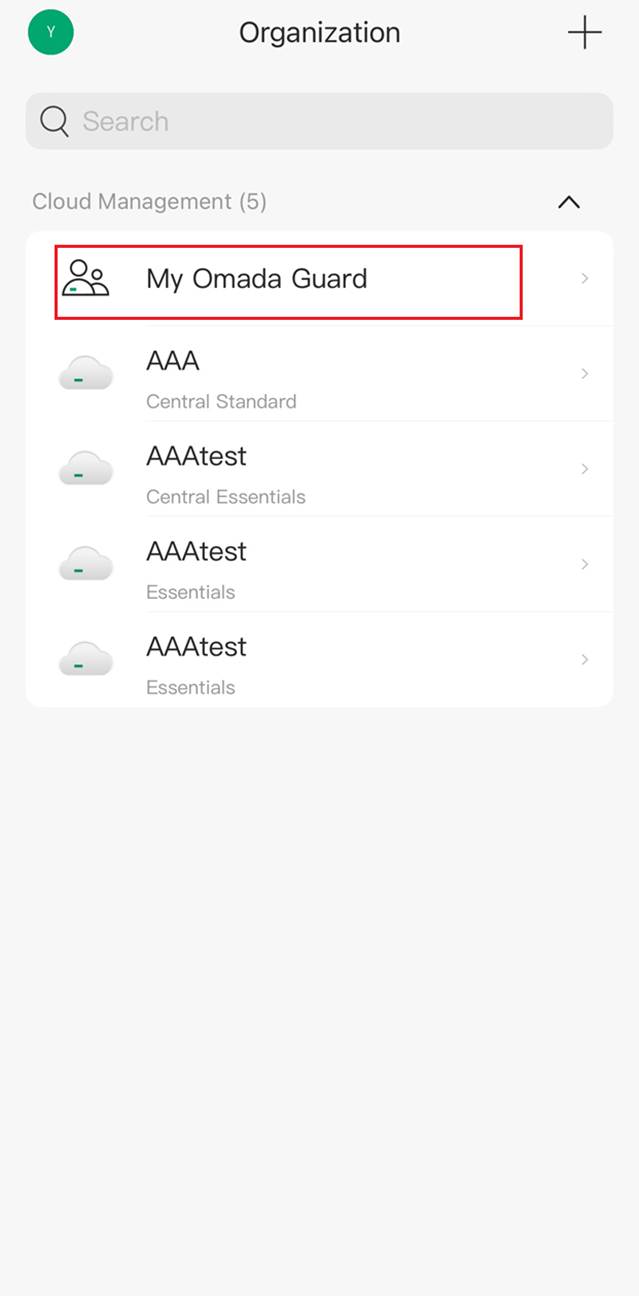
Step 2. Choose the organization. Here we take My Omada Guard as an example.
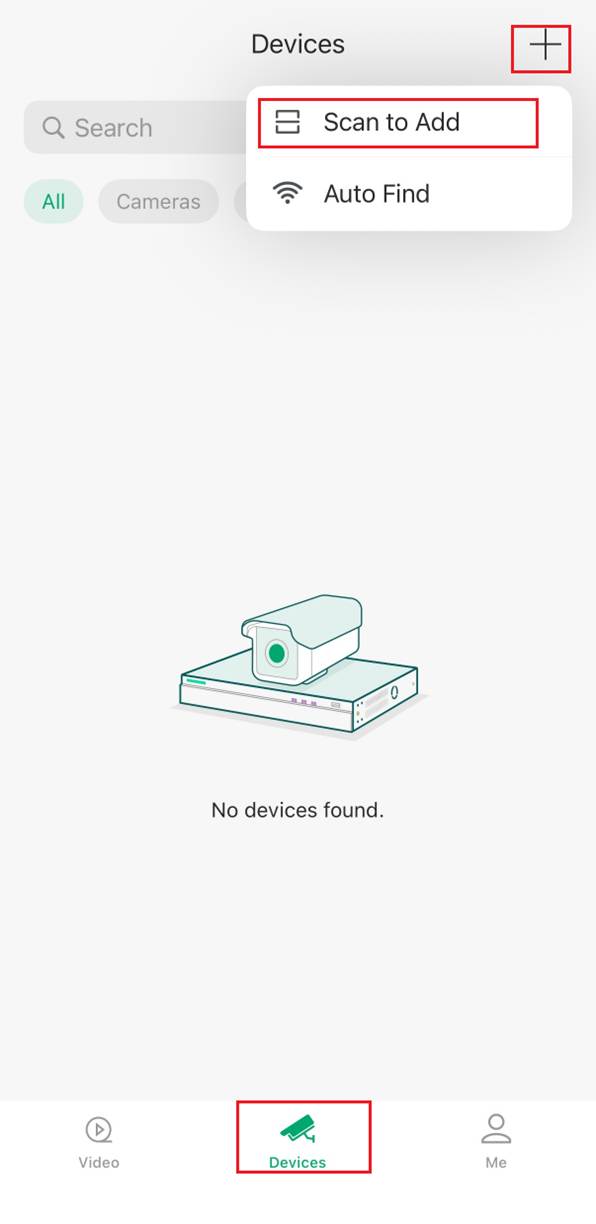
Step 3. Tap + in the upper right corner or tag Add Devices. Scan/Add Device normally for adding specific device. Scan the QR code on the label of the device. Auto Discover can not only add specific device, but also can scan all of the devices. Here we take Scan to Add as the example.
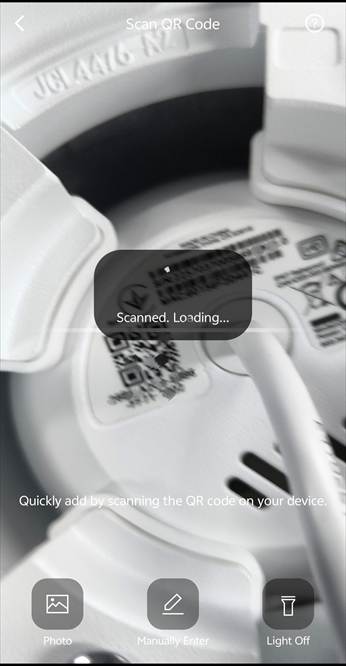
Step 4. Scan the QR code on the label of the device.
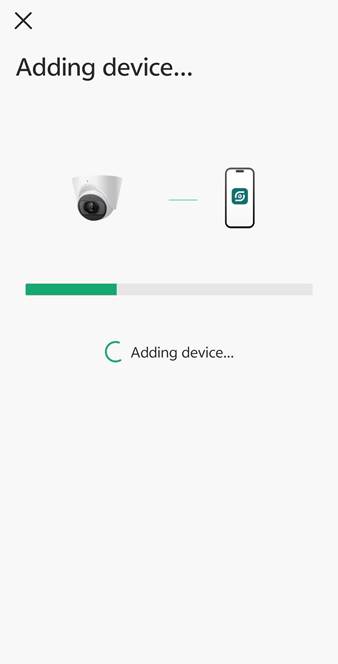
Step 5. Set the camera's password and name.
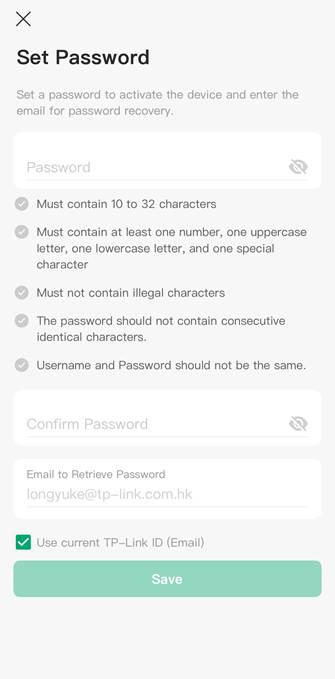
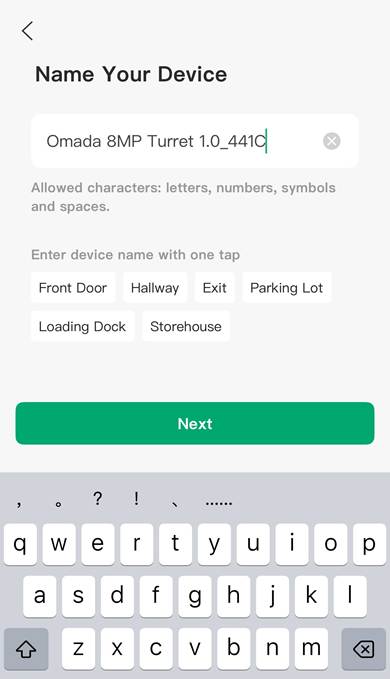
Step 6. Click Next and wait for the camera to initialize the settings.
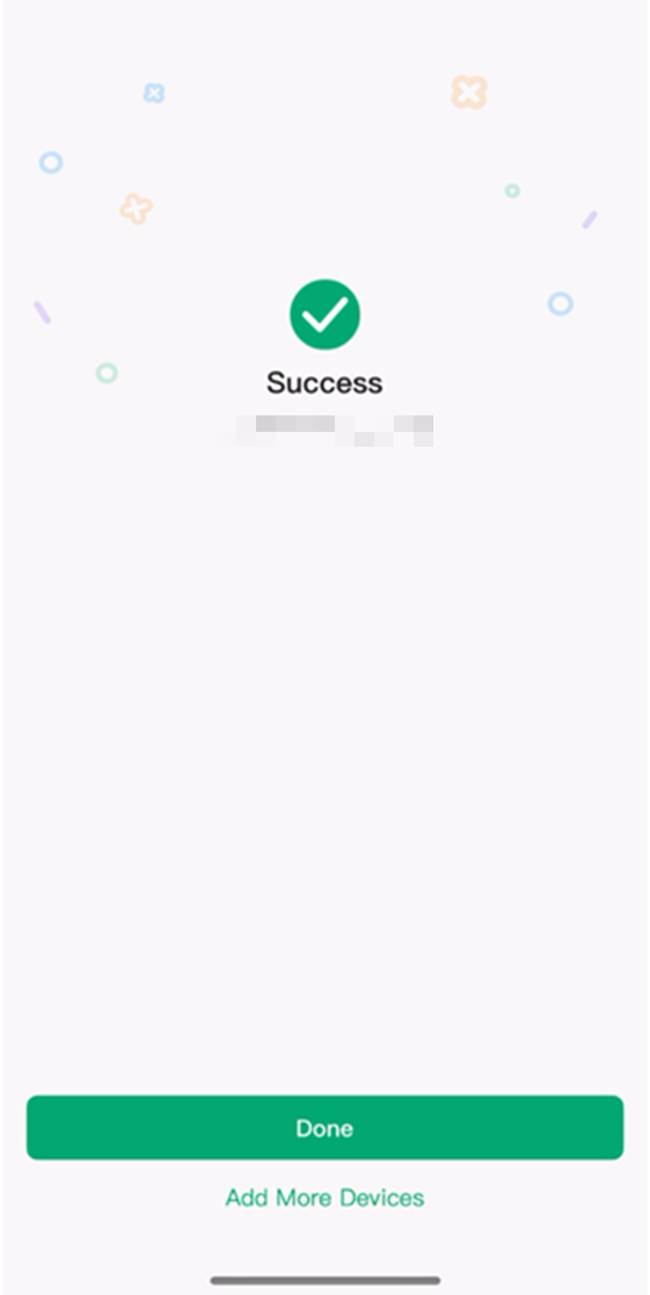
Step 7. Once you hear a “ding-dong” sound, the device has been successfully added. Now, you have completed the initialization process.
Conclusion
Now that you've finished configuring Omada Security Camera.
To learn more about each function and configuration, please visit Support Home to download or check the manual for your product.
