


How to configure Account in Controller mode using Omada App


Contents
Objective
This article would show you how to set up the account in Controller mode when you use the Omada App.
Requirements
- Omada Controller
- Omada App
Introduction
Account configuration is a basic function in Omada Controller, now you can set it up in a few simple steps with the Omada App.
Configuration
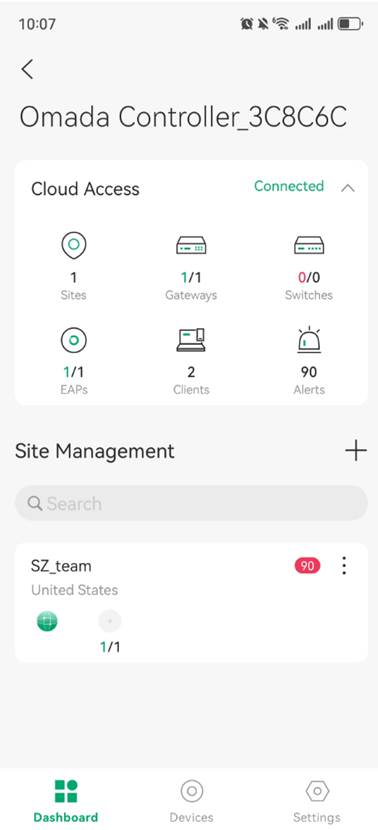
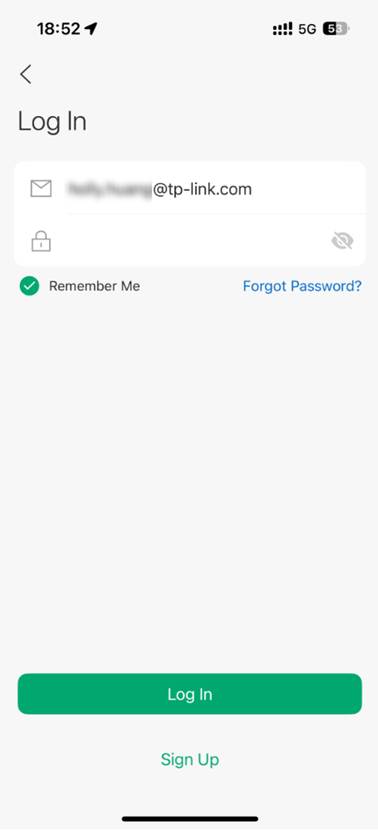
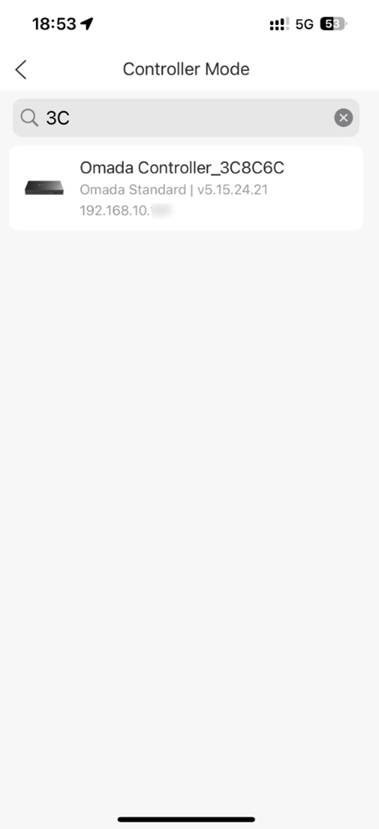
Step 1.
Launch the Controller in which you want to configure the account:
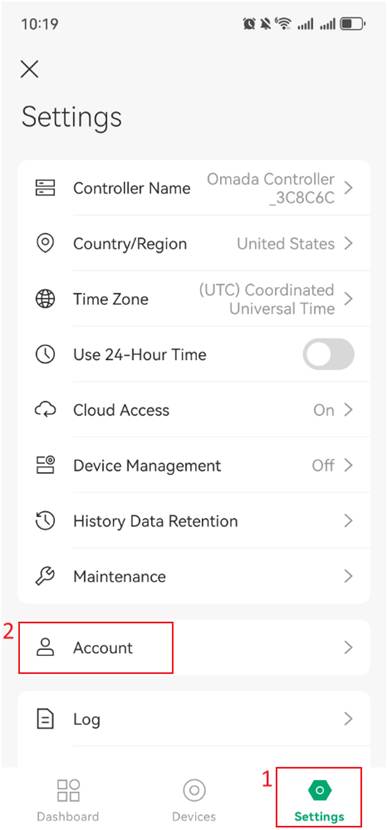
Step 2.
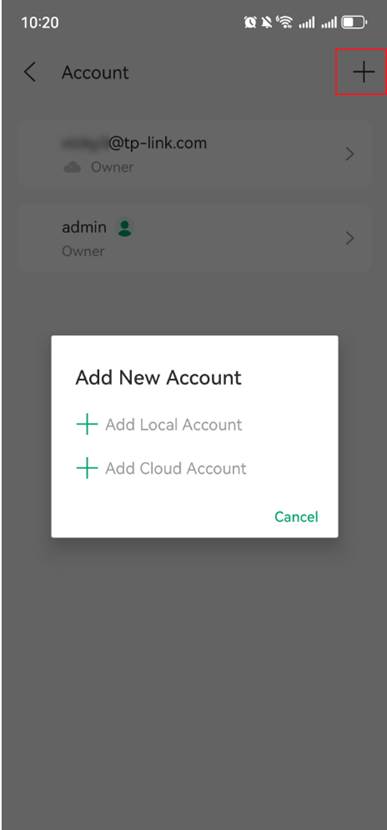
In Global View, go to Settings > Account and tap “+” on the upper right corner to add the account.
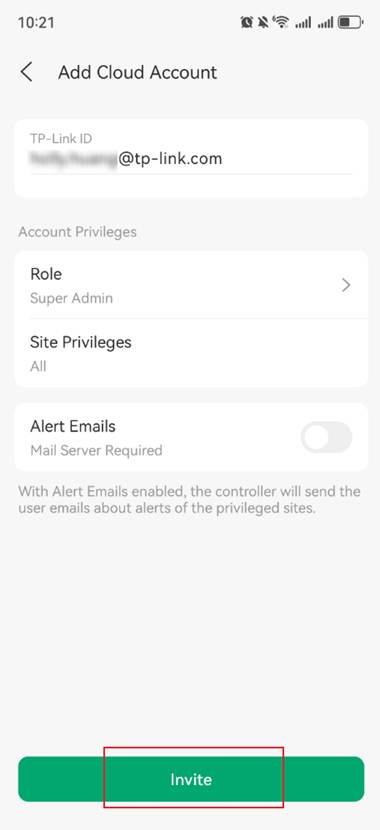
Local accounts require devices to be on the same network. Cloud accounts support remote login. Here we take the Cloud Account as an example. Then enter the TP-Link ID you want to invite. You can also choose the account Role and Site Privileges as your needs. After that, please click the Invite button.
Step 3.
The email address associated with the new TP-Link ID will receive a verification request. After clicking “Accept Invitation,” you can log in to the Omada app using your new TP-Link ID. And you will see the controller displayed in the list under Controller Mode.
Conclusion
With the simple steps, now you can configure the account using Omada App if necessary.
Get to know more details of each function and configuration please go to Download Center to download the manual of your product.
