


How to configure Fast Roaming on Omada Controller

Objective
This article describes how to configure the Fast Roaming function on the Omada Controller to optimize client roaming performance of Omada APs.
Requirements
- Omada Controller (Software Controller / Hardware Controller / Cloud-Based Controller)
- Omada AP
Introduction
Fast roaming is a feature in wireless networks that allows a client device to quickly switch from one access point to another while maintaining a stable and uninterrupted connection. This is particularly important in environments with multiple access points, such as large office buildings, airports, or public spaces, where users may move around and need seamless transition between access points without experiencing a drop in connectivity.
Configuration
This section uses the Omada Software Controller v6 for demonstration.
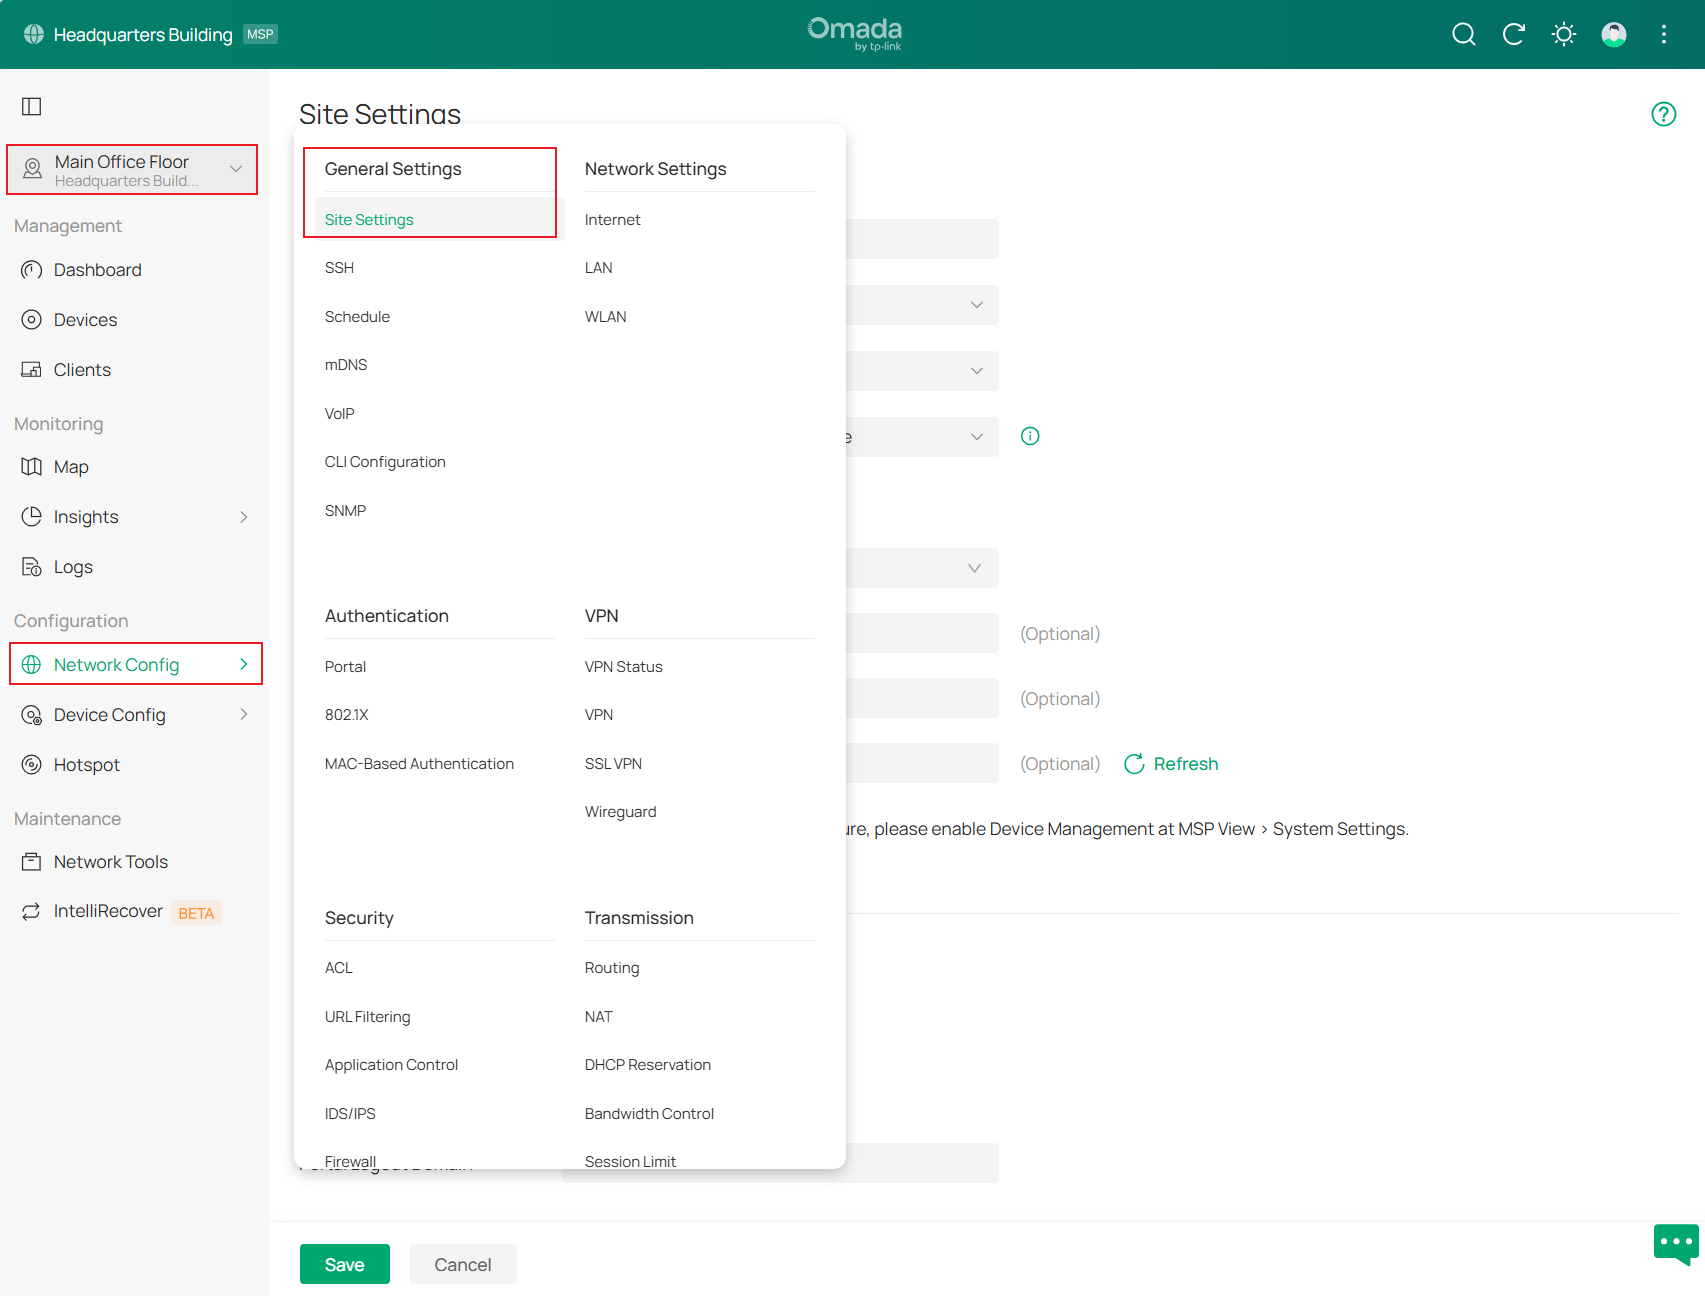
Step 1. Launch the controller and access a site. Go to Network Config > General Settings > Site Settings.
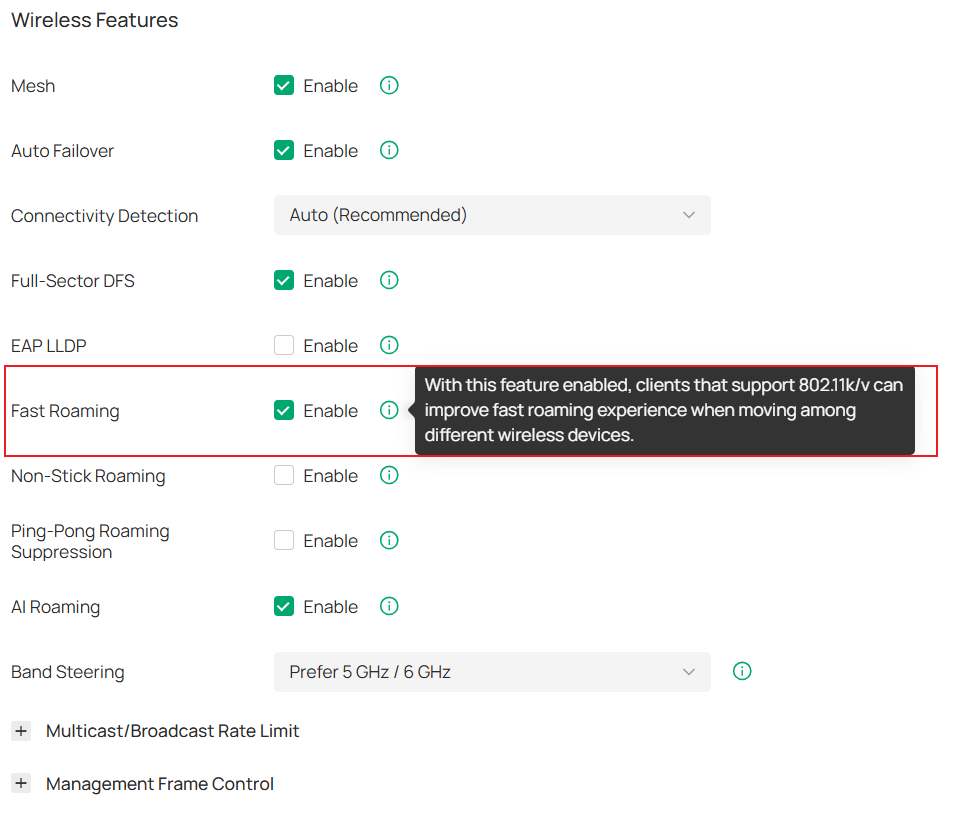
Step 2. Enable Fast Roaming.
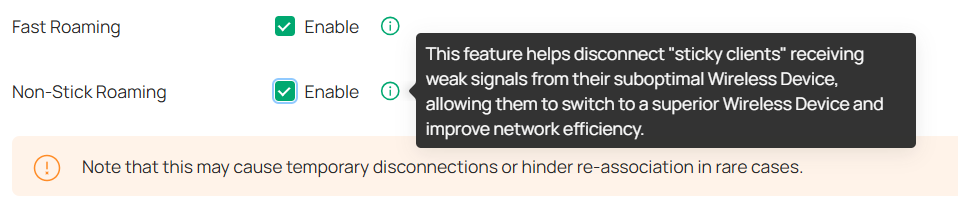
Step 3. (Optional) With Fast Roaming enabled, you can enable Non-Stick Roaming. This feature helps disconnect "sticky clients" receiving weak signals from their suboptimal AP, allowing them to switch to a superior AP and improve network efficiency.
Step 4. (Optional) With Fast Roaming enabled, you can enable AI Roaming to facilitate Fast Roaming, which improves roaming experience of the clients that support 802.11k/v.

Step 5. Remember to click Save to apply the settings.
Conclusion
The above is the guide for configuring Fast Roaming on the Omada Controller.
Get to know more details of each function and configuration please go to Download Center to download the manual of your product.
