


Contents
Objective
The Omada NVR is a storage management device within the Omada ecosystem, designed to integrate with Omada Cameras or third-party cameras, storing corresponding video footage on an HDD. This article provides a step-by-step guide on how to initialize and configure the Omada NVR.
Requirements
- Omada NVR
- Omada Guard App
- PC
Introduction
You can initialize the Omada NVR through its graphical user interface (GUI), Omada Guard App and web management interface. This article details the initialization process using the Omada NVR GUI, Omada Guard App and Omada NVR web management interface.
Configuration
GUI
To configure the Omada NVR via the GUI, connect an external display to the NVR. Both VGA and HDMI connections are supported.
Step 1. Connect the Omada NVR and cameras, and build the network according to the recommended topology.
Step 2. Power on the Omada NVR. Based on your specific requirements, set the device name, language, account information, and select the cameras to be added to the NVR. If you don’t need password recovery email, you may skip this setting. Click Next.

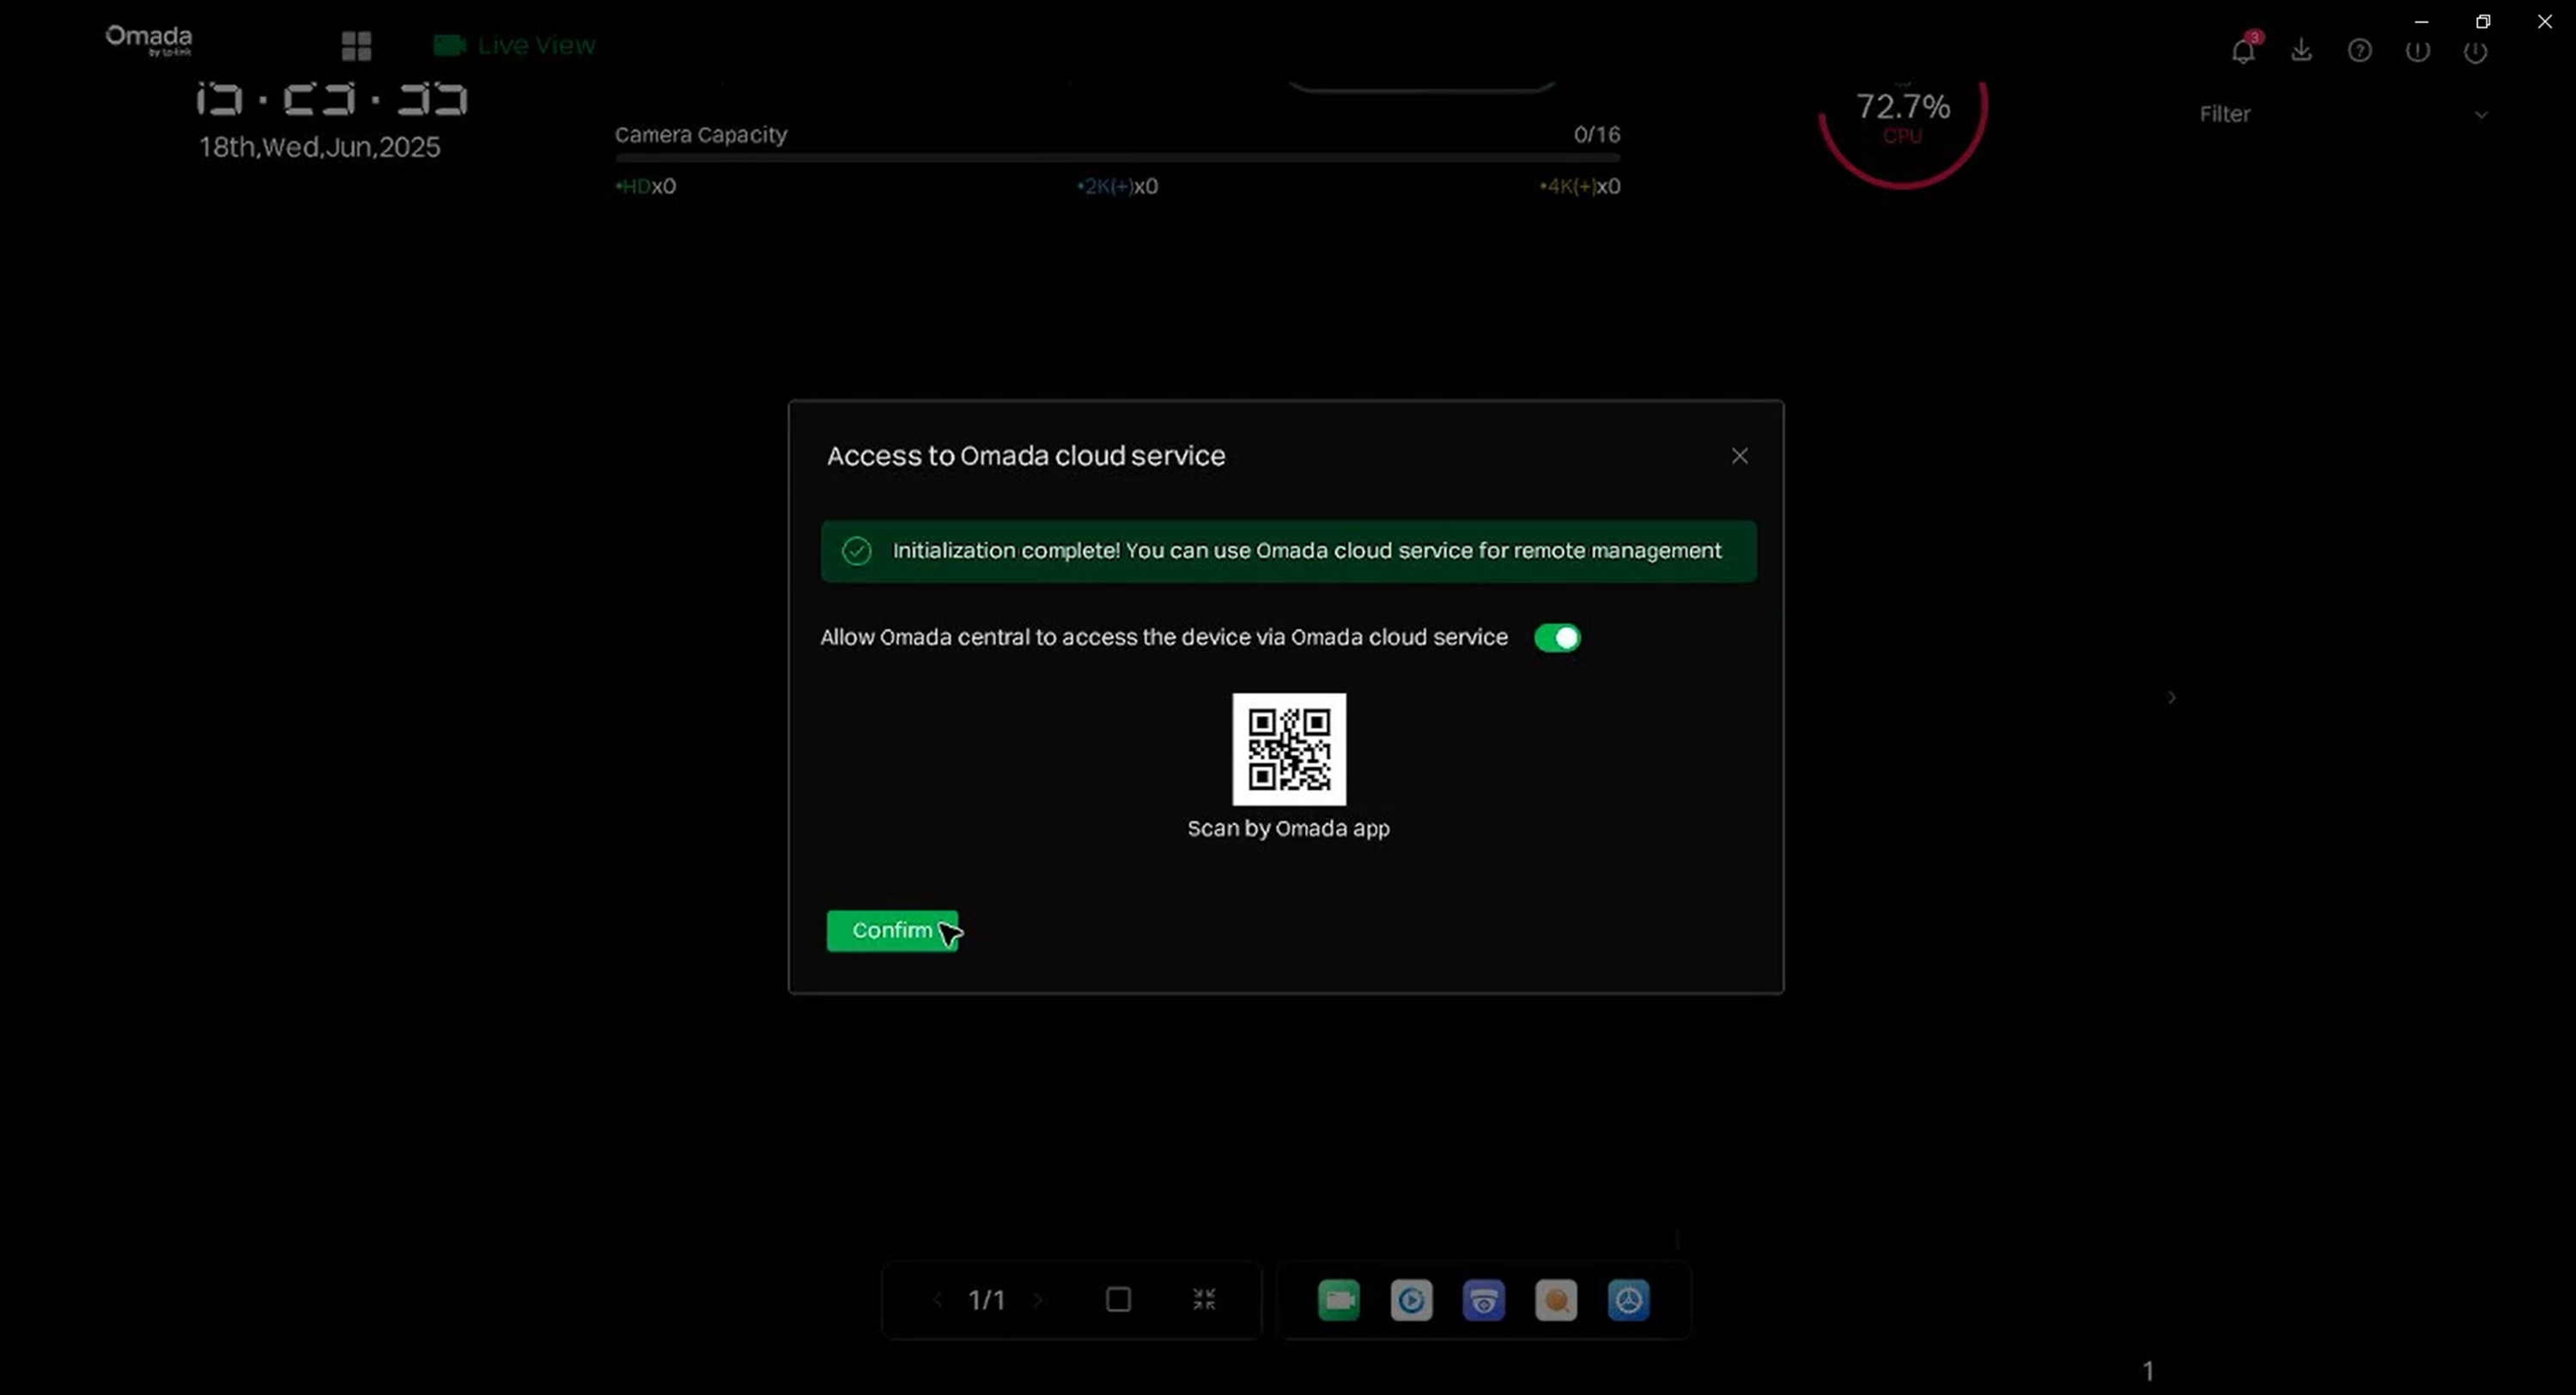
Step 3. Enable the Omada cloud service based on your needs.
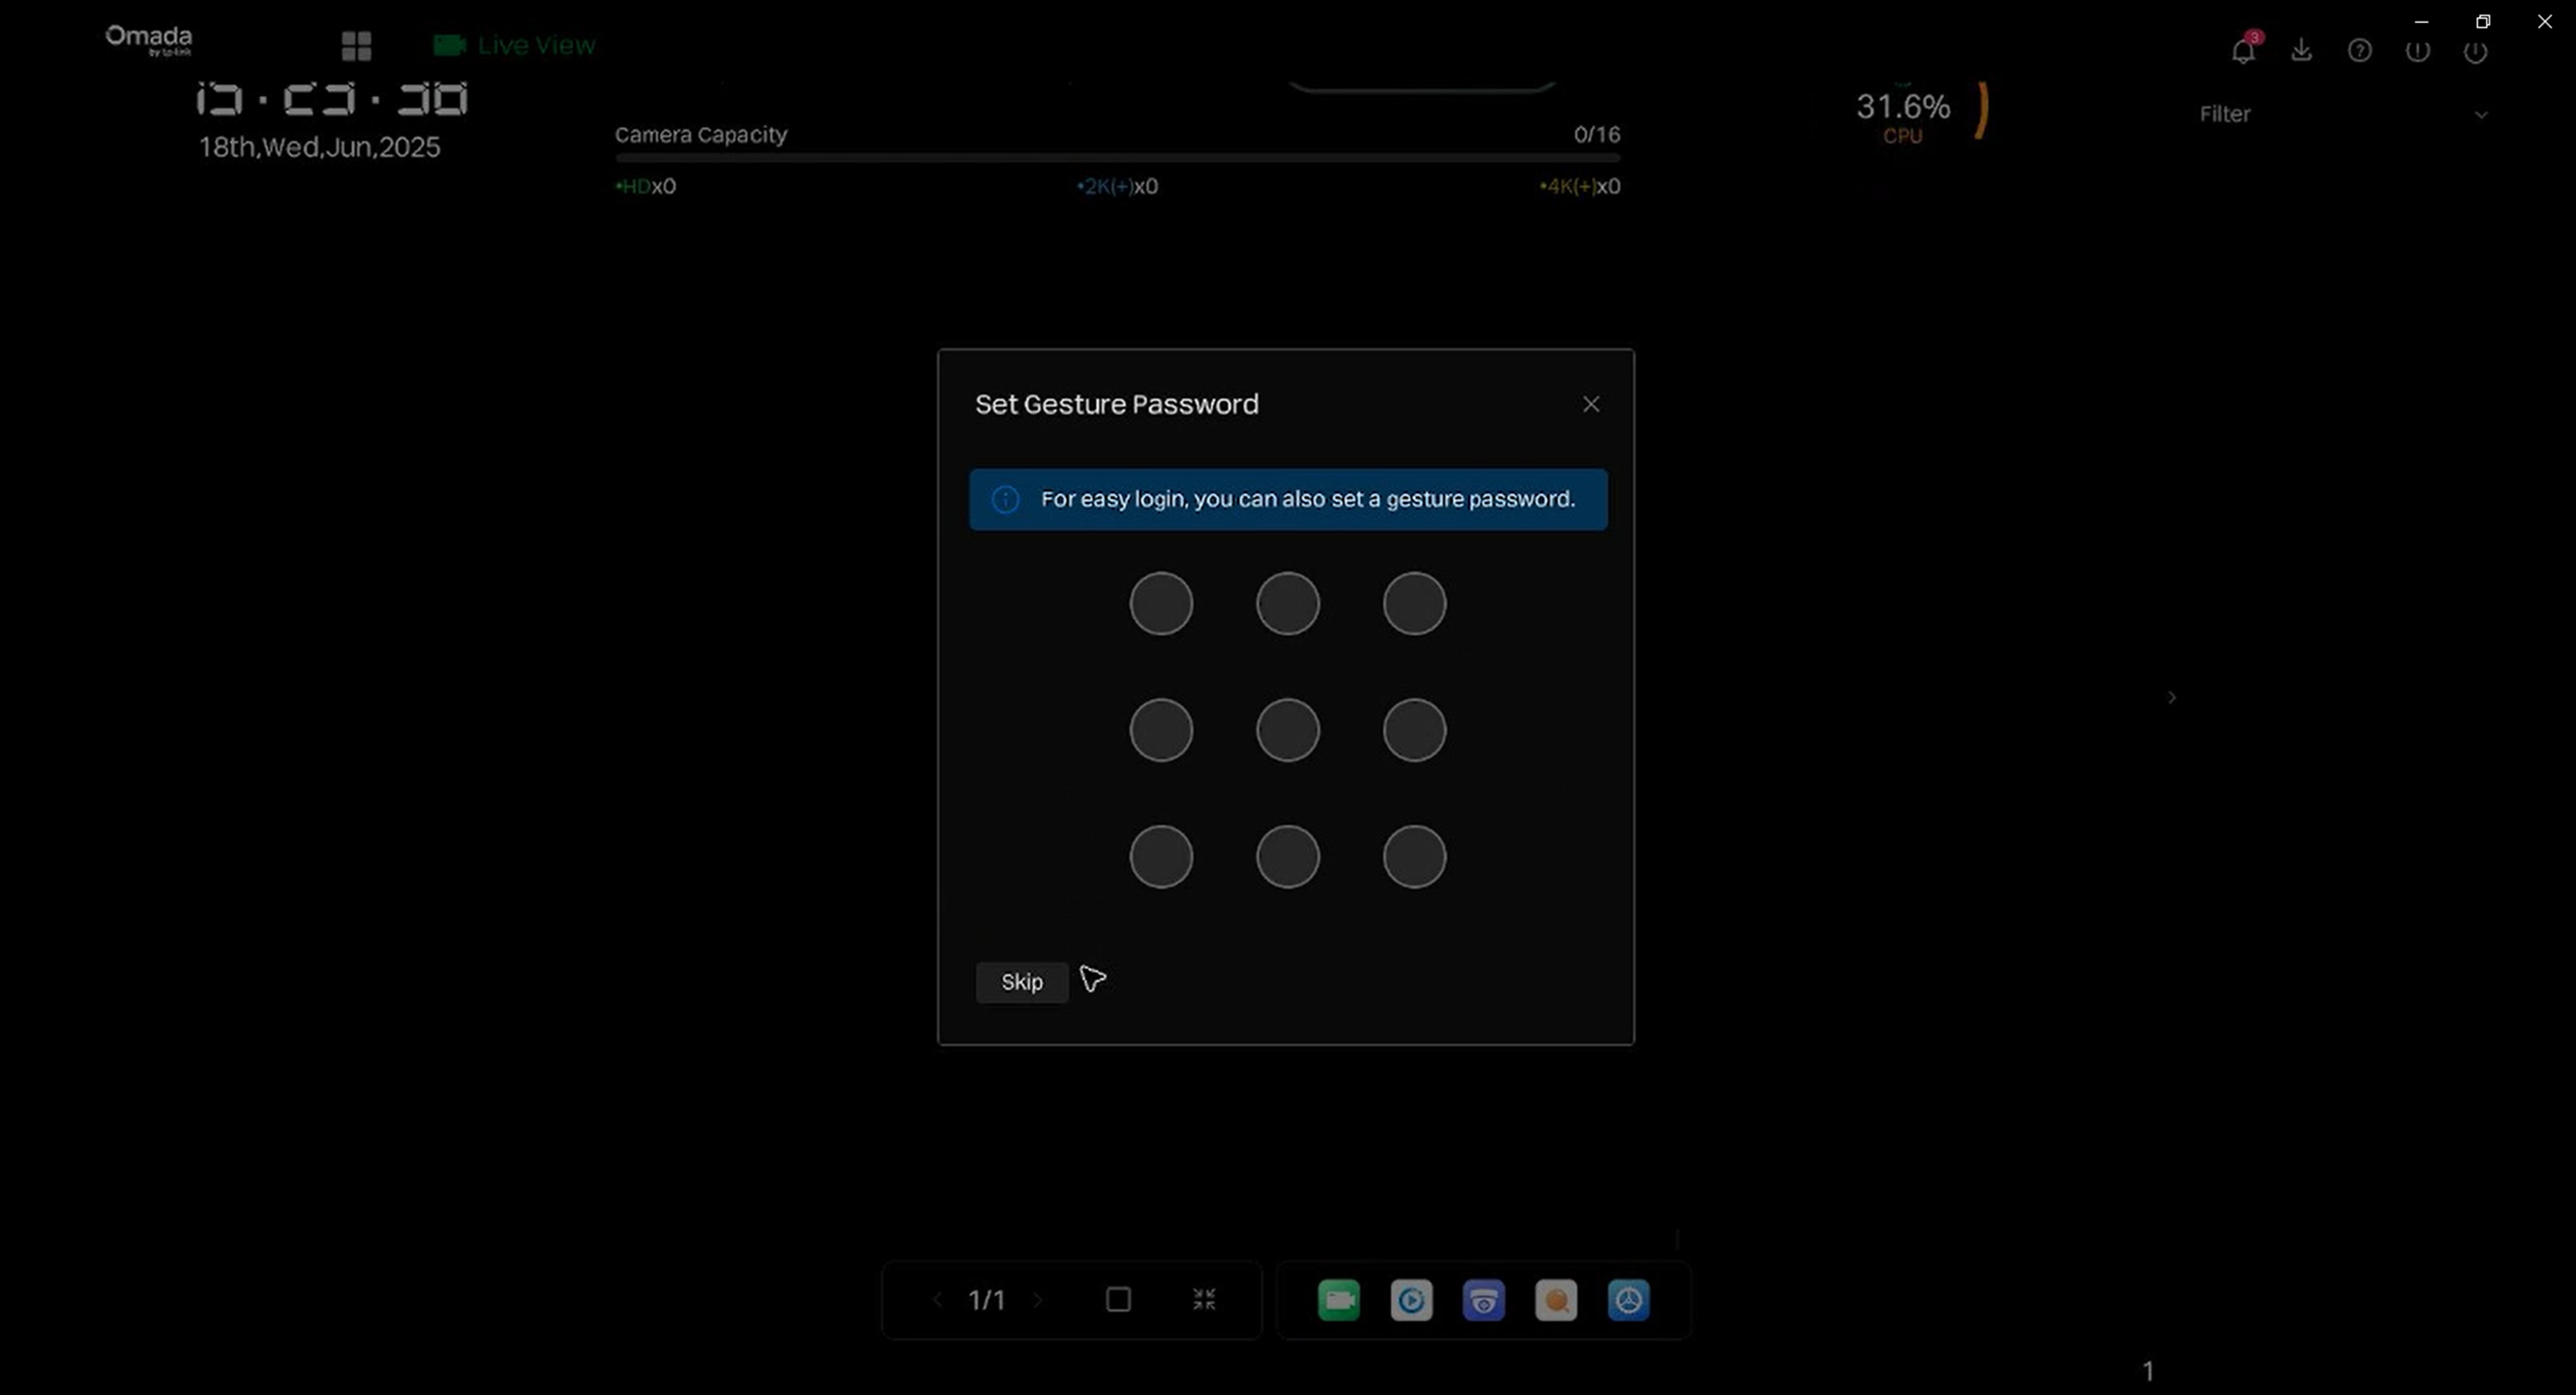
Step 4. Set up a gesture password. If not needed, click Skip.
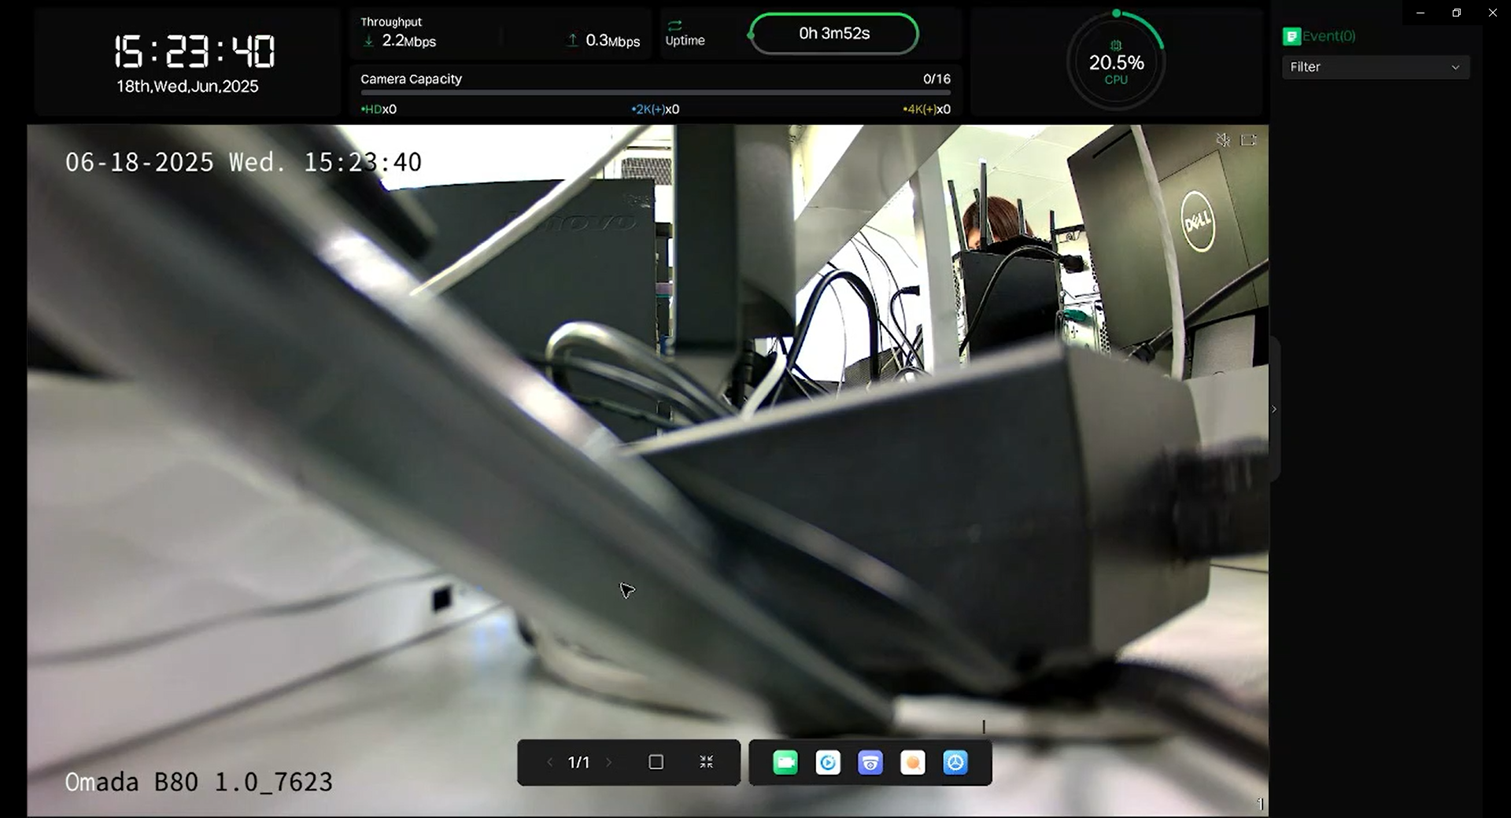
Step 5. Initialization is complete.
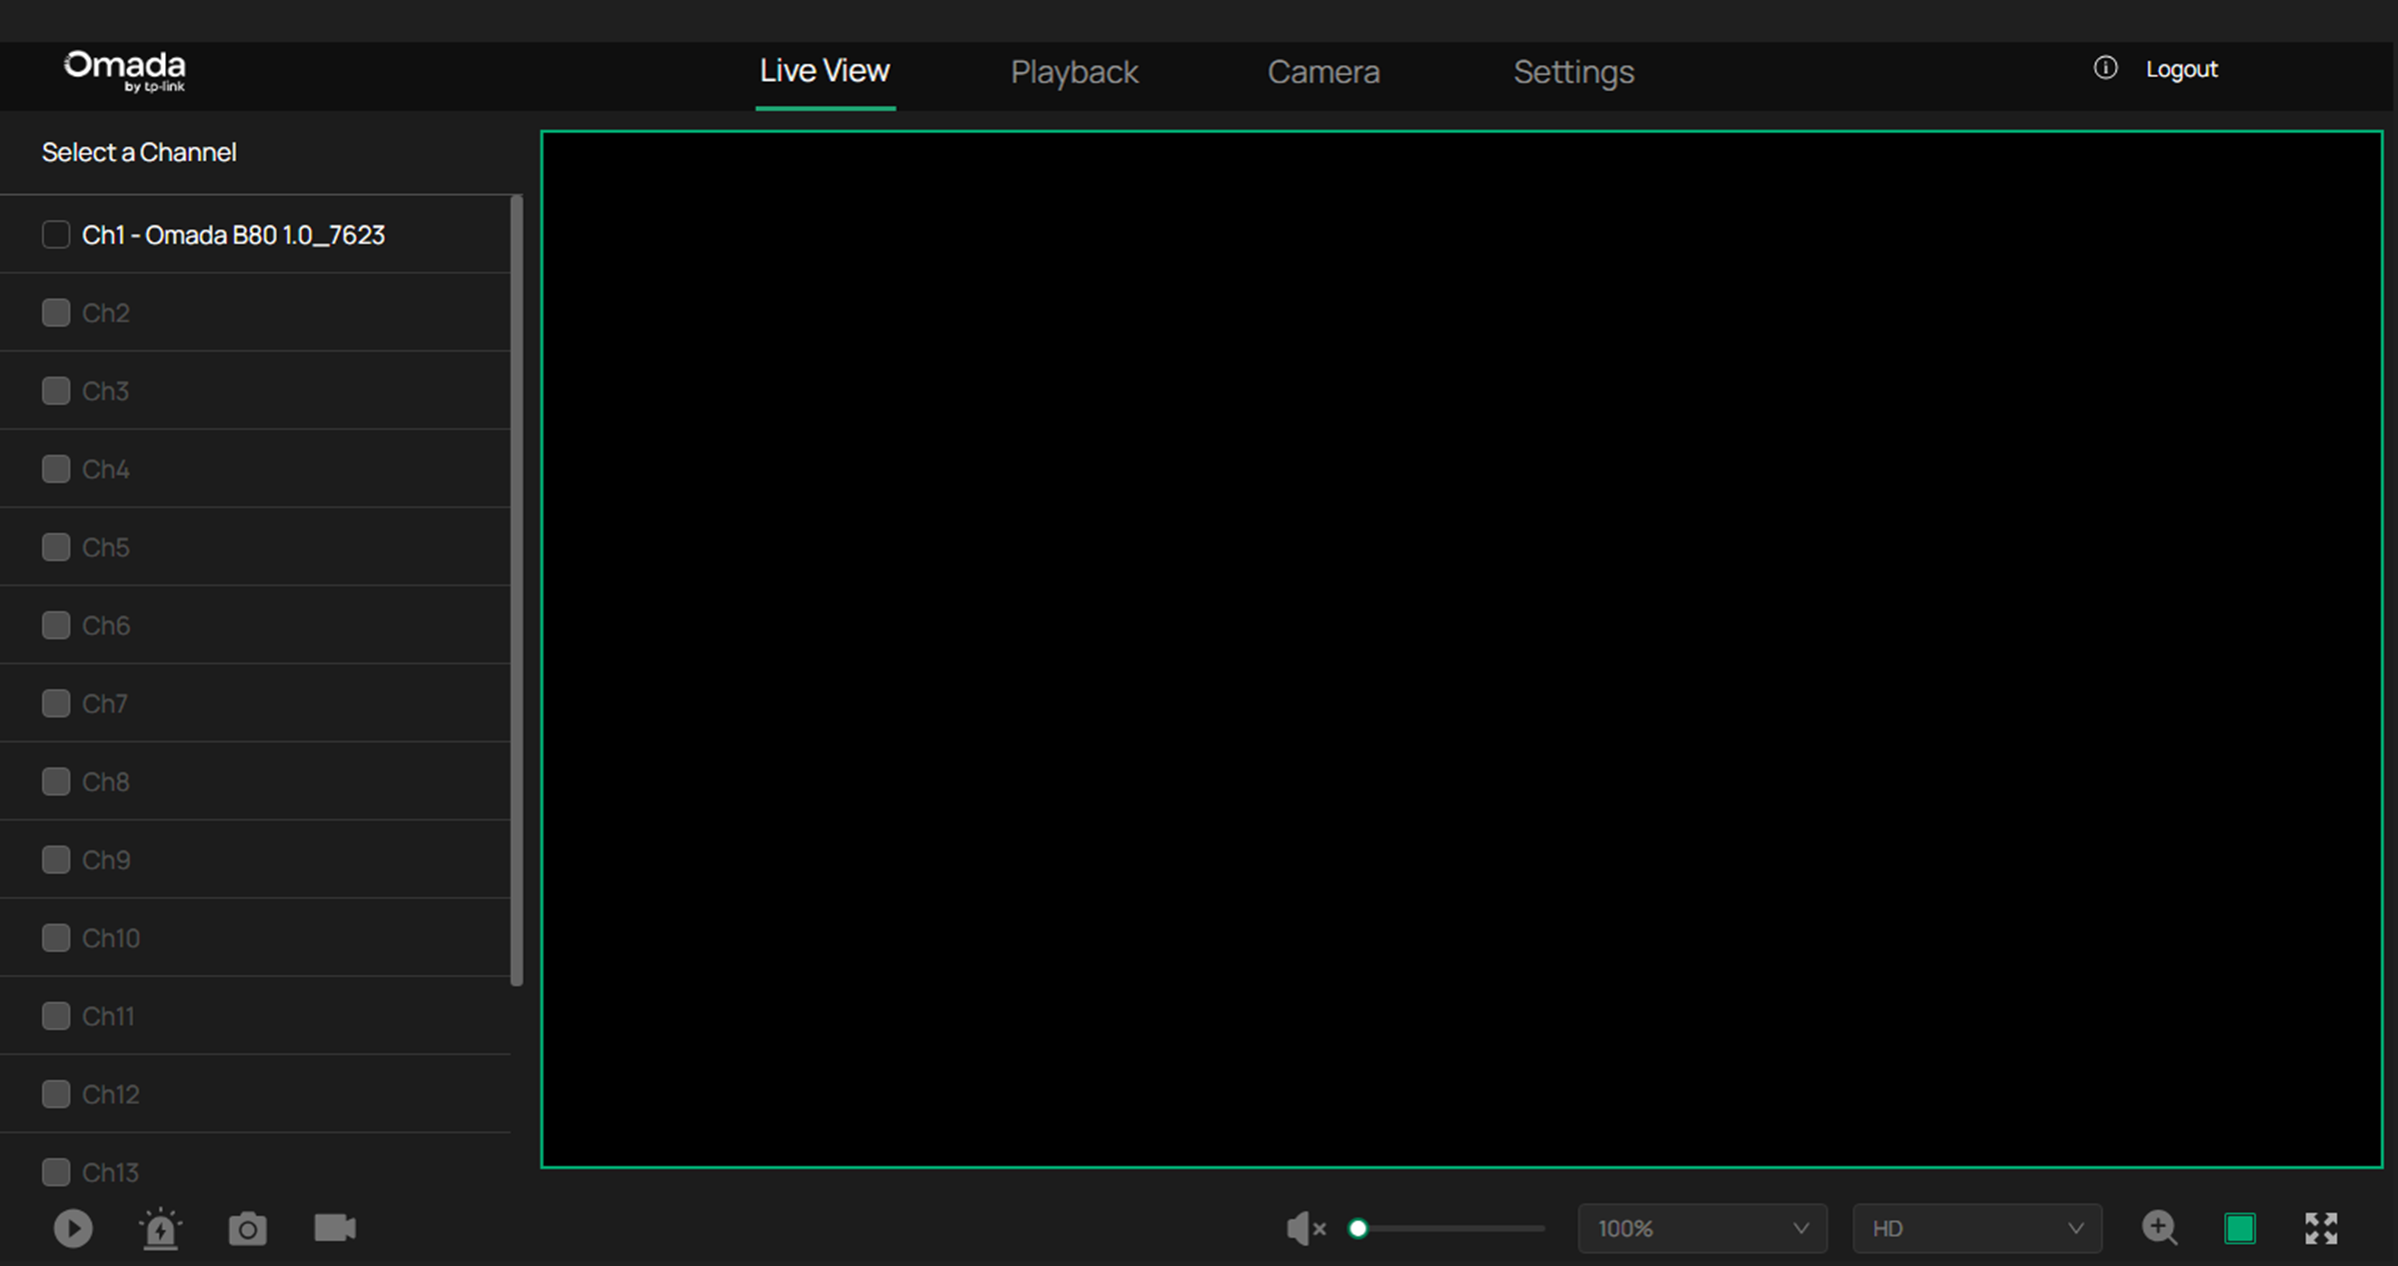
Web Management Interface
Step 1. Power on the NVR and connect it to the network. Ensure that the PC is connected to the same network and then access the NVR’s web management interface using its IP address.
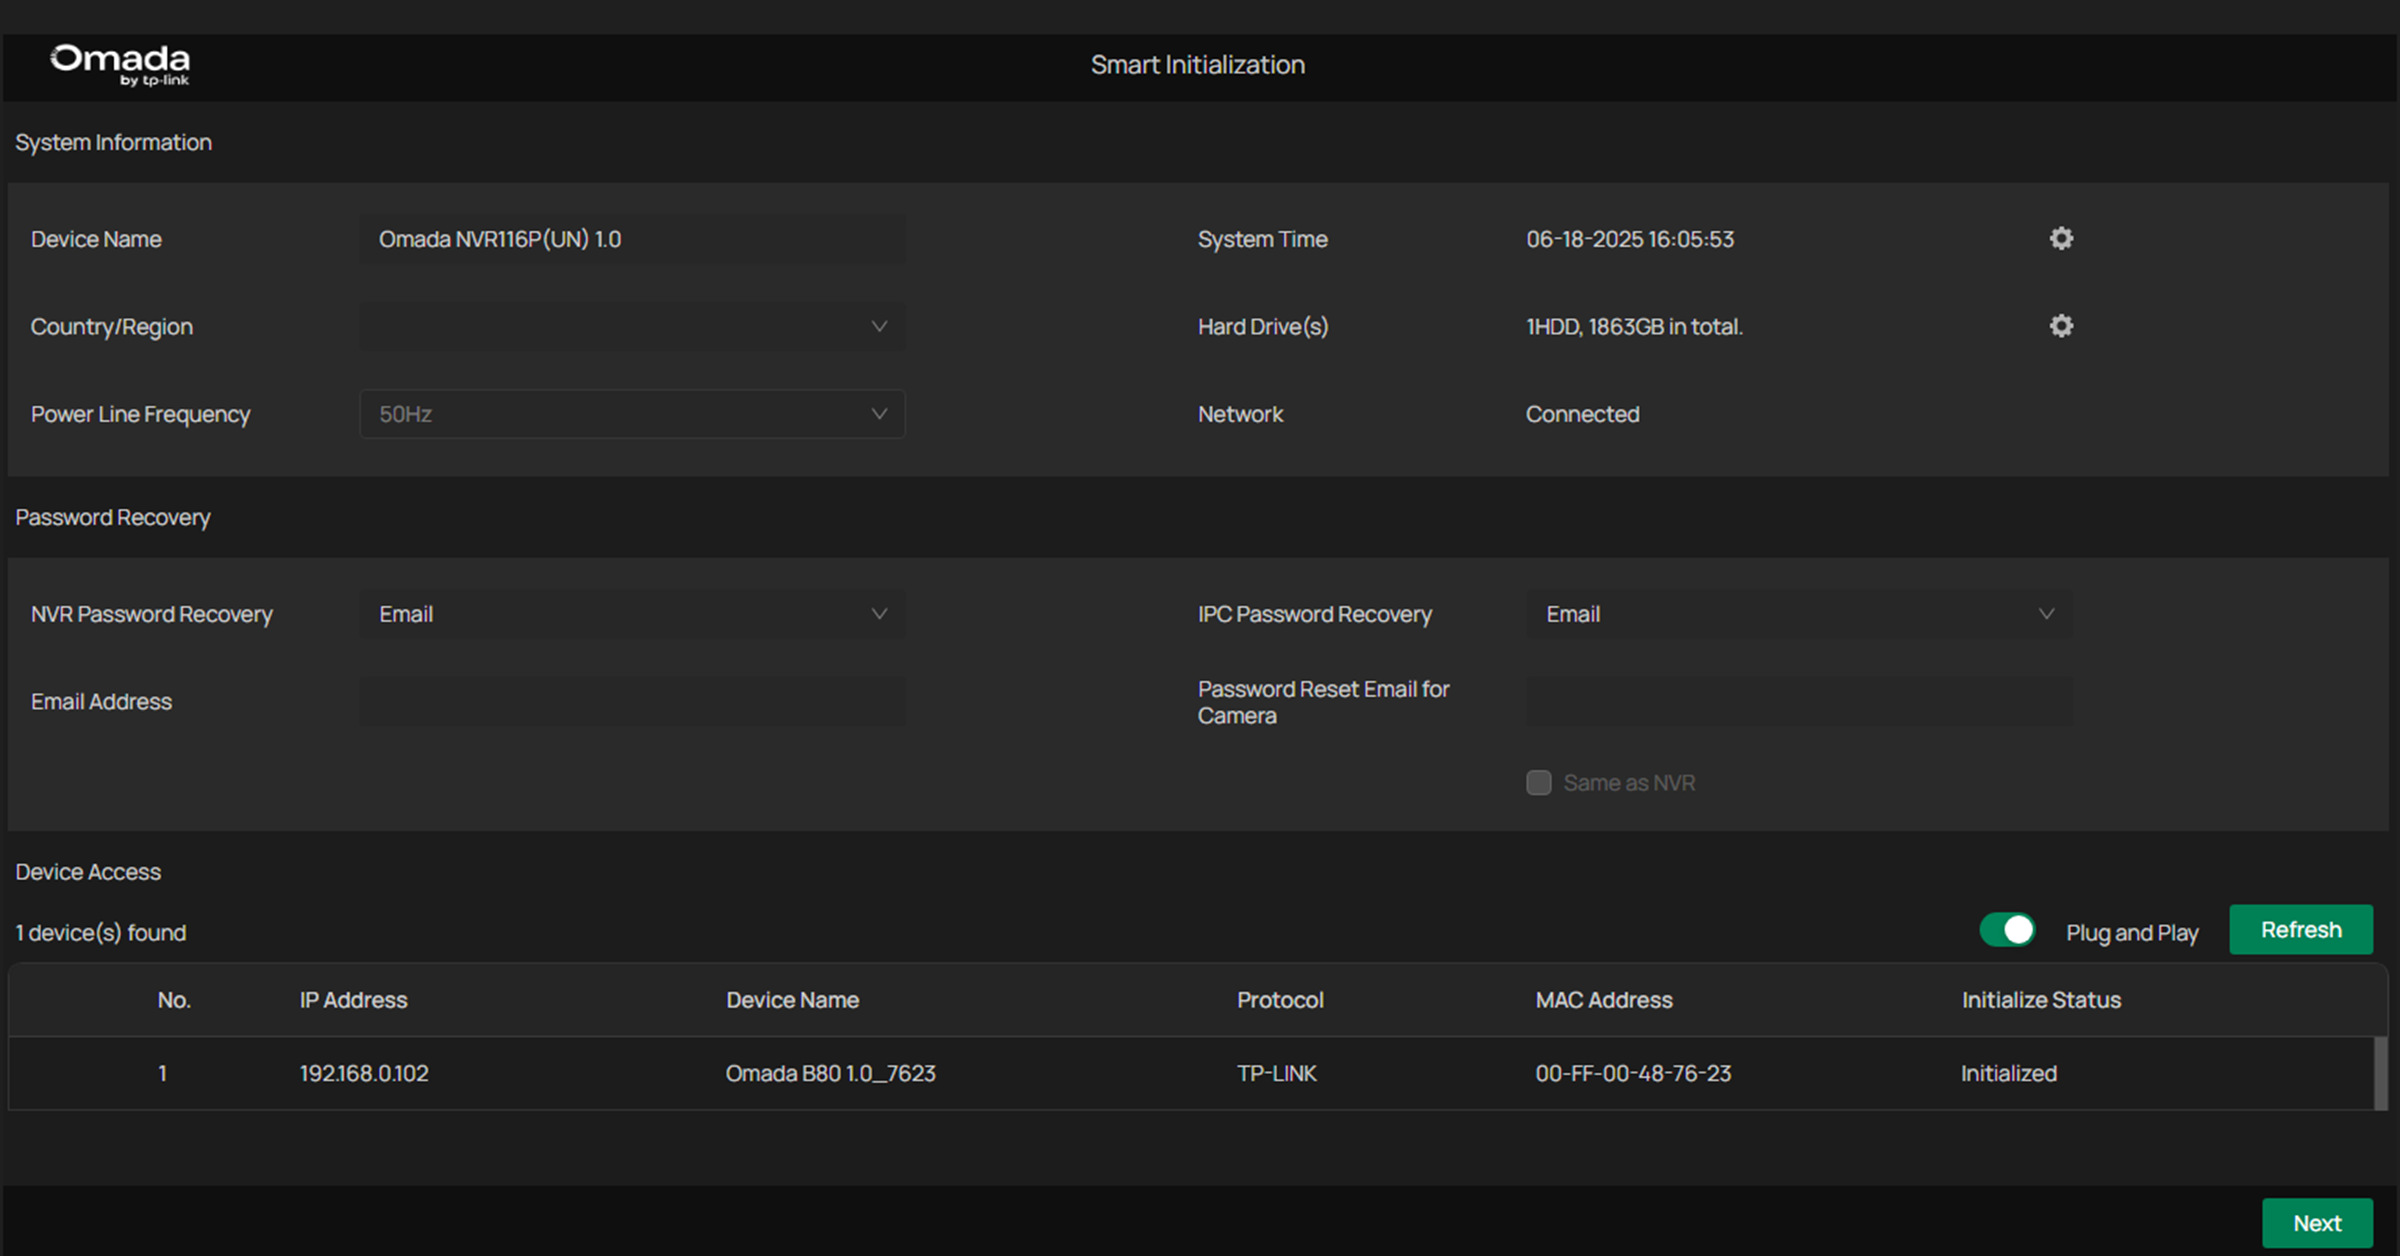
Step 2. Set the language and management password for the NVR and cameras. The default language is English. The default username is "admin" and cannot be changed.

Step 3. Based on your specific requirements, set the system information, email address for reset password, and select the cameras to be added to the NVR. If you don’t need password recovery email, you may skip this setting. Click Next.
Step 4. Initialization is complete.
Omada Guard App
If a PC is unavailable, you can quickly configure the NVR via the Omada Guard App. Once you log in to the Omada Guard App with a TP-Link ID and connect your mobile device to the network, you can link the NVR to the TP-Link ID.
Step 1. Log in to the Omada Guard App. For optimal connection, it is recommended to connect both the phone and Omada Camera to the same network.
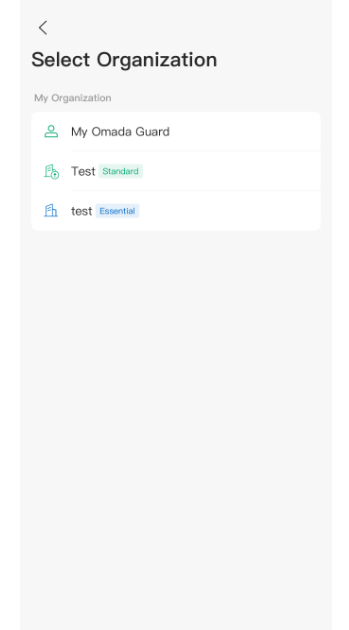
Select the organization you want to add NVR. For optimal connection, it is recommended to connect both the phone and Omada NVR to the same network.
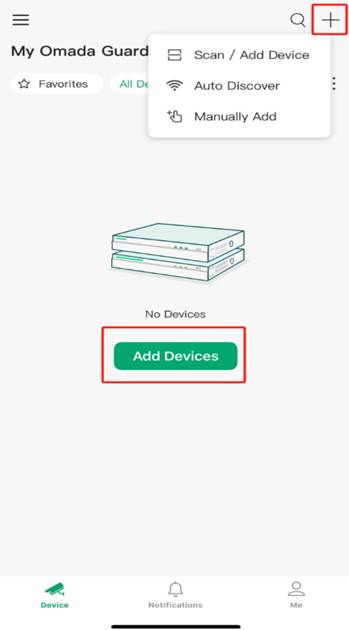
Step 2. Tap + in the upper right corner or tag Add Devices. Scan/Add Device normally for adding specific device. Scan the QR code on the label of the device. Auto Discover can not only add specific device, but also can scan all of the devices.
Here we take Auto Discover as the example.
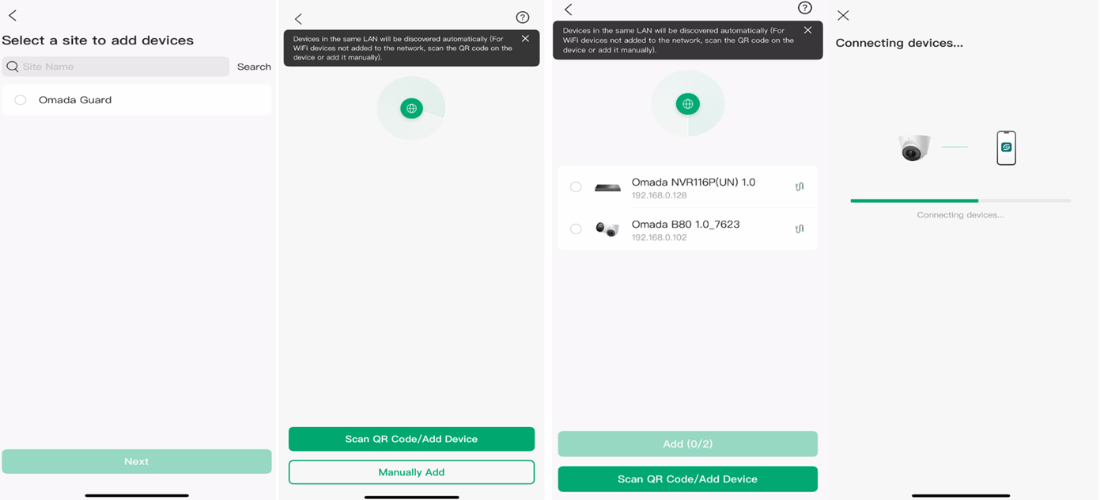
Step 3. Select a site and tag Next. After App find the devices, choose the device you want to add. Then tag Add.
Step 4. Set the NVR's password, preset password for cameras, country, time zone, and name.

Note: If you’re using Personal Edition App, the preset password can’t be skipped. But if you’re using Enterprise Edition App, you can leave preset password as empty and skip.
Step 5. Click Confirm to add the devices.
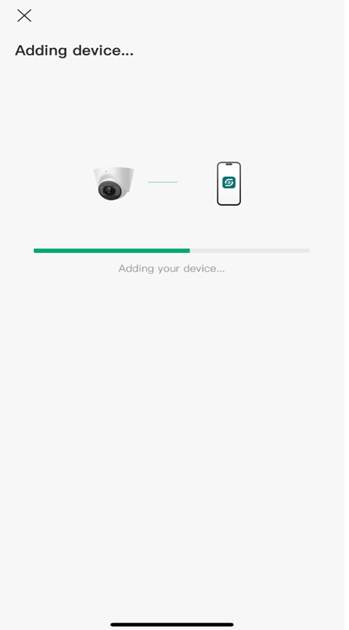
Step 6. The device has been successfully added.
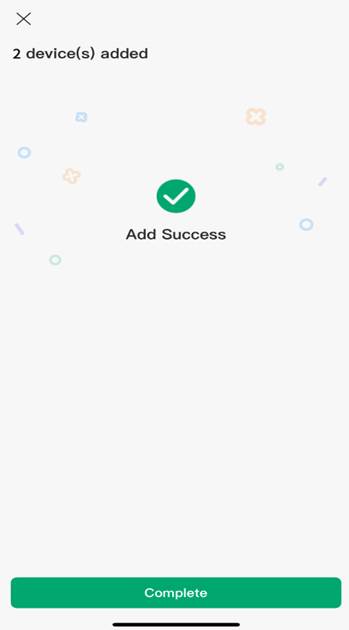
Step 7. Now you have completed the initialization process.
Conclusion
Now that you've finished configuring Omada NVR.
Get to know more details of each function and configuration please go to Download Center to download the manual of your product.
