


Contents
Introduction
Firmware upgrades are critical for maintaining device security, stability, and feature compatibility. However, if the upgrade process is unexpectedly interrupted, such as by a power outage, network instability, or an incomplete firmware upload, the gateway may fail to boot normally. In such cases, the device may appear unresponsive, with limited or no access through the management interface. To help recover the device without hardware replacement, Omada Gateways provide an emergency recovery mechanism that allows administrators to restore a valid firmware image and return the device to normal operation.
Note: Use Recovery Mode only as a last resort. Do not use Recovery Mode for routine firmware upgrades.
Requirements
Most Omada Gateway models support Recovery Mode. However, some specific models, such as the ER701-5G-Outdoor, do not support this feature. If you have any questions, please contact Technical Support.
Configuration
Step 1. Prepare the firmware.
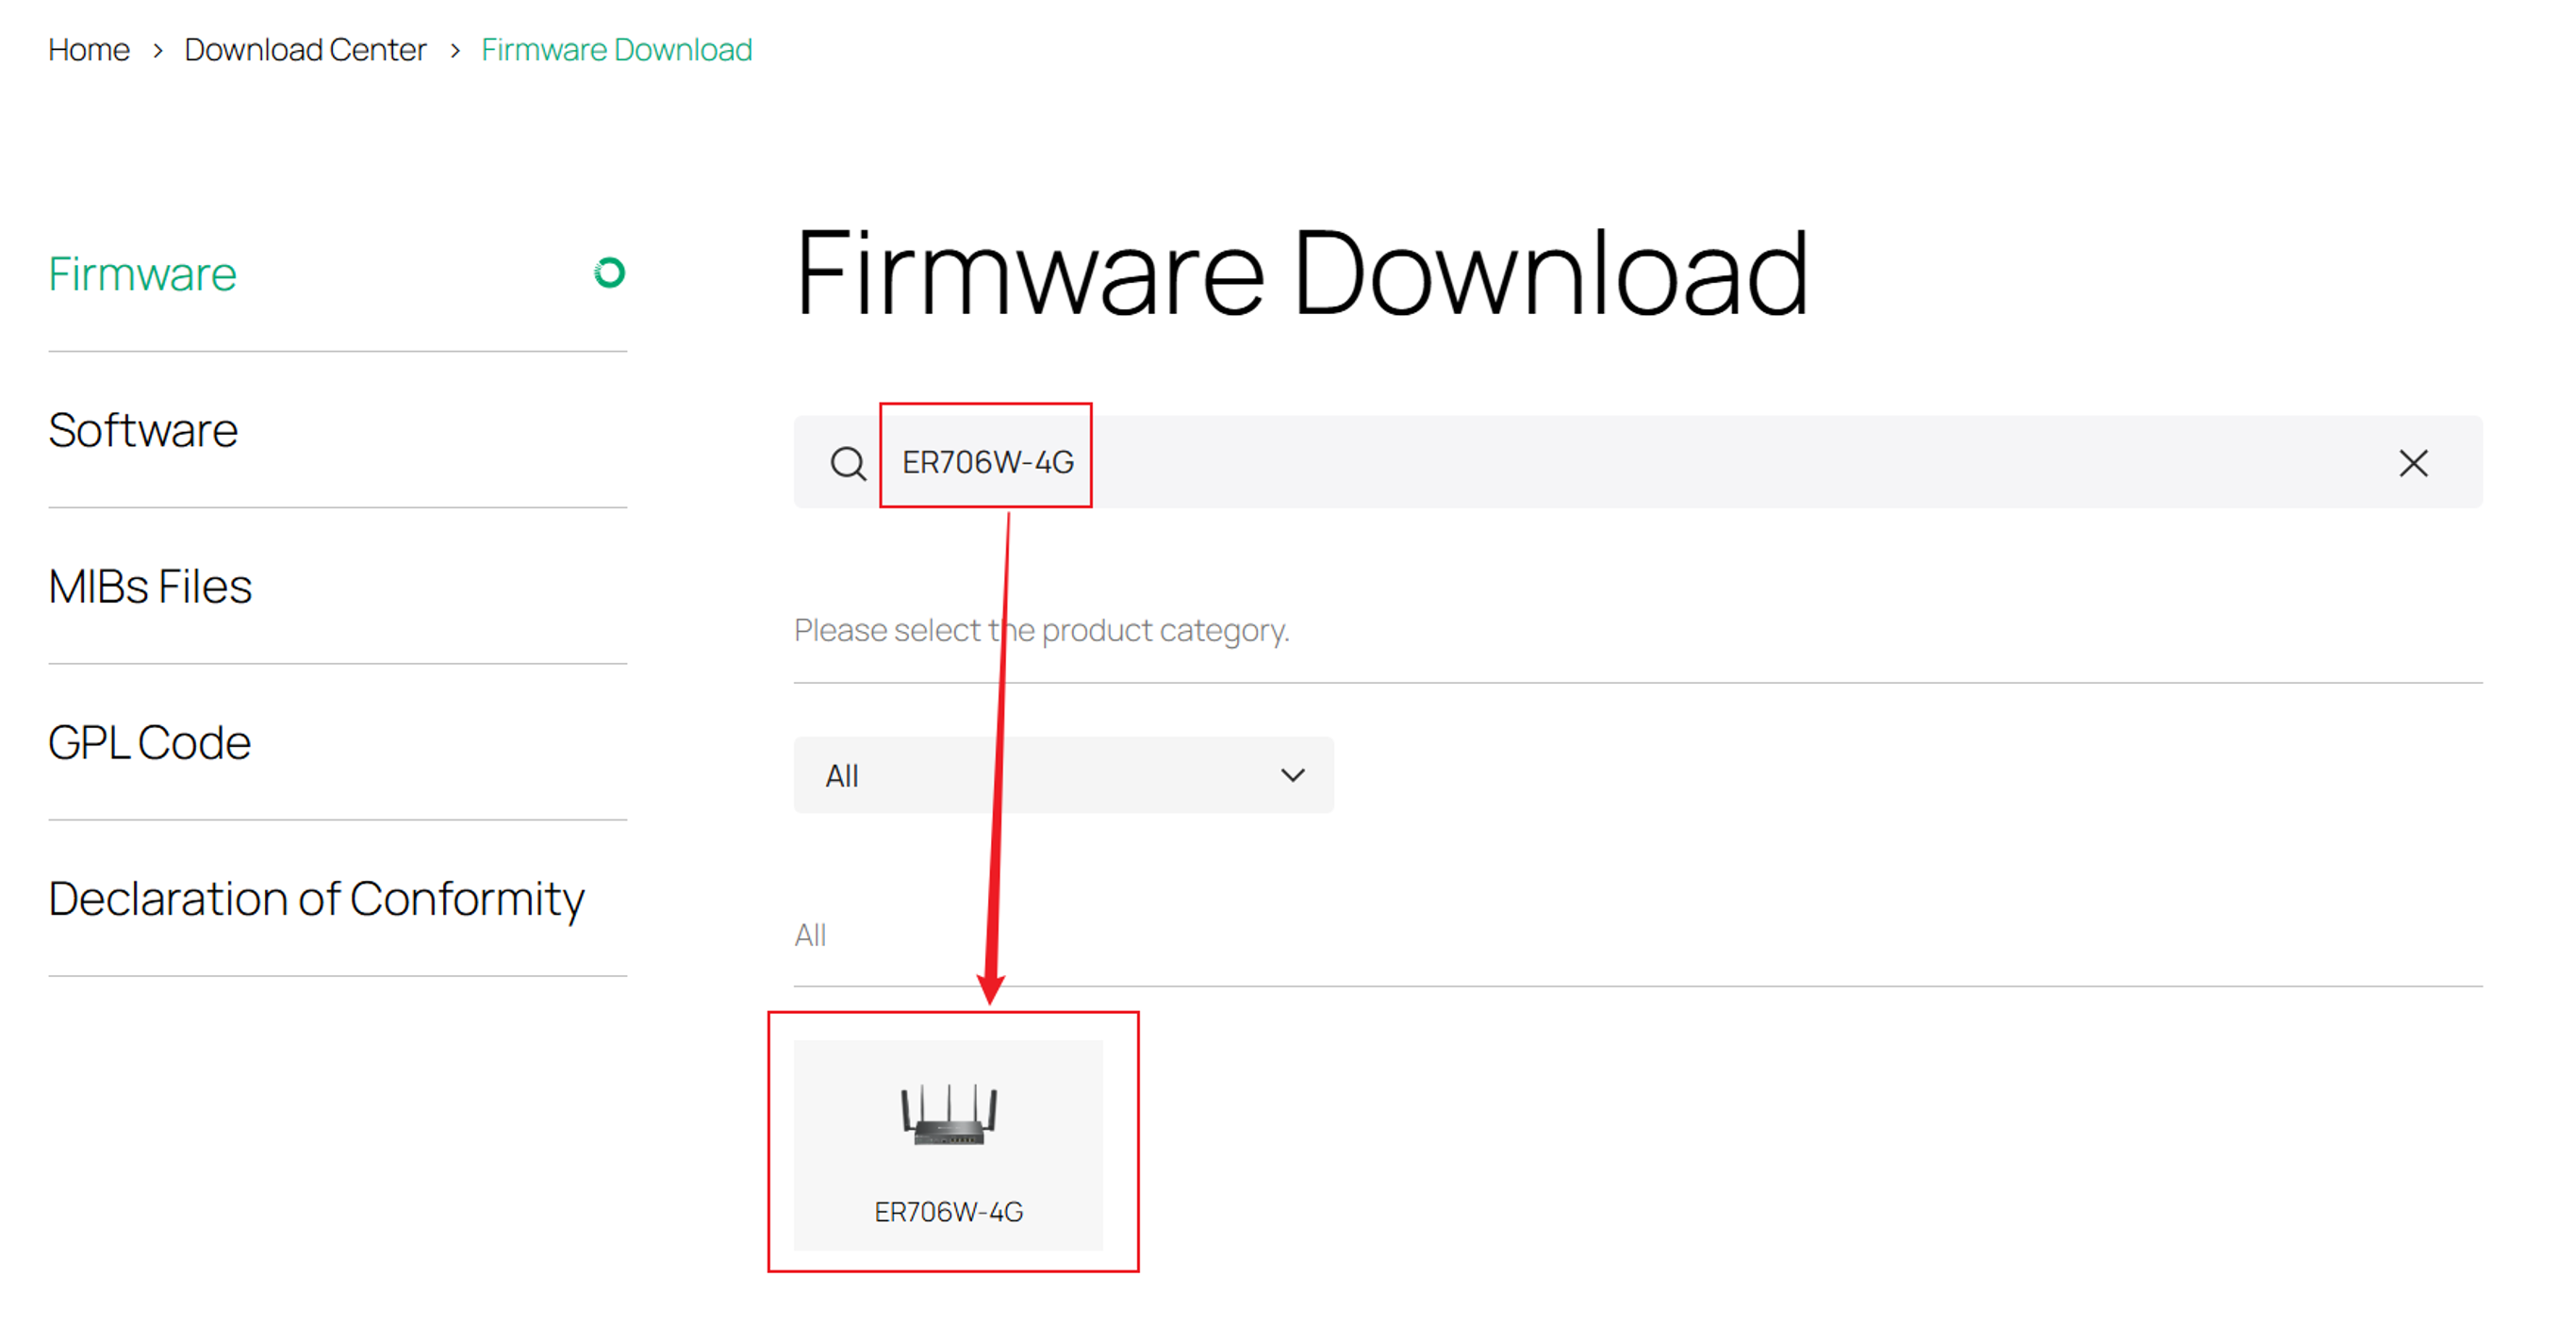
Go to TP-Link official Download Center. Search for your Omada Gateway model and download the latest applicable firmware. Unzip the downloaded package to obtain the .bin file. This article uses the ER706W-4G as an example to demonstrate the recovery procedure.
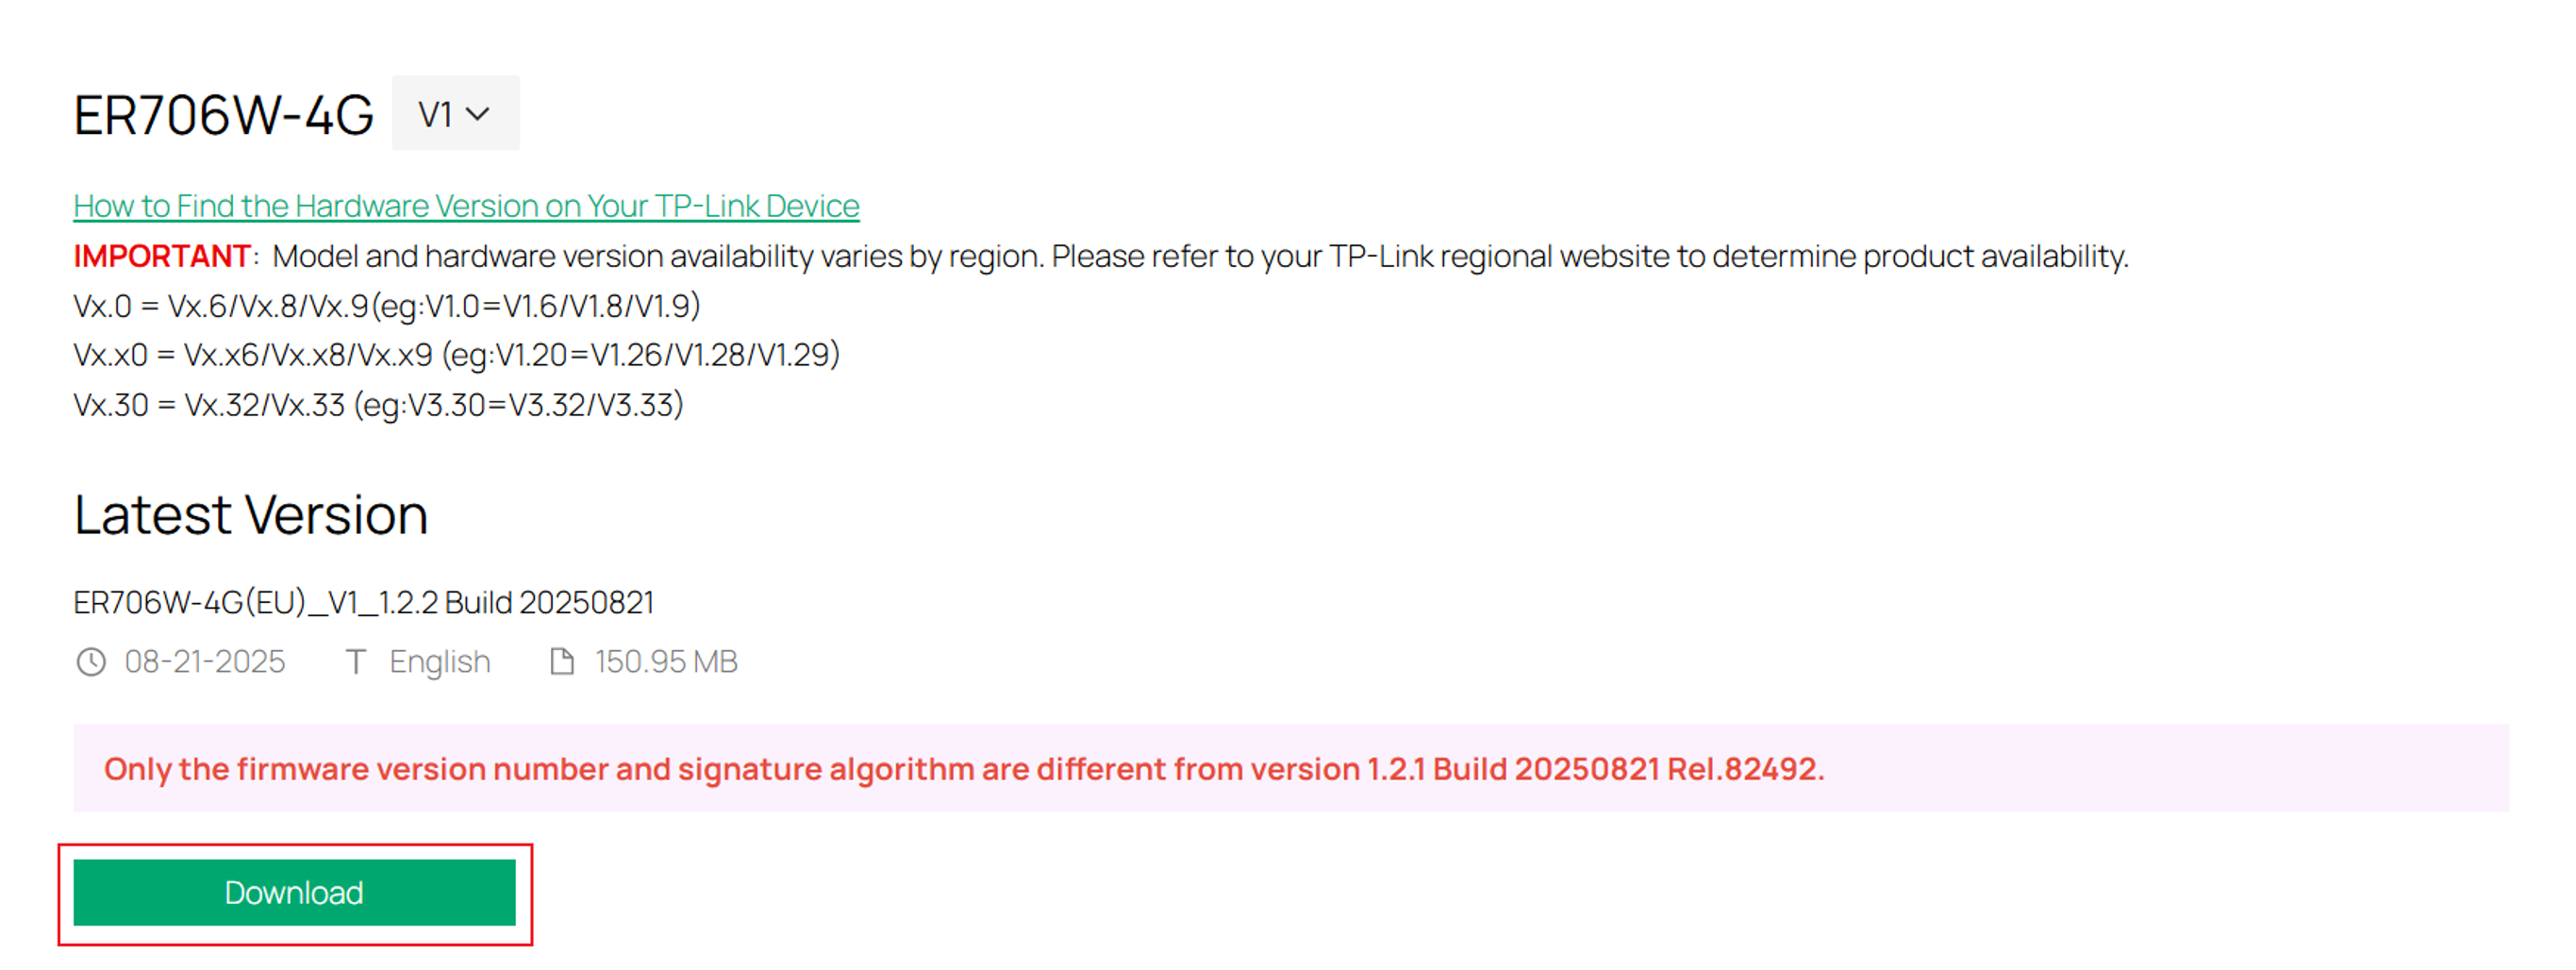
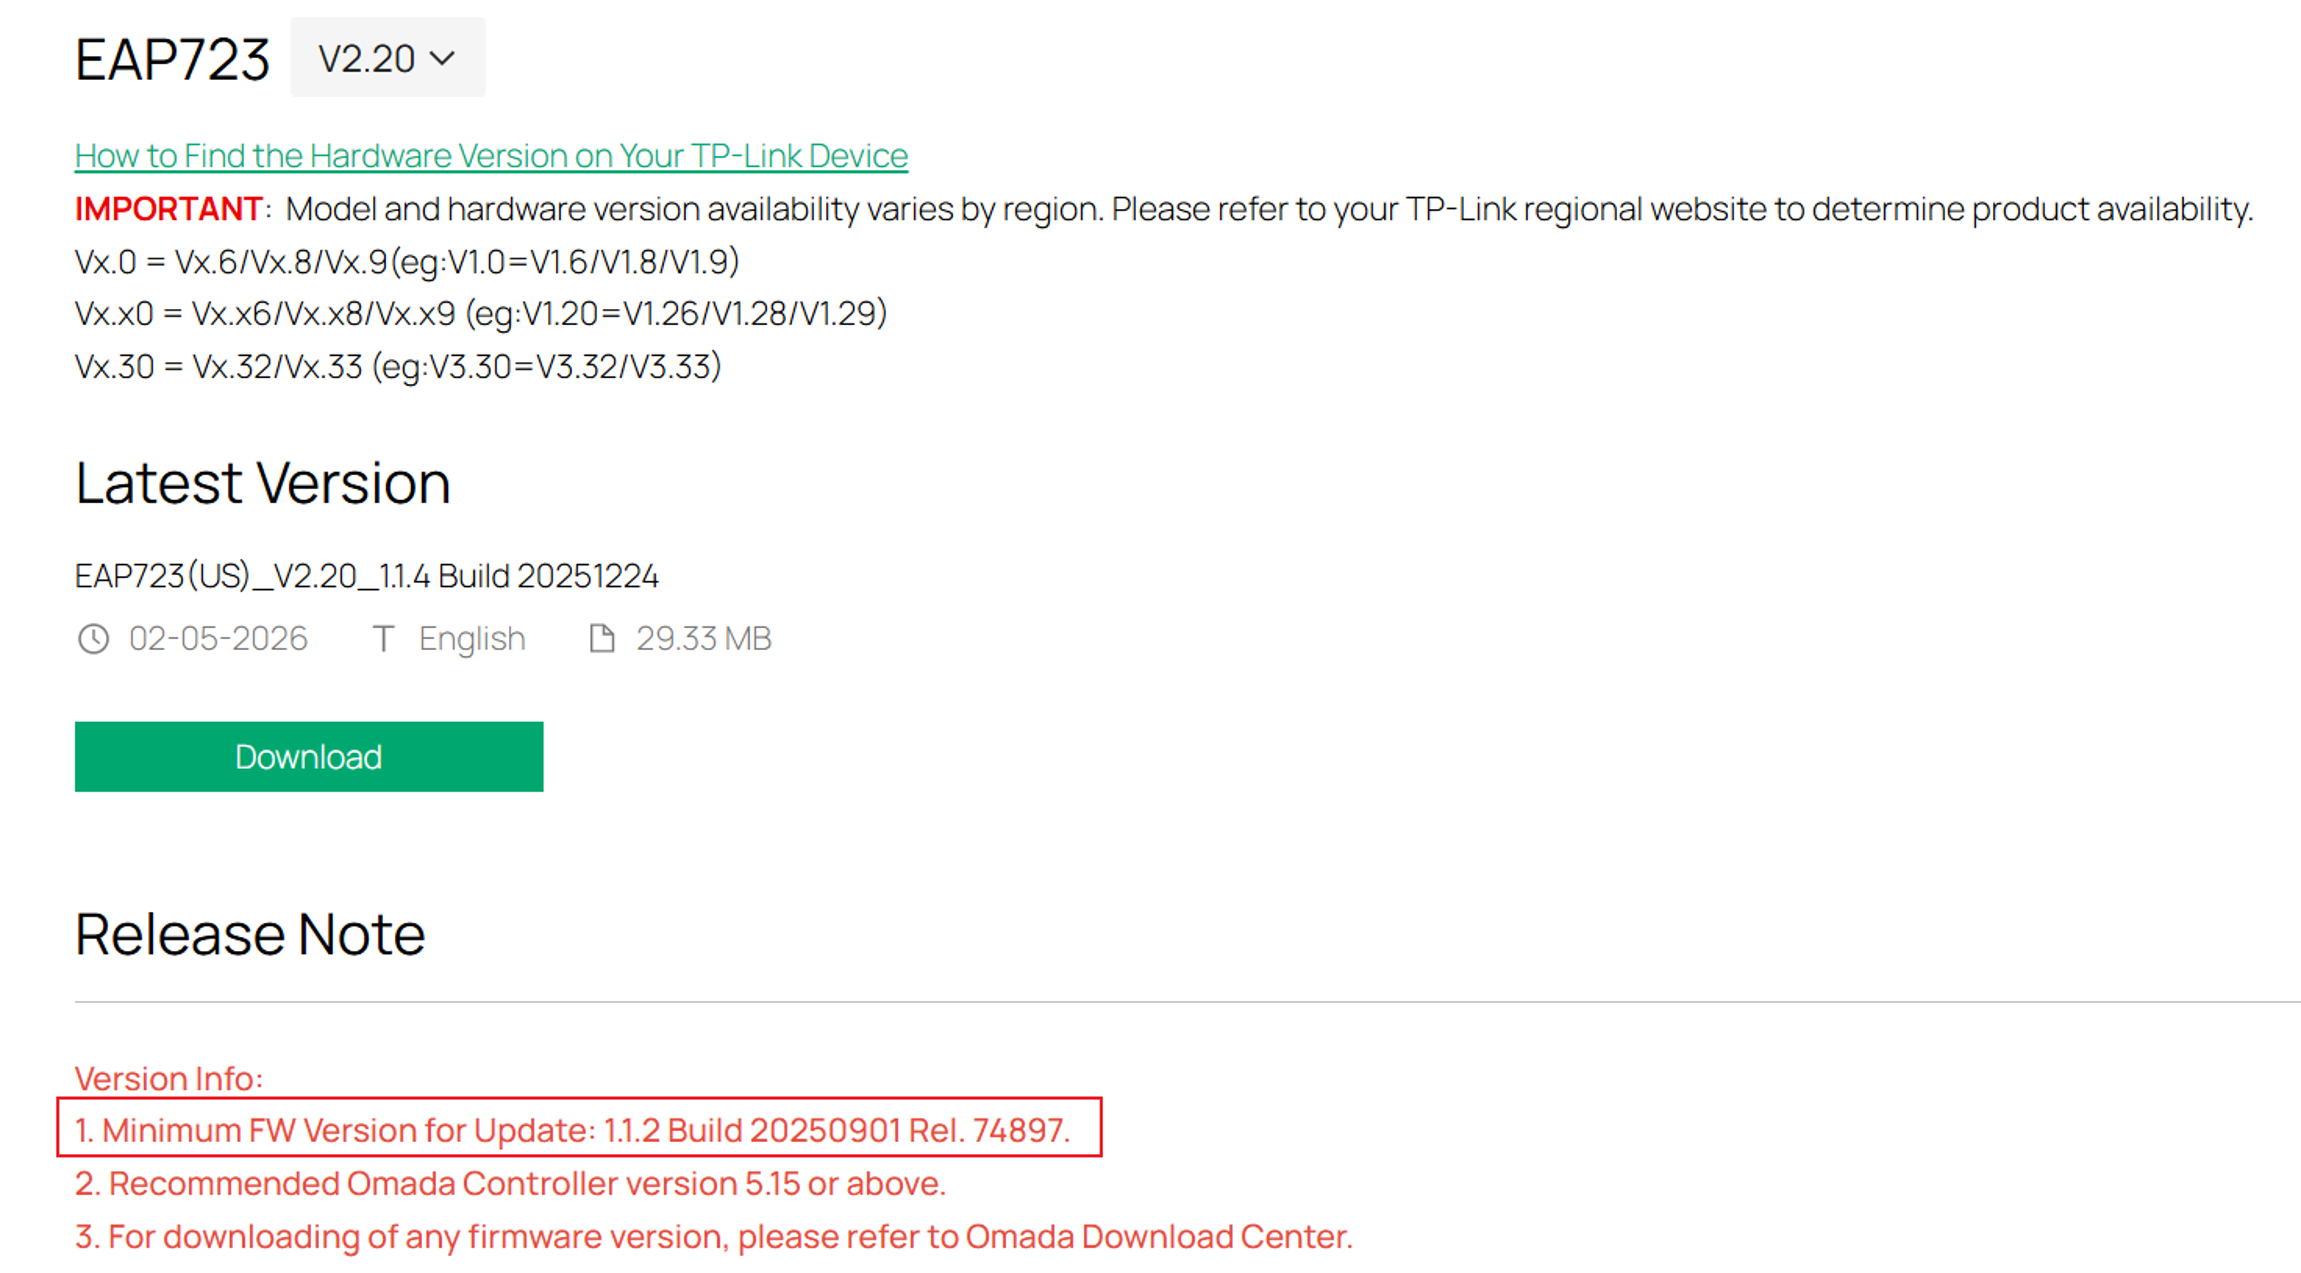
Note: Check the Minimum FW Version for Update notice on the firmware download page before proceeding. Select firmware that is compatible with the gateway’s current firmware version. Uploading firmware when the current version is below the specified minimum requirement may cause the upgrade to fail.
Step 2. Configure the computer’s IP address.
Connect the computer to the Omada Gateway using an Ethernet cable.
On the computer, go to:
Control Panel > Network and Internet > Network and Sharing Center > Change adapter settings
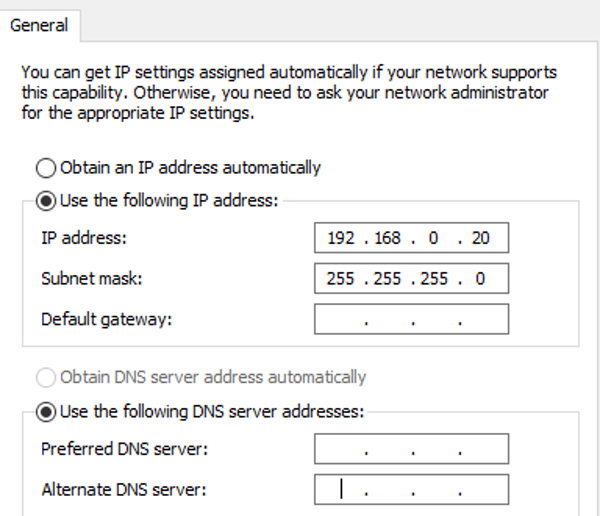
Right-click the Ethernet adapter and select Properties. Select Internet Protocol Version 4 (TCP/IPv4), and then click Properties.
For detailed instructions, refer to How to configure wired TCP/IP Properties of my computer?. Configure the following static network settings:
- IP address: 192.168.0.20
- Subnet mask: 255.255.255.0
Leave the other fields blank unless the computer’s network configuration requires otherwise.
Step 3. Start the gateway in Recovery Mode.
- Disconnect the gateway’s power cable.
- Connect the computer to a LAN port on the gateway using an Ethernet cable.
- Press and hold the RESET button.
- While continuing to hold the RESET button, reconnect the power cable.
- Wait for all LEDs to flash.
- When the LEDs for the connected ports light up, release the RESET button.
The gateway is now operating in Recovery Mode.
Step 4. Upload the firmware.
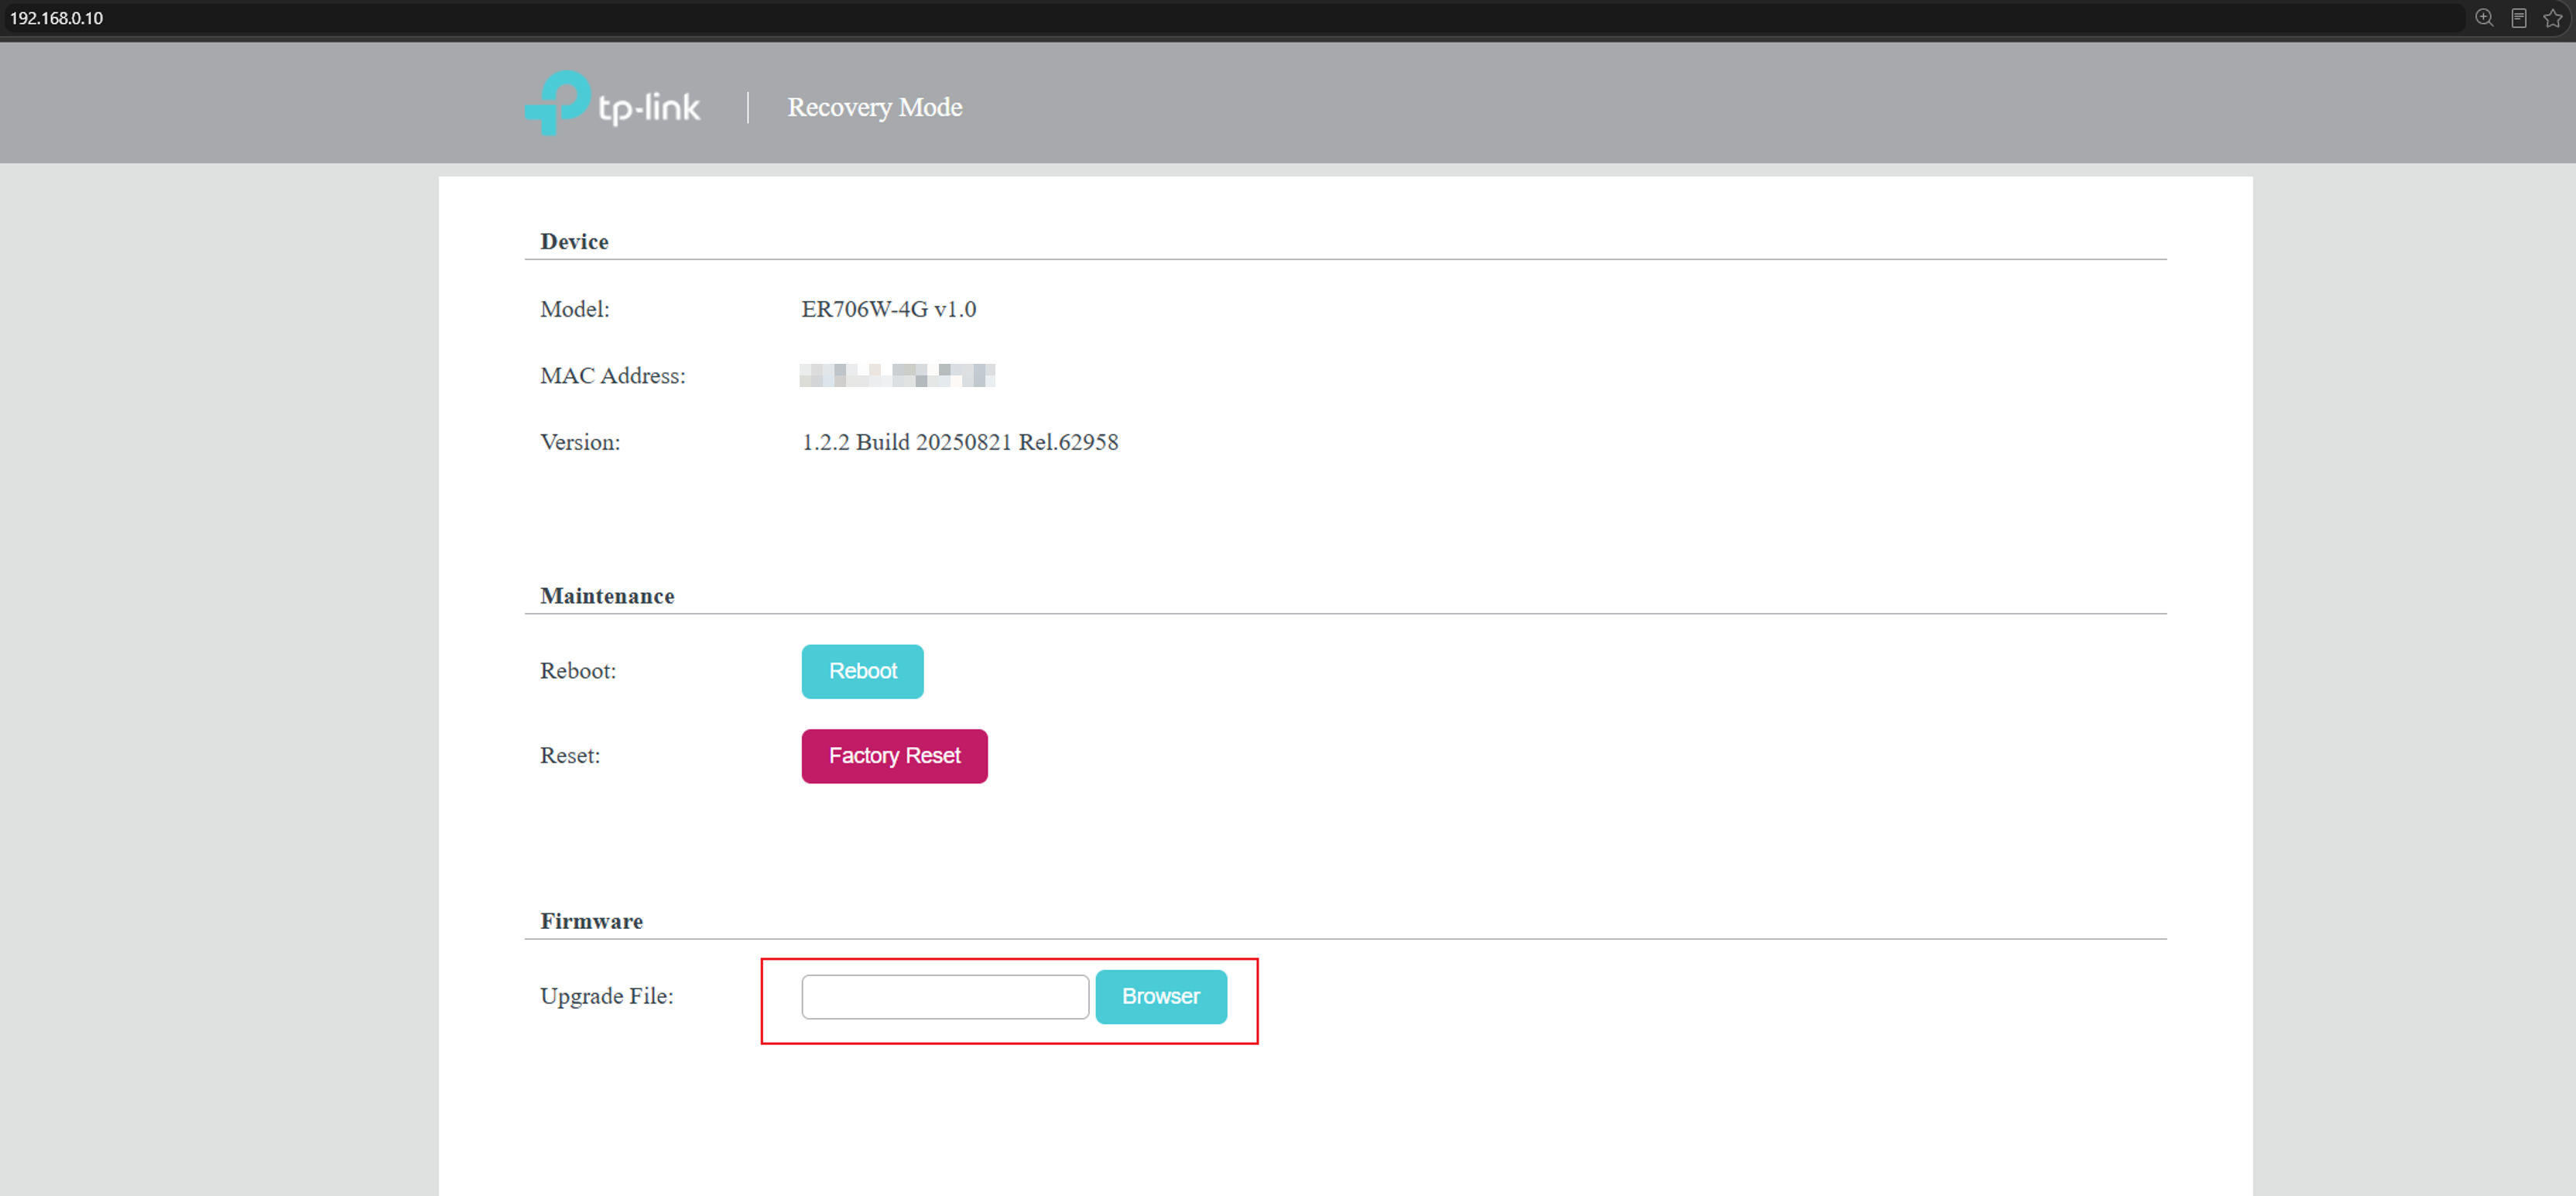
Open a web browser and enter the following IP address in the address bar:
192.168.0.10
The Recovery Mode firmware-upload page appears. Click Browse, and then select the extracted firmware .bin file.
Note: The computer uses the static IP address 192.168.0.20 to communicate with the gateway. While operating in Recovery Mode, the gateway temporarily uses 192.168.0.10 for firmware recovery. After the recovery is complete and the gateway restarts normally, management access returns to the default gateway IP address, 192.168.0.1
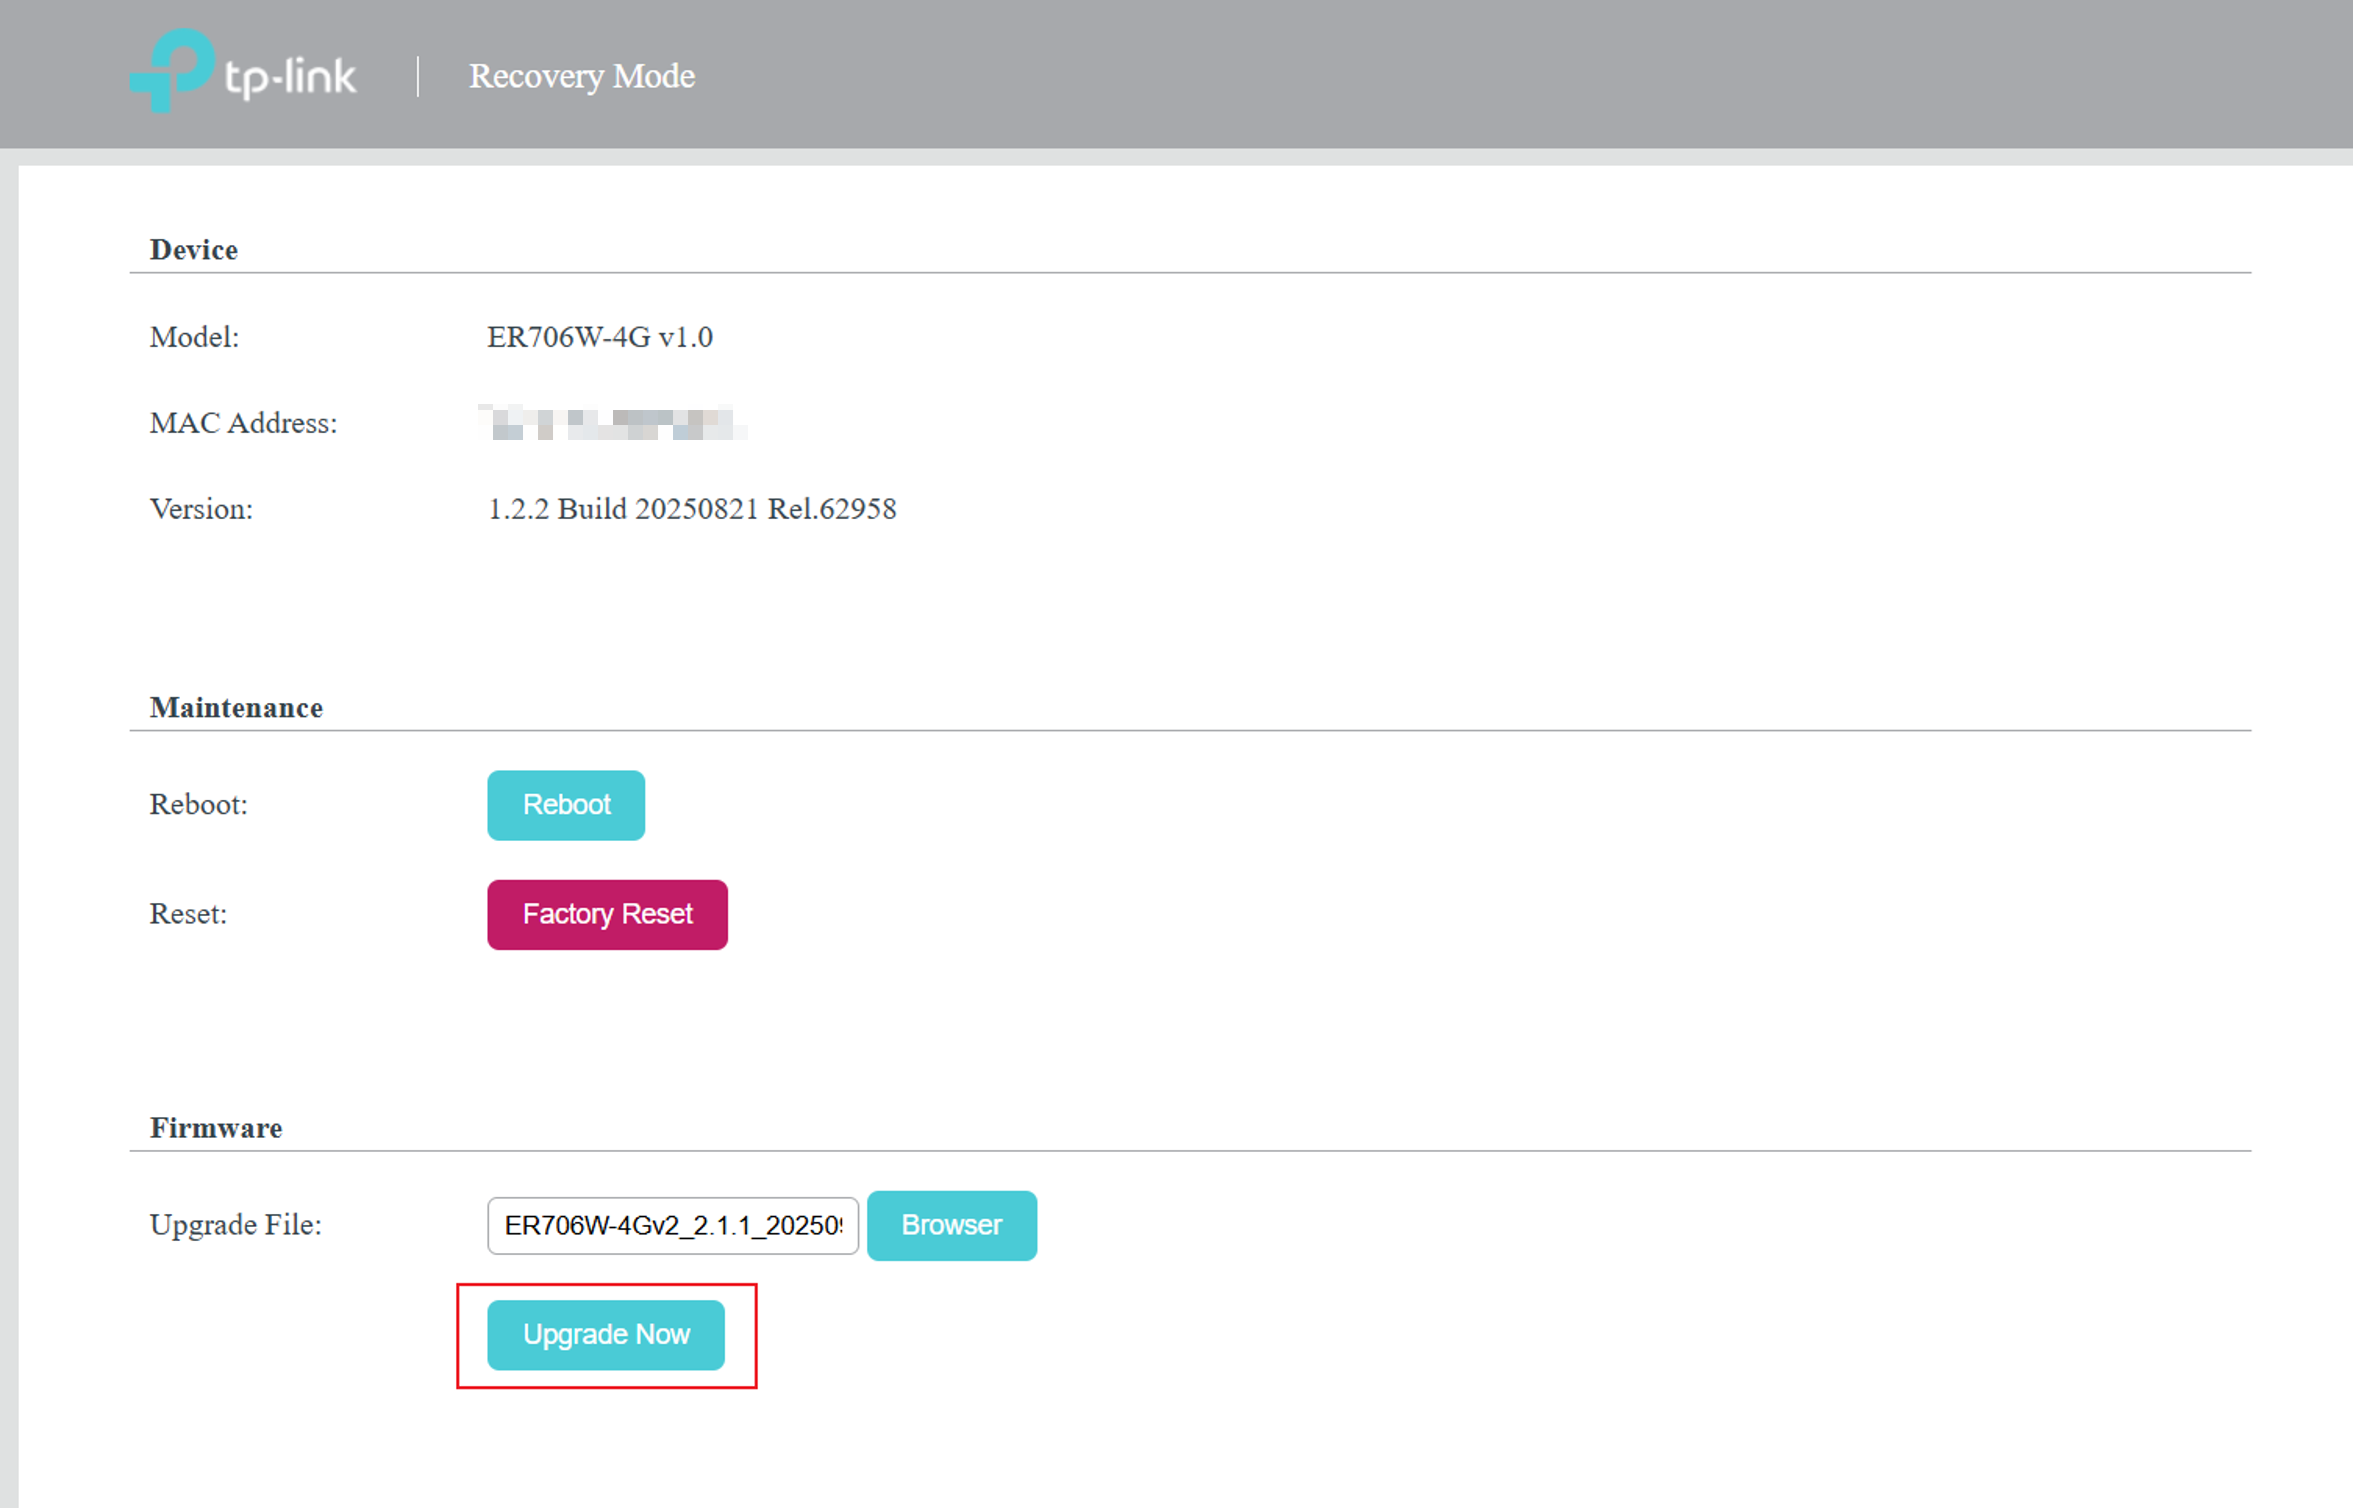
After selecting the firmware file, click Upgrade Now to begin the recovery process.
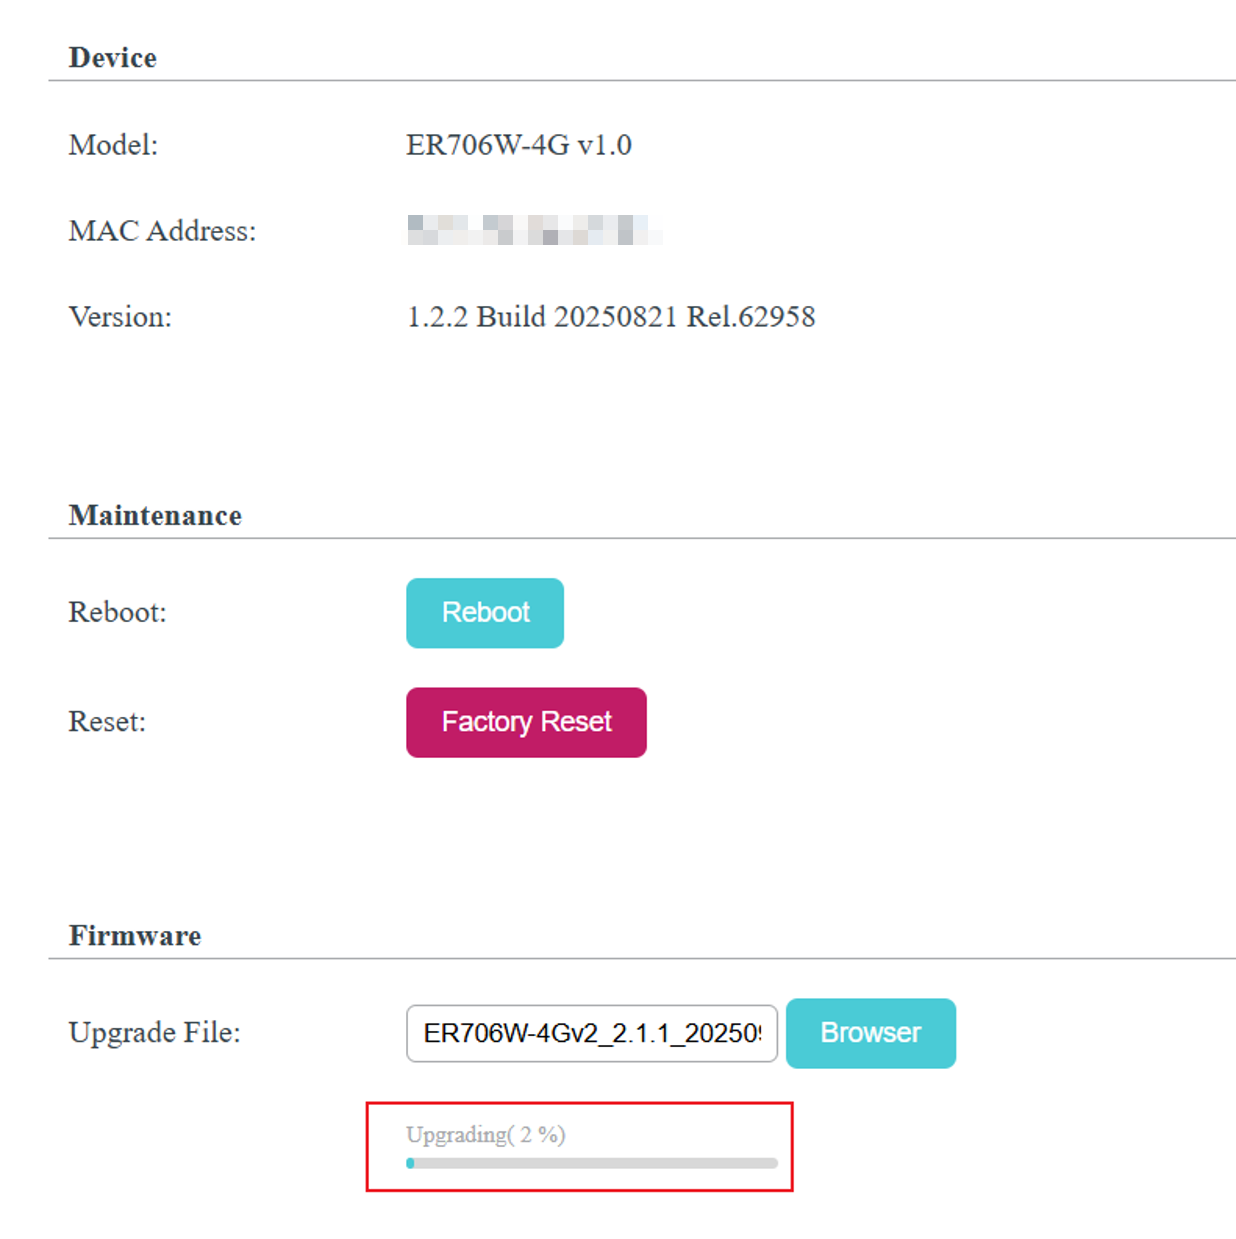
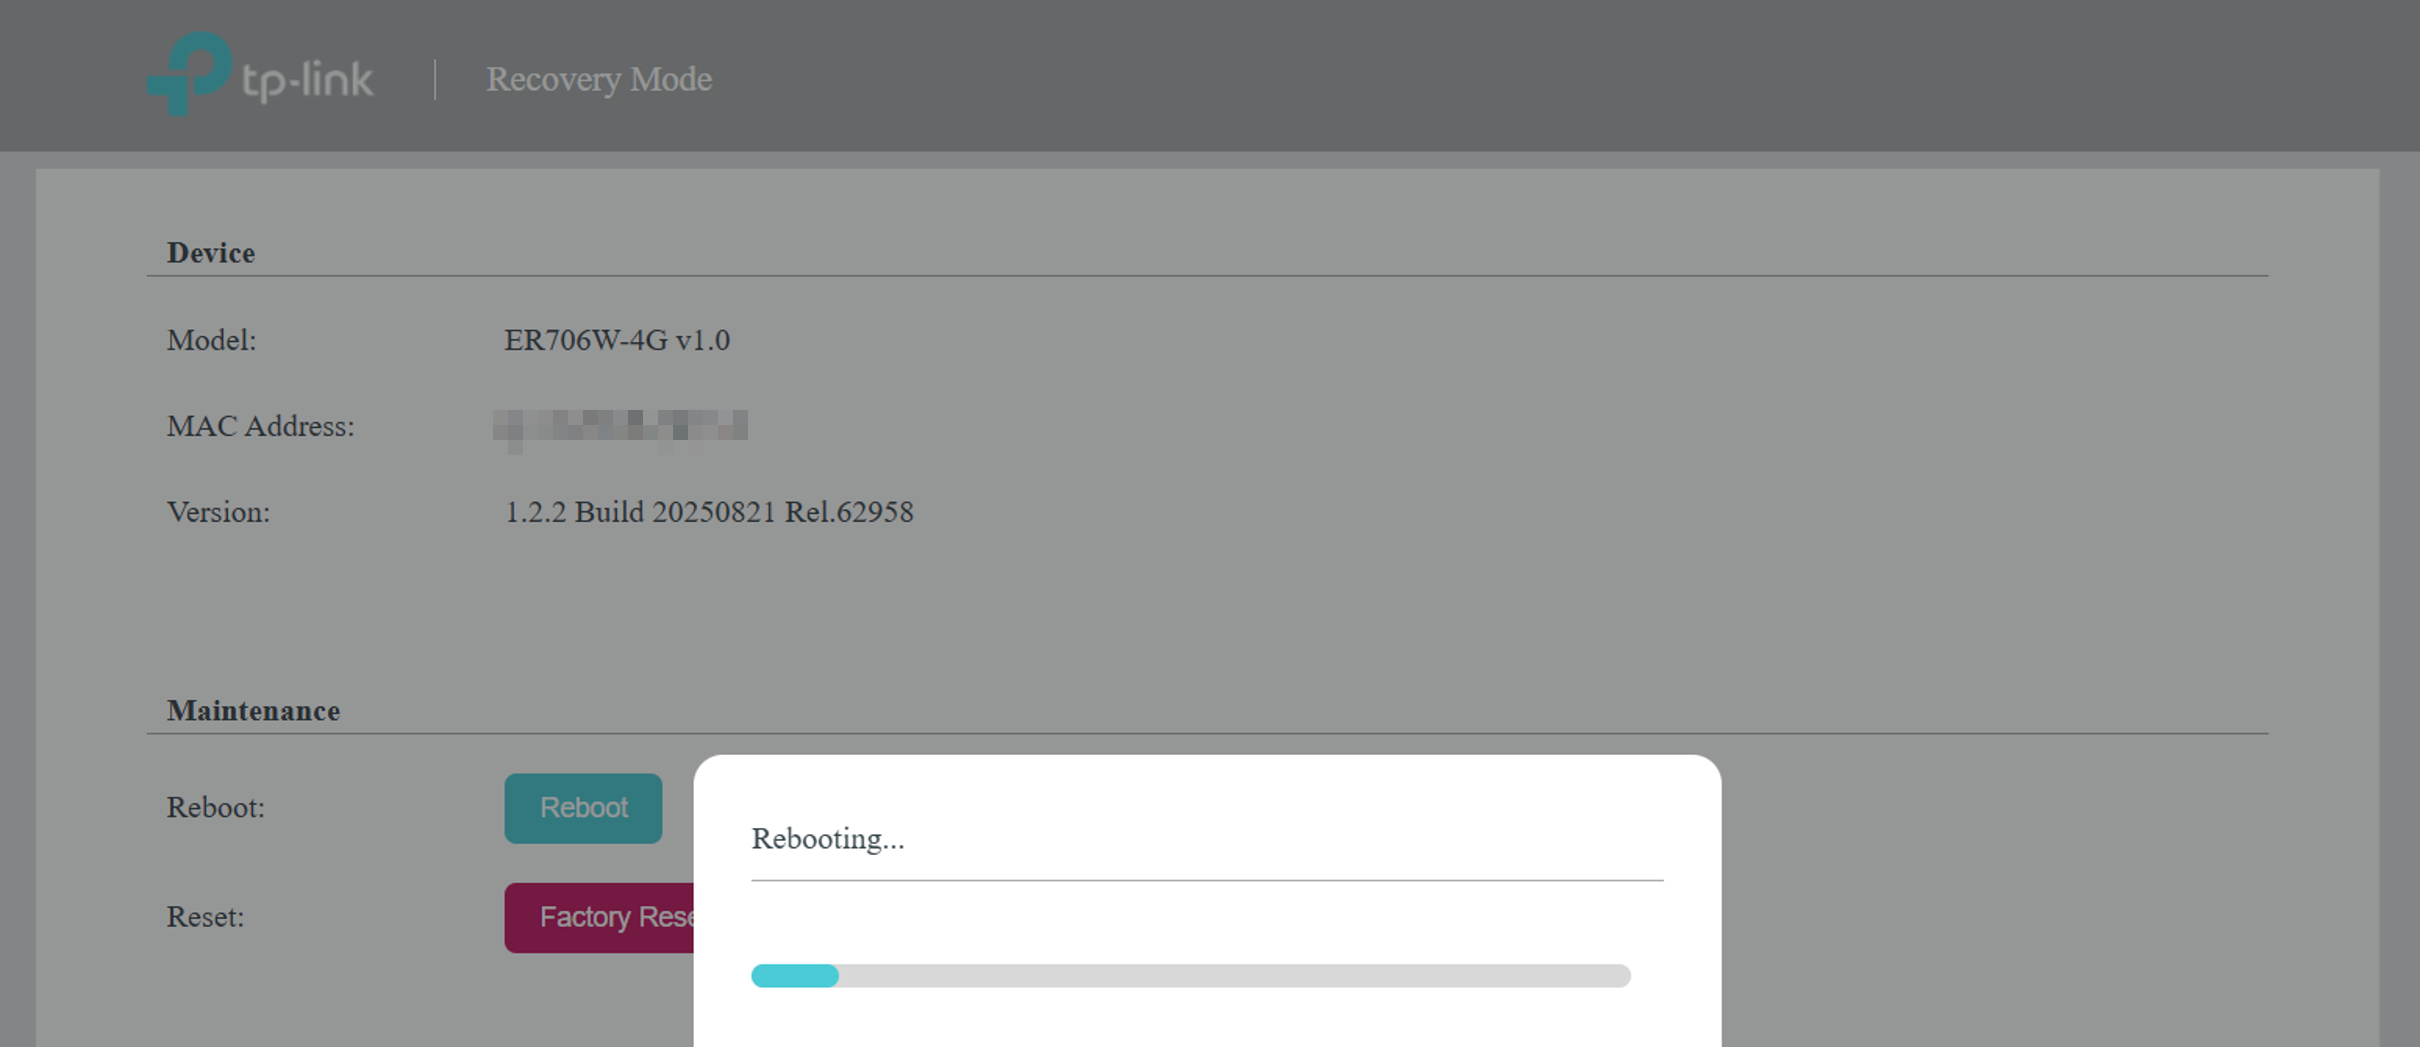
Do not disconnect the power or Ethernet cable during the firmware recovery process. The gateway will restart automatically after the firmware is successfully installed.
Verification
After the gateway restarts, restore the computer’s network settings if necessary.
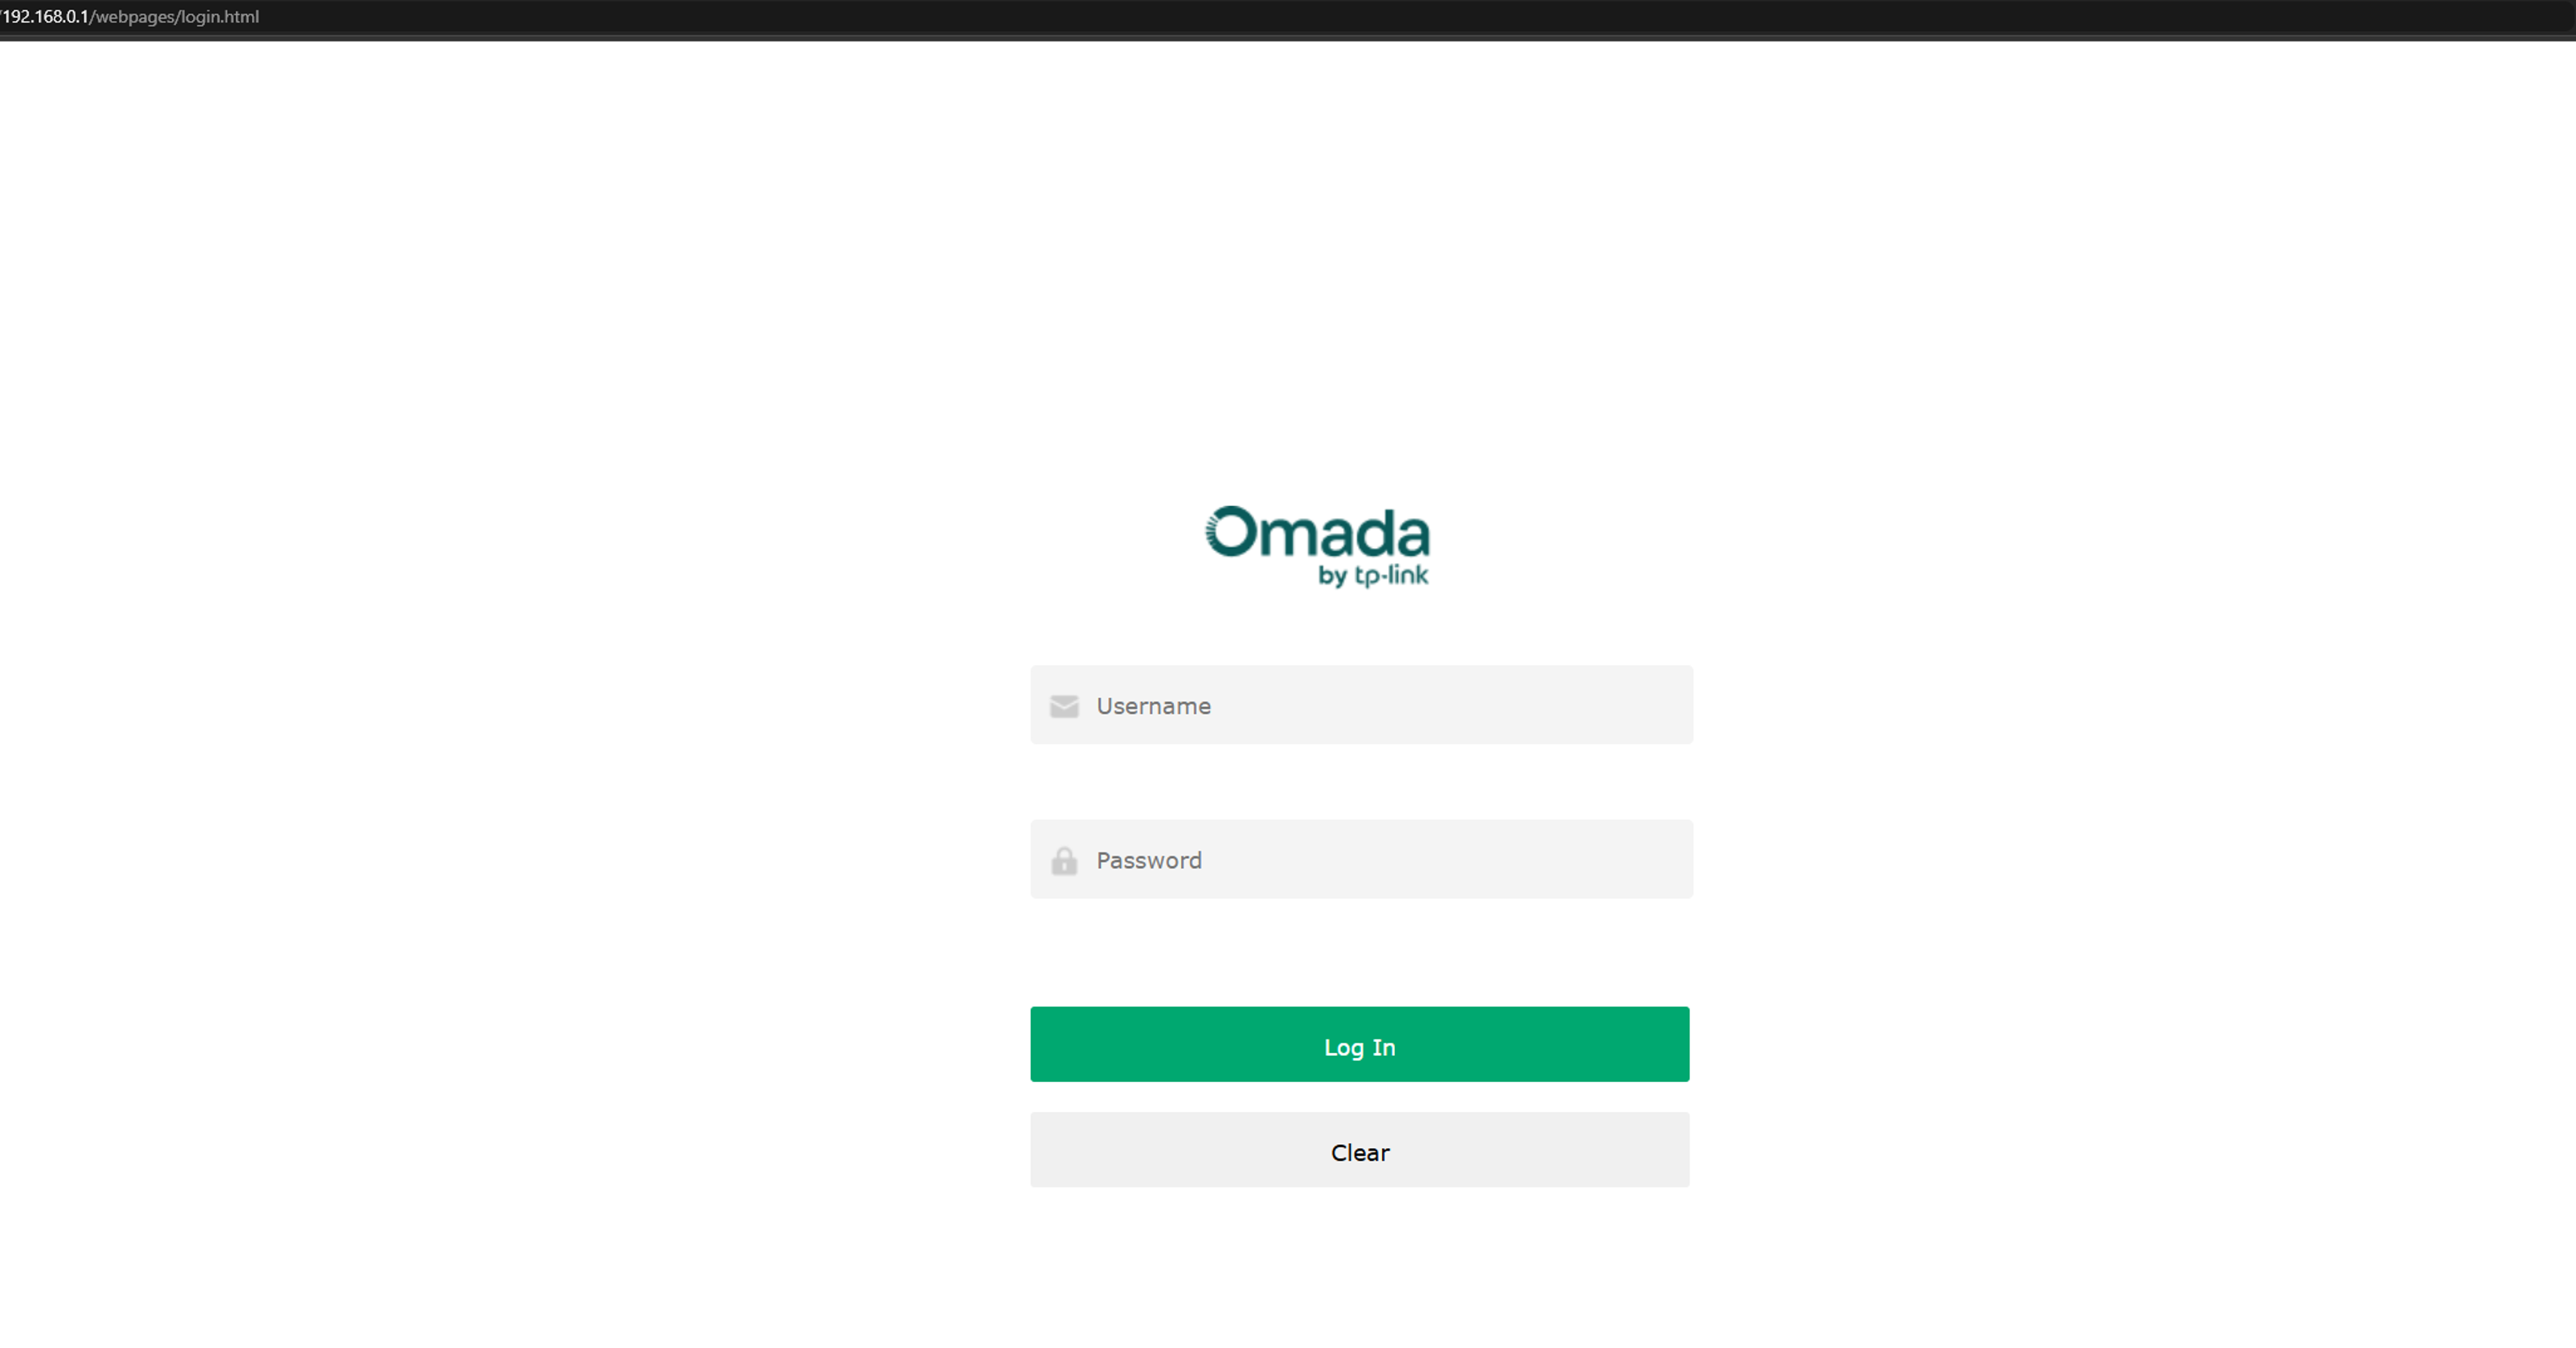
Open a web browser and enter the default gateway IP address:
192.168.0.1
Confirm that the Omada Gateway management interface opens and that the gateway can be accessed normally.
Conclusion
Recovery Mode can restore an Omada Gateway that cannot start normally after an interrupted firmware upgrade or system boot failure. By downloading compatible firmware, assigning a static IP address to the computer, starting the gateway in Recovery Mode, and uploading the firmware through the recovery page, normal gateway operation can be restored without hardware replacement.
To learn more about each function and configuration, please visit Support Home to download or check the manual for your product.
