


How to upgrade EAP firmware in different management modes


Contents
Update Firmware In Different Modes
Introduction
Omada EAP can be managed in Controller and Standalone modes, which are further divided into Web Interface and Omada App modes. The firmware upgrade is divided into local upgrades and online upgrades. This article will provide a detailed description of the specific steps.
Requirements
- Omada EAP
- PC/mobile phone
Update Firmware In Different Modes
Follow the steps below to upgrade the firmware of your EAP device. Here we take EAP610-outdoor as an example.
Note:
- Do NOT turn off the power or cut down the Ethernet cable during the upgrade process. Otherwise, it may cause the device to become bricked. If so, you will need to recover the firmware of EAP according to the following FAQ: How to use the Recovery Mode to recover the firmware for EAP
- It is recommended to back up the current settings so that you can restore them after the upgrade.
- It is recommended to upgrade the firmware with Chrome and Firefox.
In Controller Mode
Online Update in Controller mode
Step 1. Log in to the Controller on your PC.
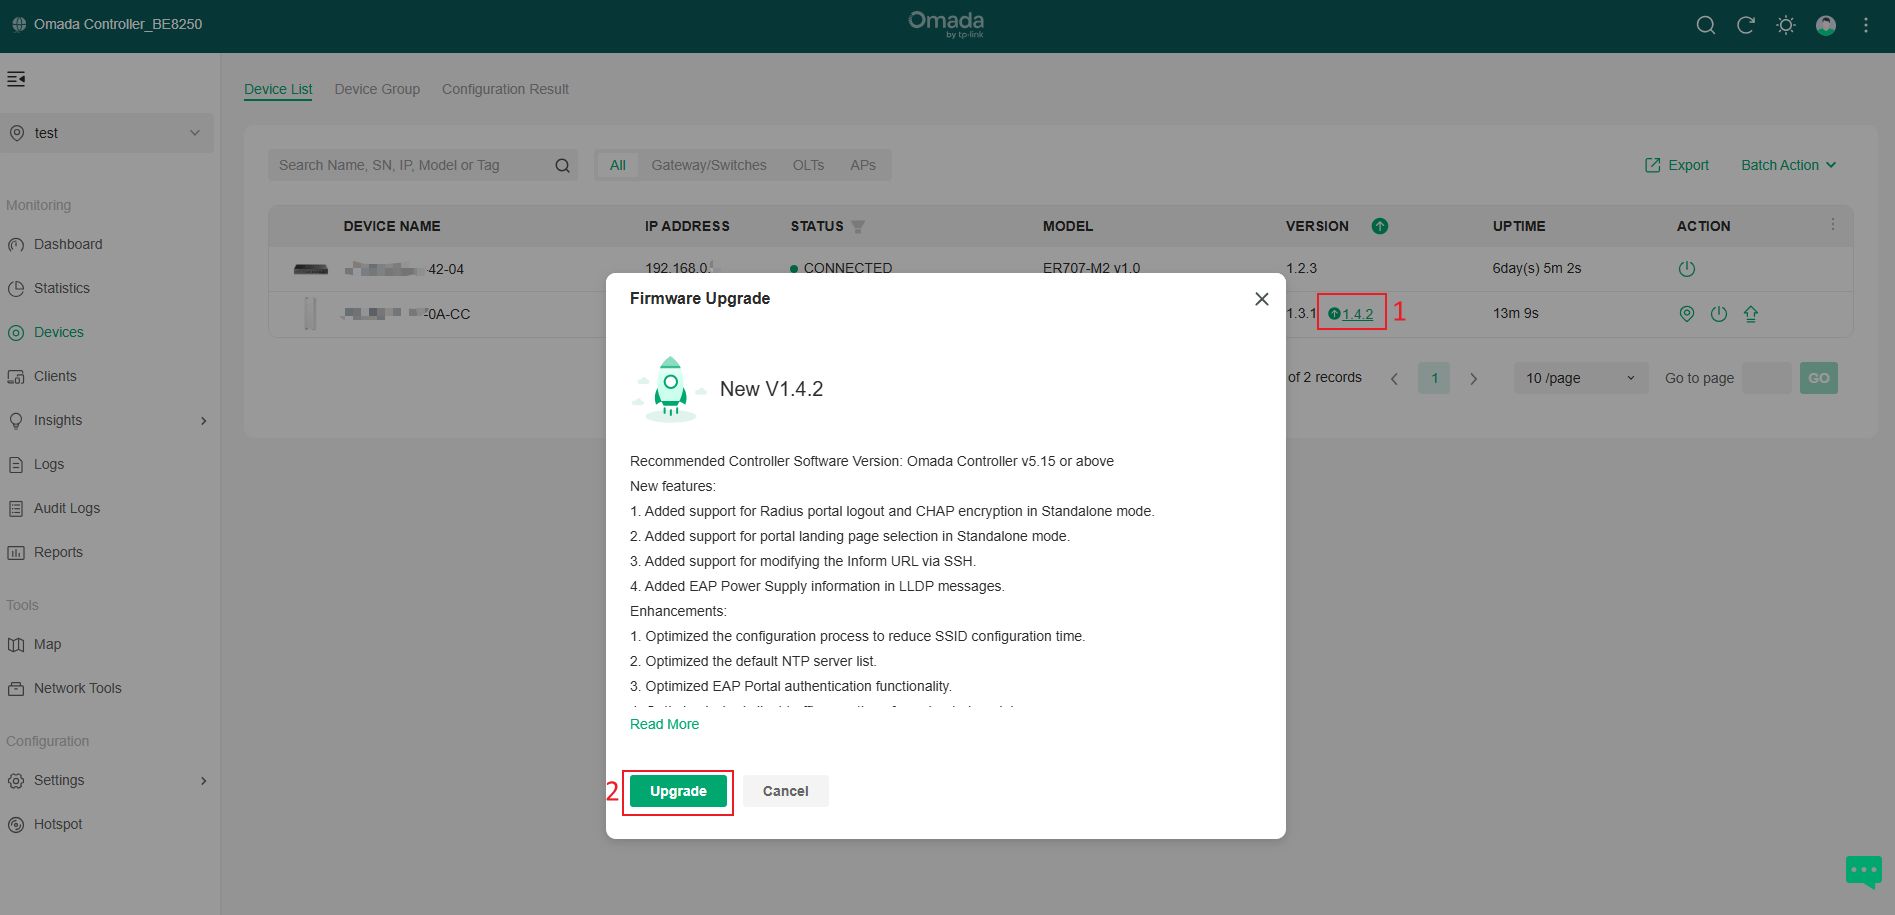
Go to Site > Devices. On this page, the arrow icon indicates that new firmware is available for update. If no new firmware is available, you can manually search for it by clicking the arrow icon next to 'VERSION'.

Step 2. Click on the arrow to display the release note for the new firmware, then click 'Upgrade' to update the EAP firmware online.
Custom Upgrade in Controller mode
Step 1. Go to the TP-Link website and search for your EAP model. Download the correct firmware file from the EAP's support page. Use decompression software, such as WinZIP or WinRAR, to extract the firmware file to a folder. The firmware file is a BIN file.

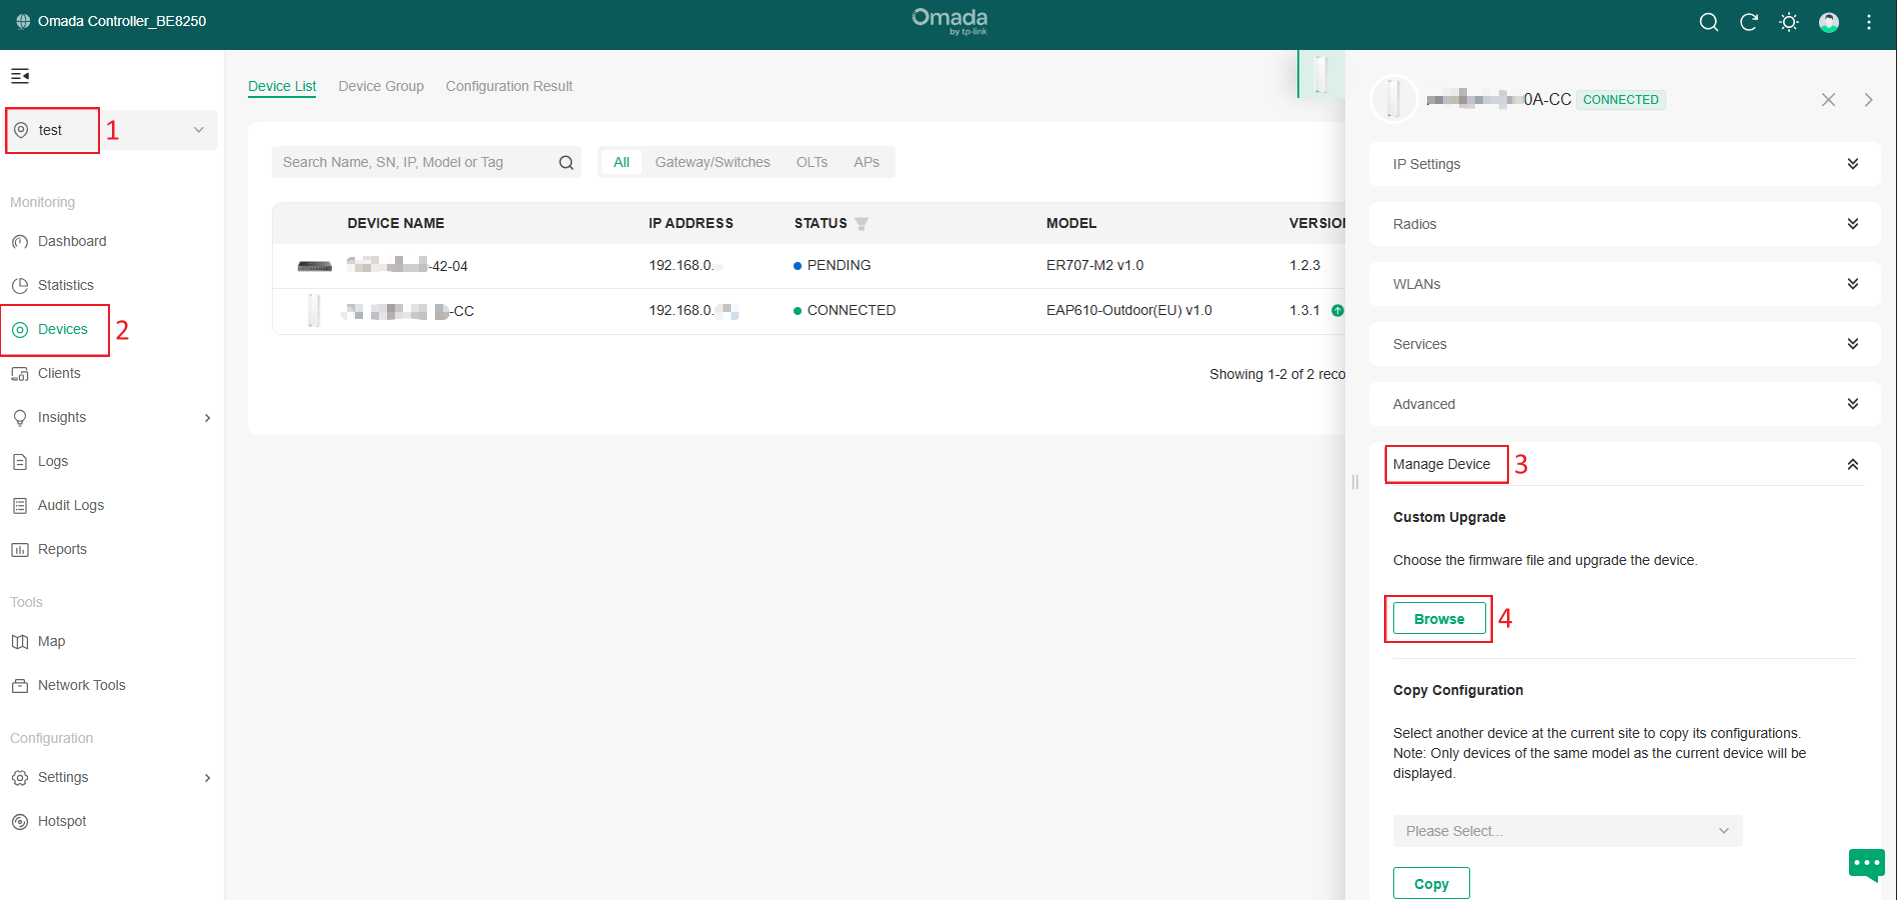
Step 2. Log in to the controller on your PC. Go to Site > Devices > Config > Manage Device > Custom Upgrade > Browse to locate and choose the correct firmware file from your host.
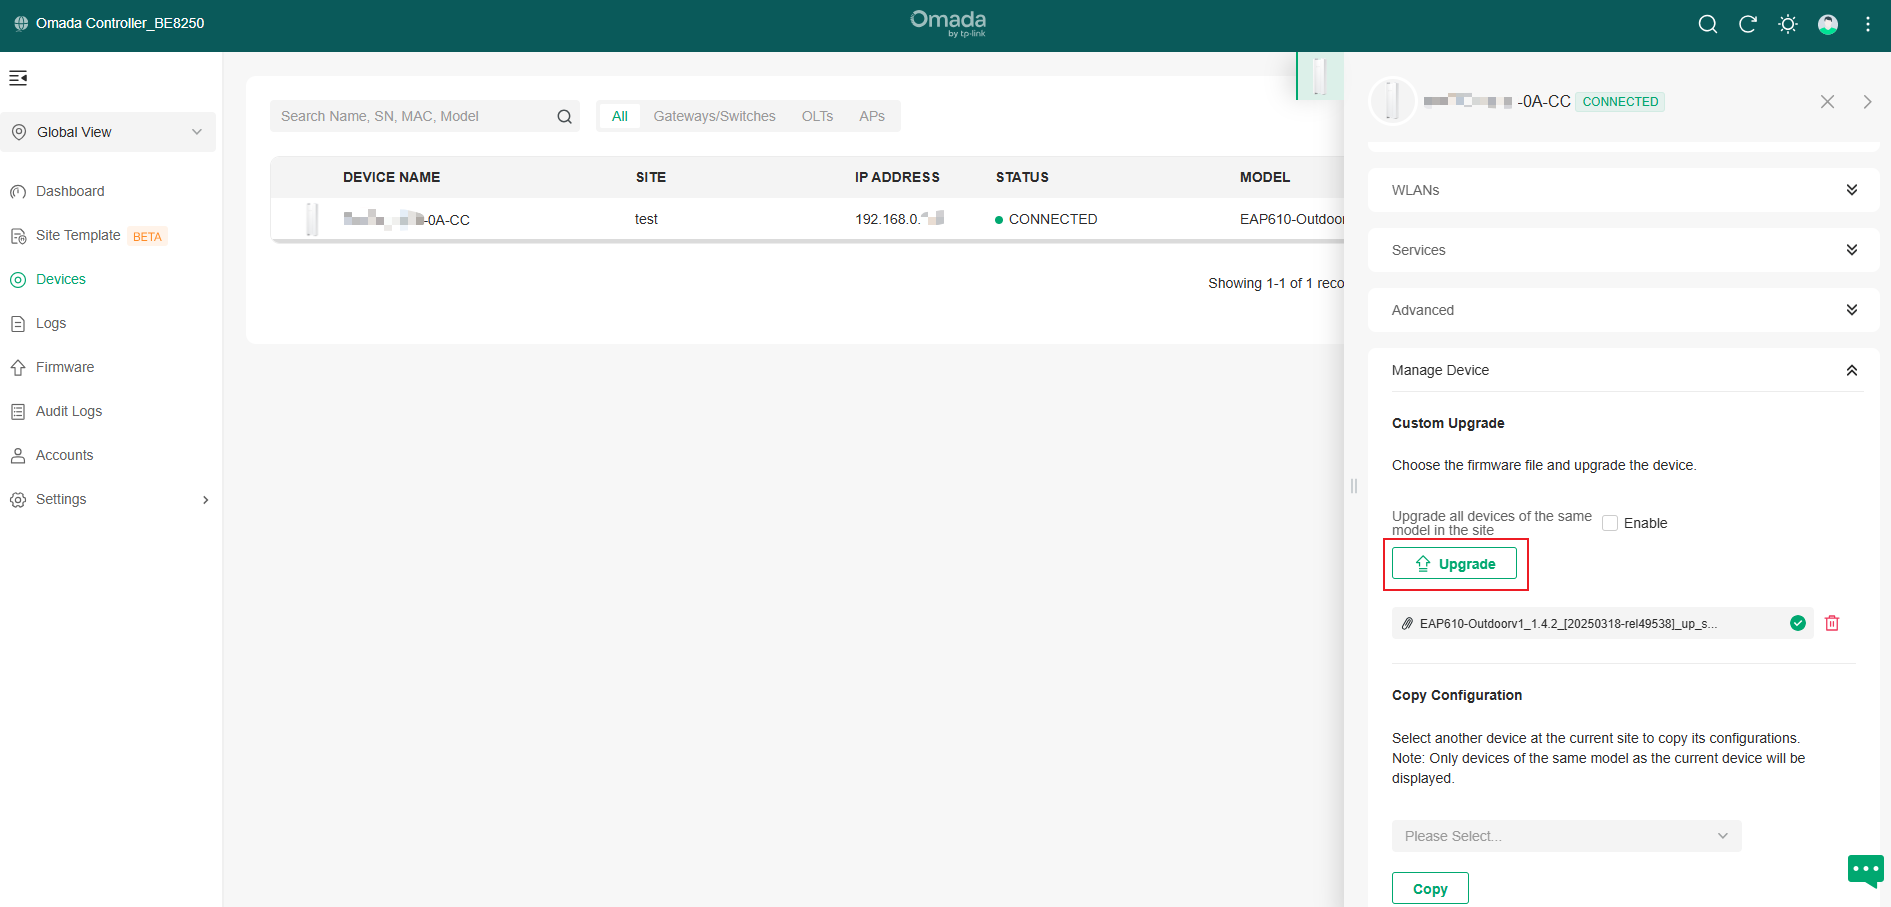
Step 3. Then click the Upgrade button to update the firmware of the EAP. After upgrading, the EAP will be rebooted automatically.
In Standalone Mode
Update firmware via the Web Interface
Step 1. Power on the EAP and connect your PC/mobile phone to the Wi-Fi of the EAP. The default SSIDs are printed on the bottom label of the EAP.
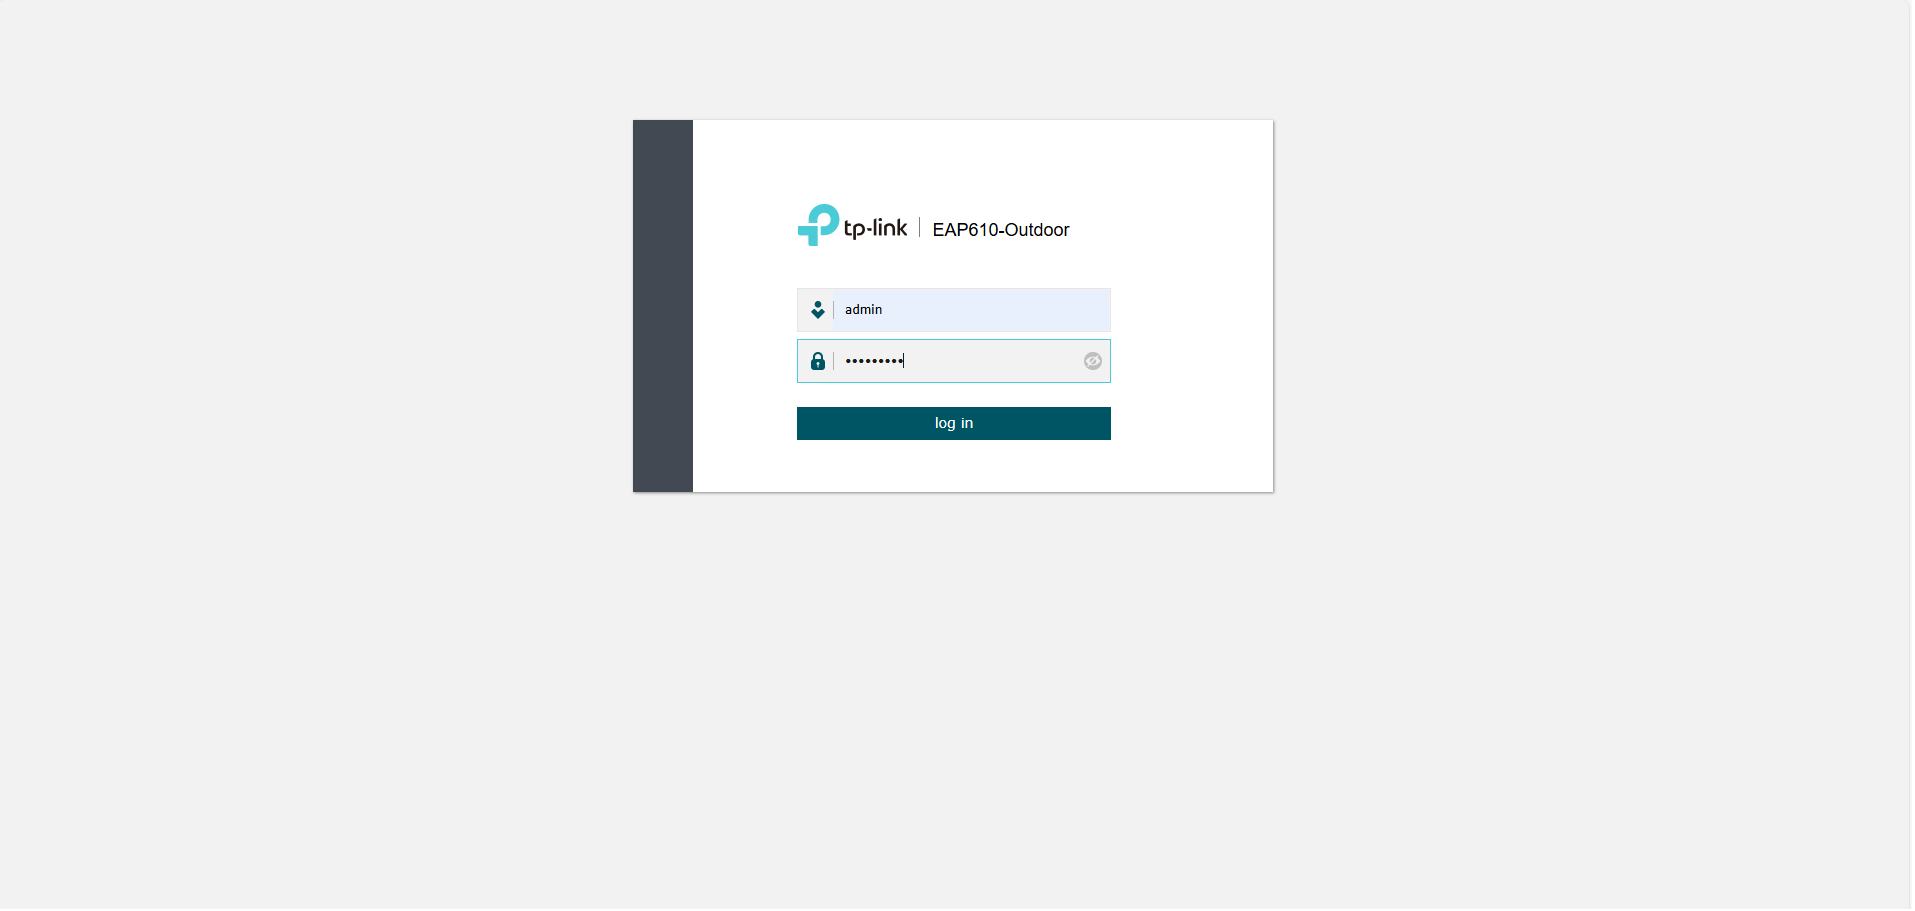
Step 2. Launch a web browser and enter tplinkeap.net in the address bar. The EAP web interface will be displayed. You can also access the web interface by EAP IP address.
Note: For EAP devices with the new Omada VI logo, such as the EAP770, the domain name has been changed to omadaeap.net.
Step 3. Go to System > Firmware Update page and select to update the EAP firmware online or locally.
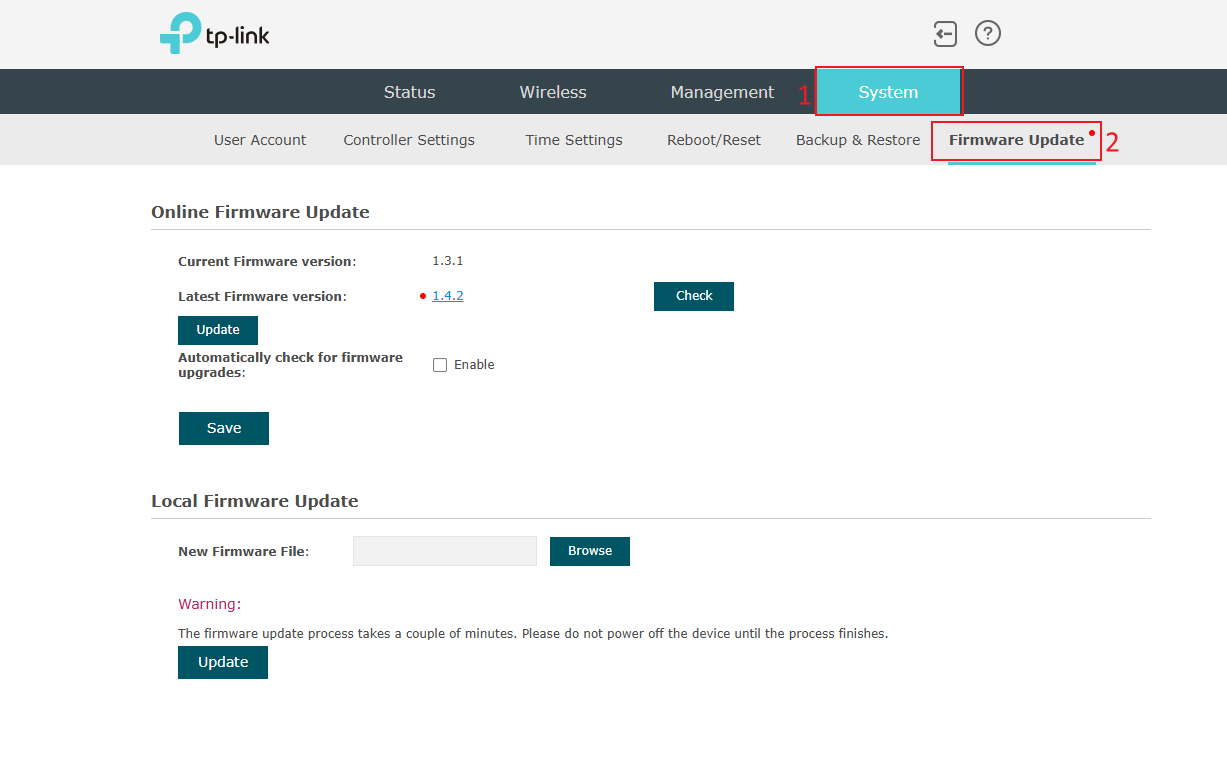
If you choose to upgrade locally, please visit the TP-Link website and search for your EAP model. Download the correct firmware file from the EAP's support page. Use decompression software, such as WinZIP or WinRAR, to extract the firmware file to a folder. The firmware file is a BIN file.

Update firmware via the Omada App
Step 1. Power on the EAP and connect your mobile phone to the EAP Wi-Fi. The default SSIDs are printed on the EAP.
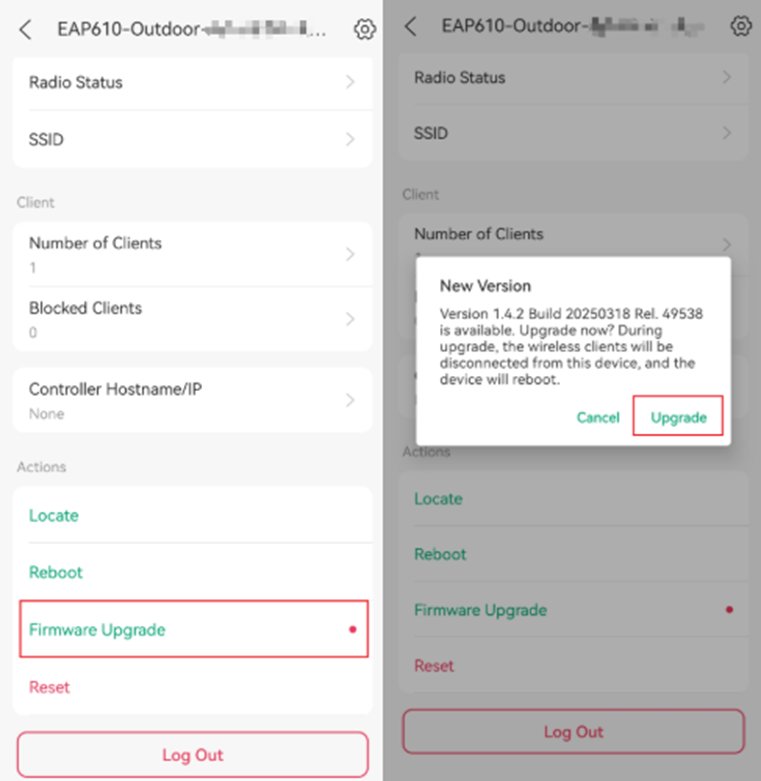
Step 2. Log in to the Omada App and click on your EAP. Slide down to the bottom of the page, and you'll see the Firmware Upgrade option. Here you can see if your current firmware is up to date. If not, please click on the Upgrade button to update the firmware to the latest version.
Conclusion
Now that you've learned how to upgrade the EAP firmware, enjoy using the latest firmware version!
Get to know more details of each function and configuration please go to Download Center to download the manual of your product.
