


Contents
Introduction
Omada Fusion Gateway is an all-in-one device, capable of connecting to the cloud for direct management. It is compact in size yet powerful in functionality: it has an embedded speed test, supports network health monitoring and a touch screen display. It is suitable for homes, SOHOs, small offices, and retail scenarios. Below is an introduction to how to set it up on the Omada App.
Requirements
- Omada Fusion Gateway
- Omada App (v5.2 or above)
Configuration
Step 1. Detect the device. The method is as follows.
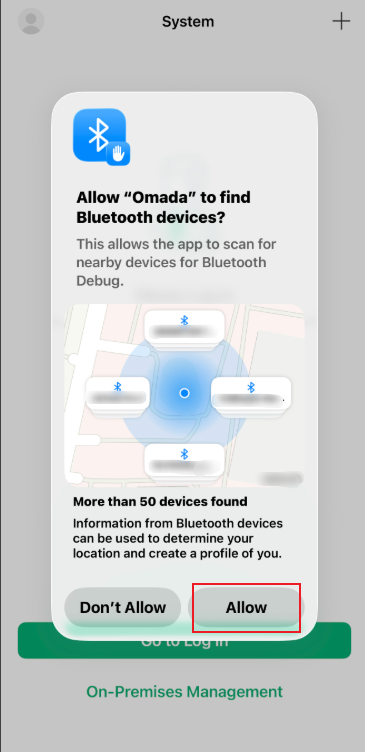
During the initialization process of the Omada App, it will request Bluetooth permission, which is necessary for discovering the Omada Fusion Gateway. Please tap “Allow”.
After powering the device, a setup prompt will automatically appear when you open the App. Tap the Set Up button.
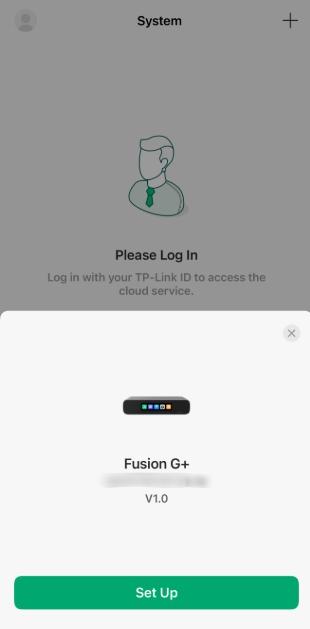
Note: This method discovers the Fusion device via Bluetooth. Please keep your phone close to the Fusion device and enable Bluetooth.
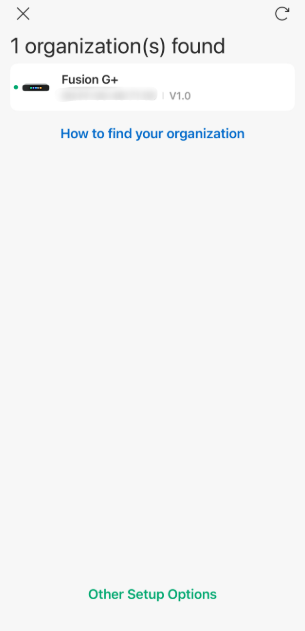
If you accidentally close the pop-up page, you can tap the “+” button at the top right to find the device.

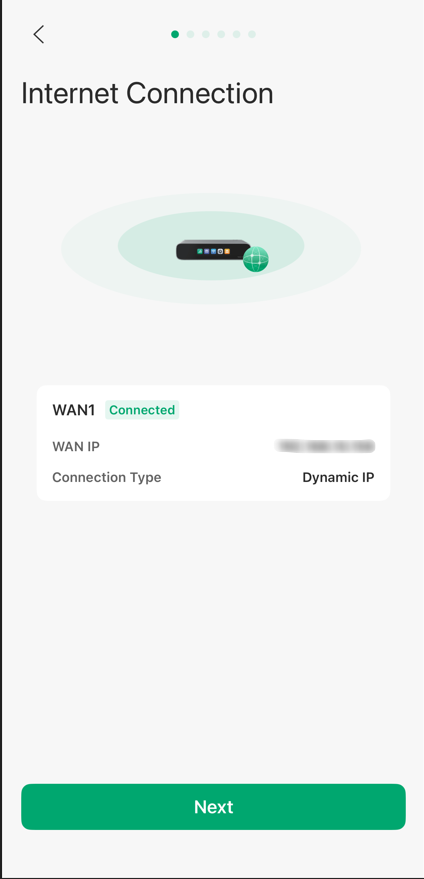
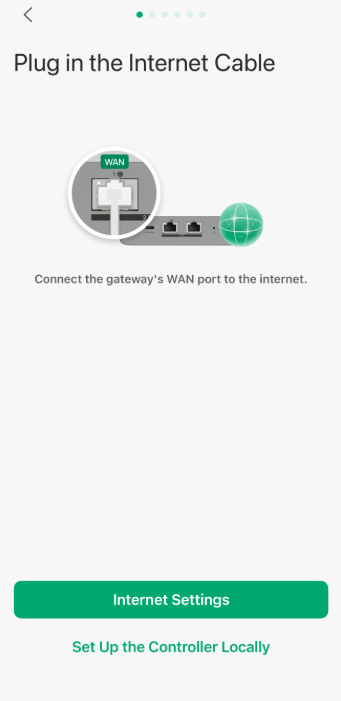
Step 2. The WAN port network status will be displayed when the network connection status is normal. The WAN port usually uses Dynamic IP by default.
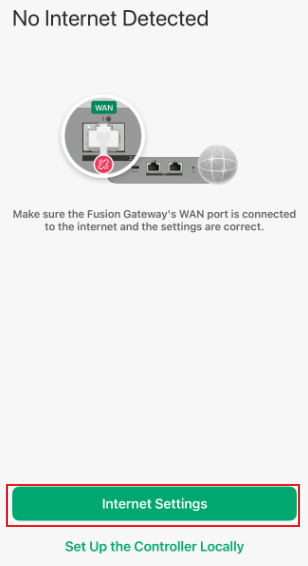
Note: If you encounter some issues related to Internet Connection. Please refer to Q2 in the QA section at the end of this article.
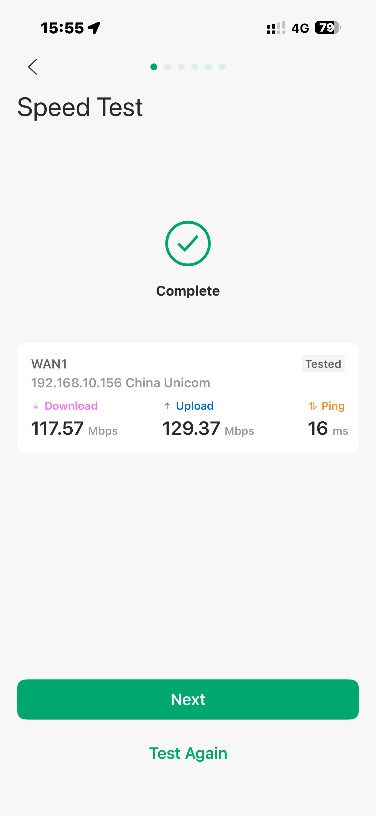
Step 3. An automatic speed test will be performed. When it is finished, tap Next to continue. This can help you assess the quality of your ISP's network connection. If your speed test results are poor, you may need to check the network cable connection, contact the ISP, etc. This step can be skipped.
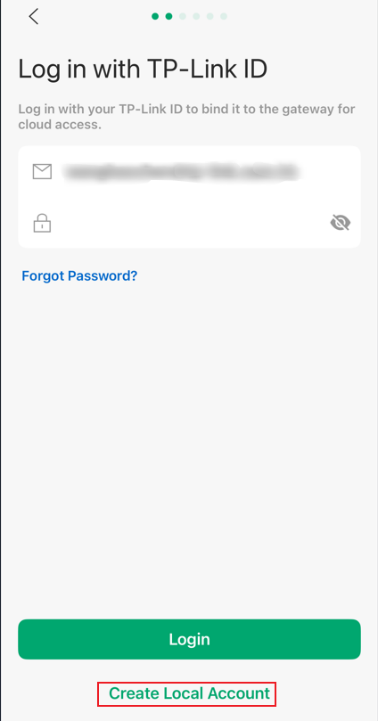
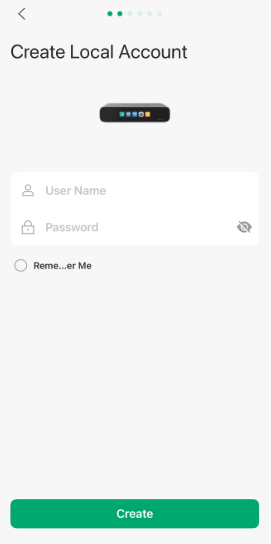
Step 4. Log in with your TP-Link ID. if you don’t have one, you can Create a local account.
Although registering for the TP-Link ID is not mandatory, we strongly recommend that you complete the registration. The TP-Link ID supports cloud account binding, facilitating unified configuration, operation and monitoring, significantly enhancing network management efficiency and user experience. Additionally, With the TP-Link ID, you can achieve remote access to devices and allow you to conveniently manage multiple sites and their network devices from anywhere.
Note: Learn more about TP-Link ID in detail on the following website:
TP-Link ID Explained: What It Is and How to Create One
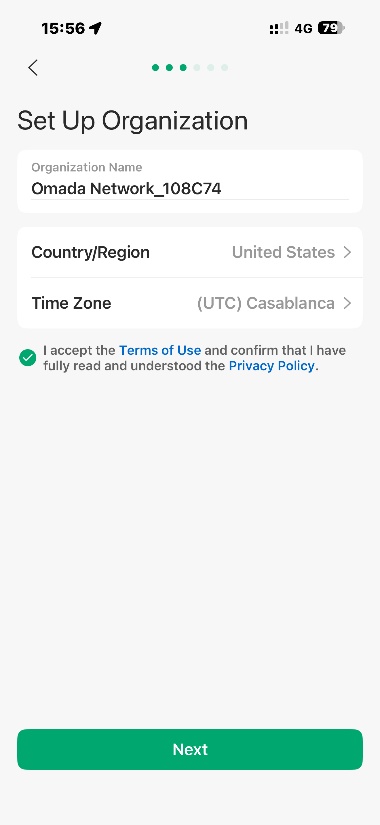
Step 5. Edit your organization name, country/region, and time zone.
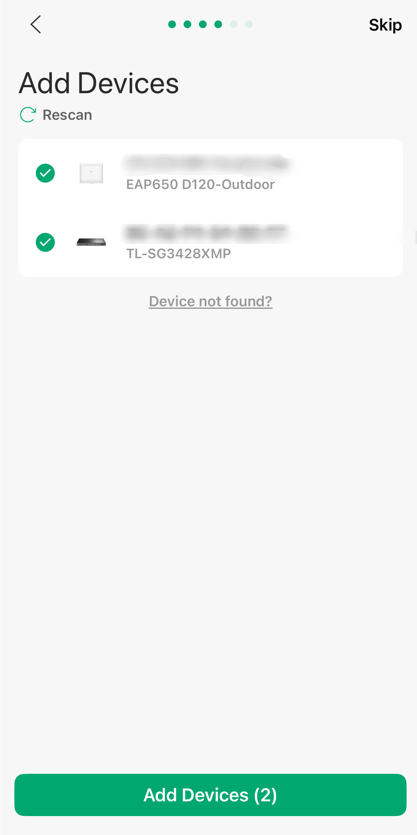
Step 6. Adopt the devices that are in pending status. All the Omada devices in the network that are in the “pending” state will be automatically detected. You can select them and add them to your Fusion Gateway, or you can add them later.
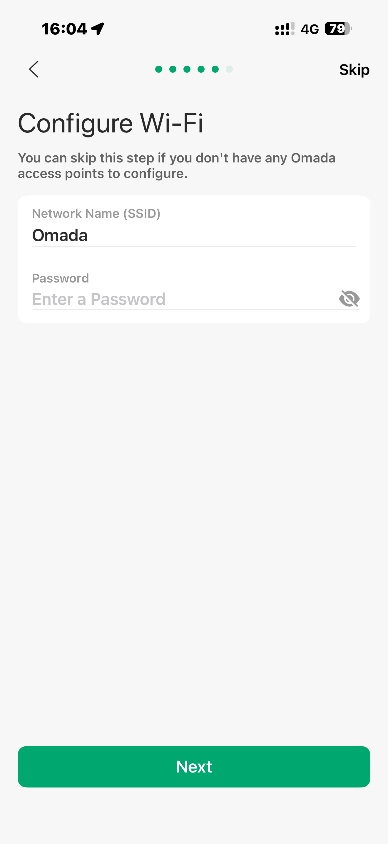
Step 7(Optional). Configure your Wi-Fi.
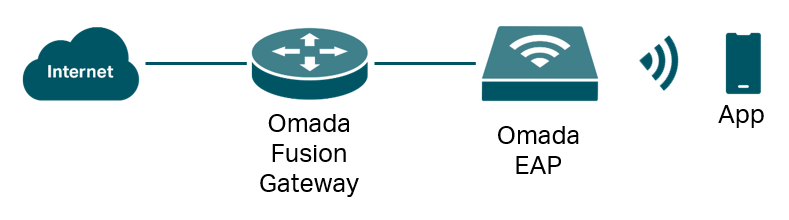
Please enable your AP to access Fusion as shown in the following image, and you have already added them in the previous step.
If you didn’t add any Omada access points, this step will be skipped.
Step 8 (Optional). Connect to the SSID you created. If you didn’t configure the wireless network, this step will be skipped.
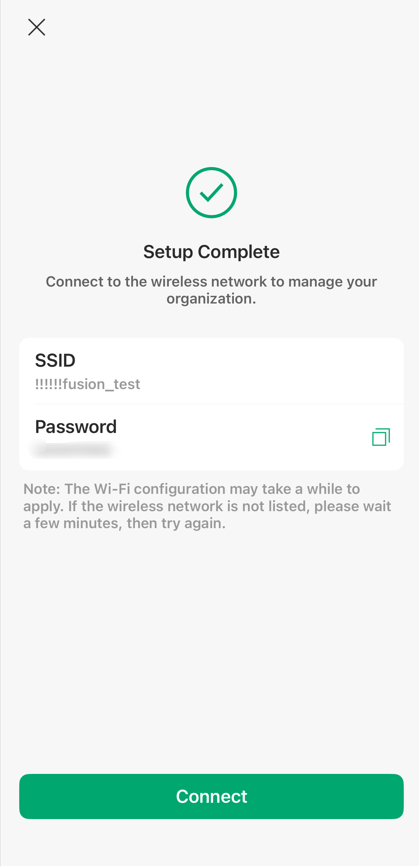
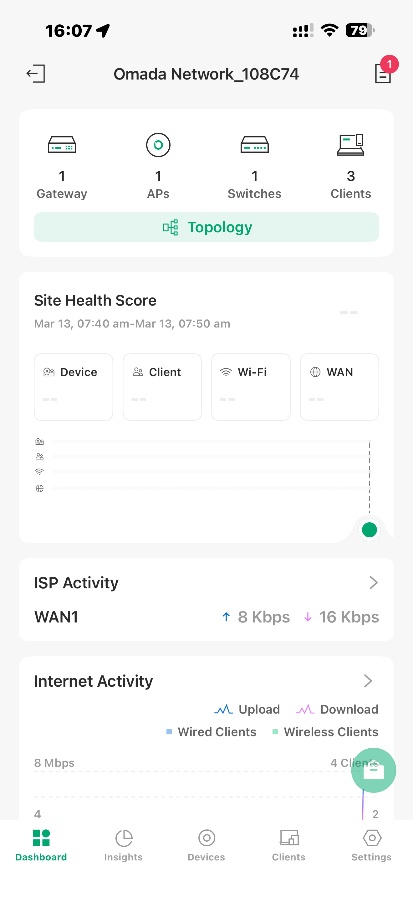
Step 9 (Optional). You’ve completed all the steps of the Setup. If you successfully connect to the SSID you created, you can now manage your Omada Fusion Gateway on your App.
If you have bound up your TP-Link ID account, you can remotely access the Fusion device, and you can also manage multiple Fusion devices simultaneously in the App.
Note: If you didn't configure a wireless network, please refer to Q1 in the QA section at the end of this article to learn how to configure Fusion Gateway via a wired connection.
Conclusion
After powering the device, you can start the setup process. By following the steps in this article, you can successfully adopt and manage Omada Fusion Gateway.
Get to know more details of each function and configuration, please go to Download Center to download the manual of your product.
QA
Q1: Are there any other ways to set up the device?
A1: Connect the PC to the LAN port via network cable and set the PC to automatically obtain an IP address, then access the device’s IP address (Usually 192.168.188.1 for Omada Fusion Gateway).
Q2: Common errors and troubleshooting methods for WAN ports?
A2:
1) If no network cable is detected, please check whether the cable is properly plugged into the WAN port and whether the cable is damaged.
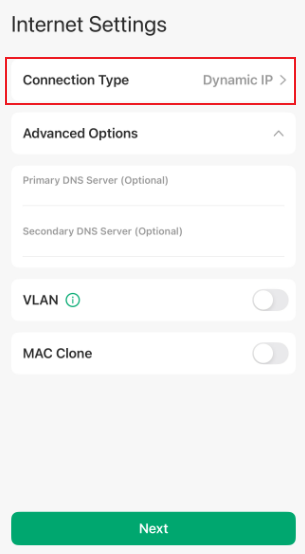
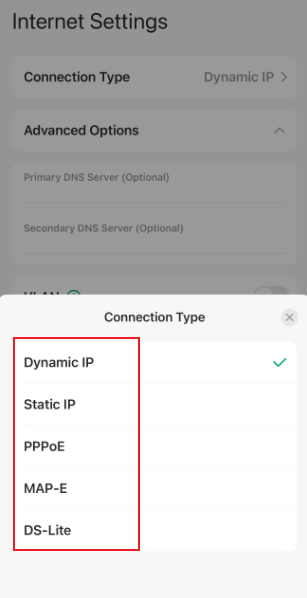
2) If the Internet is not detected, please confirm the network connection type with your ISP, switch the network type in Internet settings, and dial manually.
3) If you connect the device after the ISP's cable modem, you might need to reboot the cable modem before you can obtain an IP address.
Q3: After the Fusion Gateway has completed the initial setup, how can it be managed via the app?
A3:
(1) If the device has been bound to a TP-Link ID cloud account, you can log in to the corresponding cloud account in the App and discover the device.
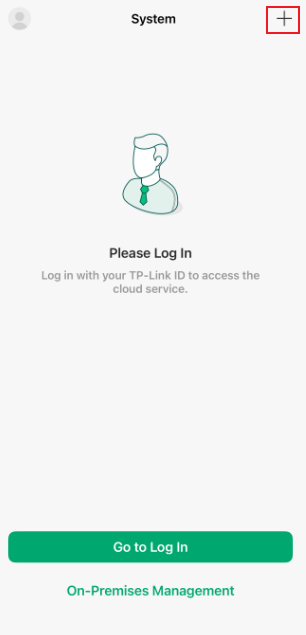
(2) If the device has not been bound to a cloud account, make sure your mobile phone is connected to the same VLAN SSID as the device. Then tap the “+” icon in the top‑right corner of the app home page.
a) If the device is discovered automatically, enter the device’s username and password to log in.
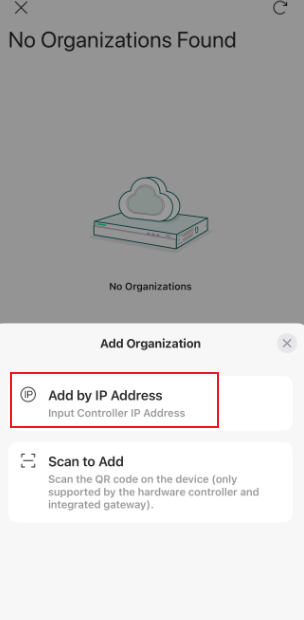
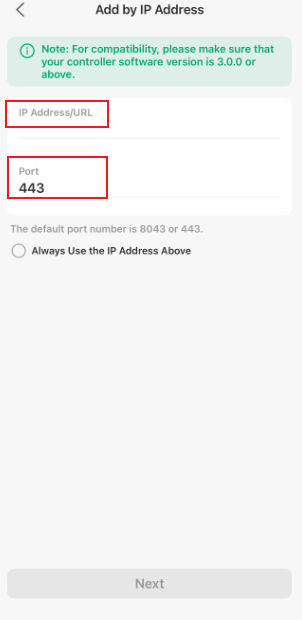
b) If the device is not discovered automatically, tap “Other Setup Options”, then add the device via “Add by IP Address”.
Note: The default port is 443.
Q4: Does the Fusion Gateway support adding devices by scanning a QR code?
A4: No, it does not support this feature.
