


Contents
Scenario 1: When EAP is working in standalone mode
Scenario 2: When EAP is adopted by the Omada Controller
Scenario 1: When EAP is working in standalone mode
Scenario 2: When EAP is adopted by the Omada Controller
Introduction
This FAQ describes the steps for a firmware downgrade in both standalone and controller modes when EAP behaves abnormally after the firmware update.
The firmware downgrade shares the same process as the upgrade. The downgrade and upgrade of the firmware will not erase the settings on your EAP. But, if you leap too many versions, there is a possibility that your settings will be lost.
Note: Some EAP firmware versions cannot be downgraded directly. This is specifically noted in the release notes of the official firmware on our website. If you encounter any issues and need to perform a downgrade, please contact Omada Technical Support for assistance.
Requirements
- EAP (EAP650 for the demo)
- Laptop
Configuration
Scenario 1: When EAP is working in standalone mode
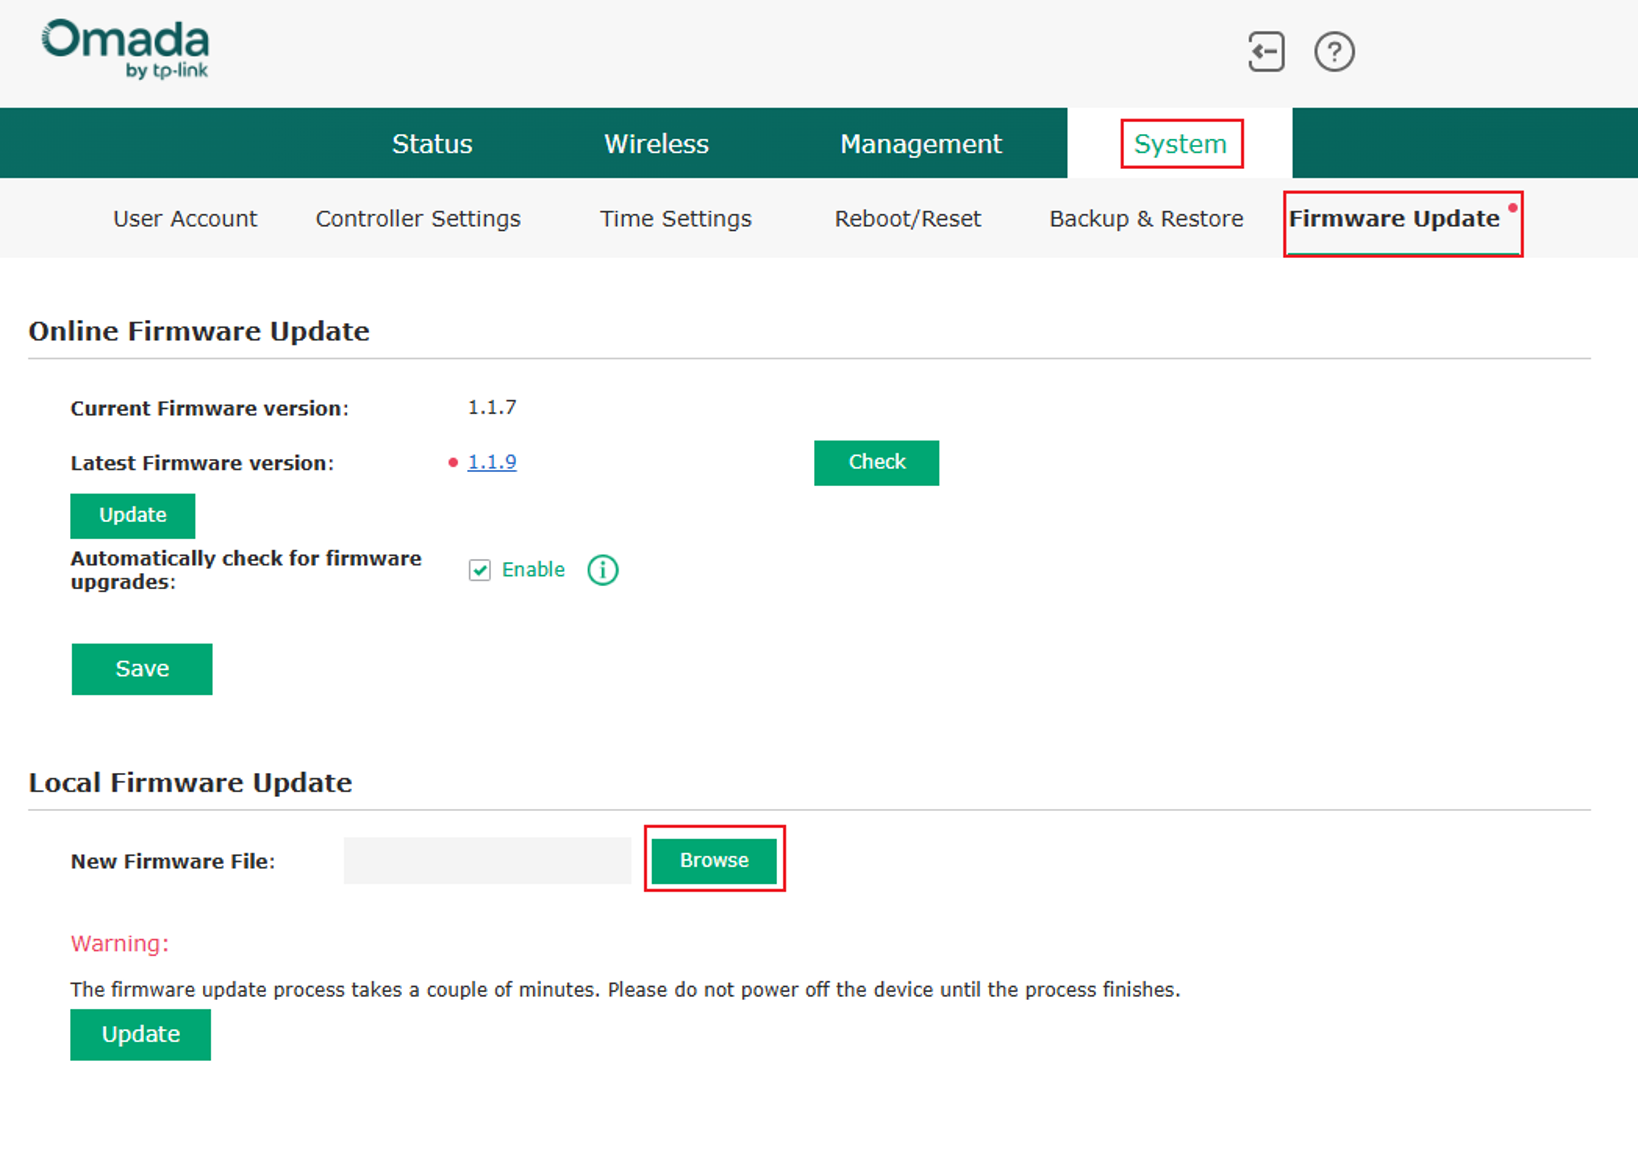
Step 1. Use the EAP’s IP to access the web management interface of the EAP. Navigate to System and Firmware Update, click Browse.
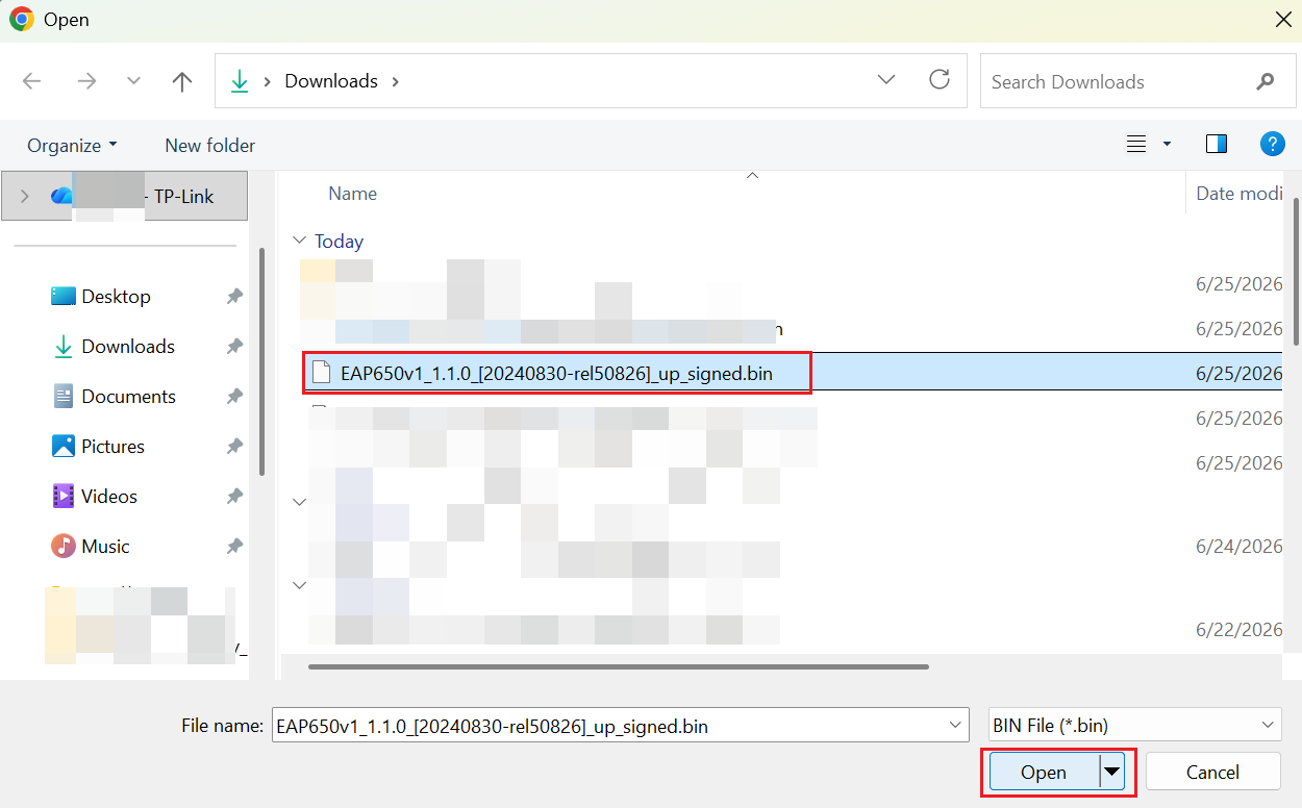
Step 2. In the pop-up folder, locate the firmware version that you want to downgrade to. Select and Open the BIN file.
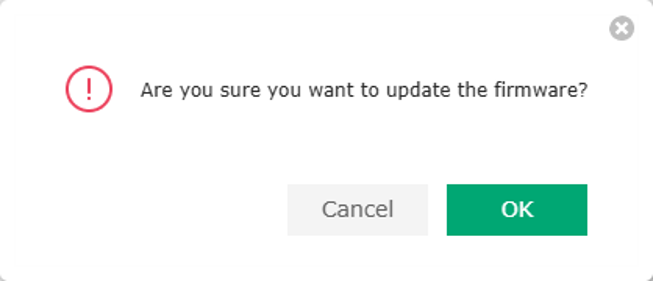
Step 3. Click OK to close the pop-up window asking whether to update the firmware and start the upgrade process.
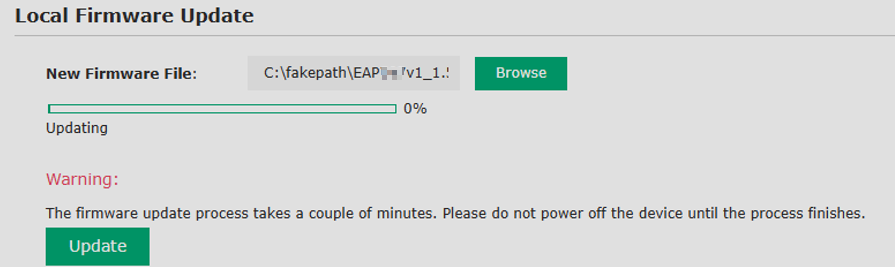
Step 4. Wait for the upgrade progress to finish loading. Once it is complete, the upgrade will be successfully completed.
Scenario 2: When EAP is adopted by the Omada Controller
Sometimes, your EAP cannot be adopted by the Omada Controller, please refer to Scenario 1 to downgrade in standalone mode. (If your EAP is not managed by the Omada Controller somehow, please access the EAP’s standalone page. If necessary, you can reset the EAP and perform the downgrade like Scenario 1. Wi-Fi settings are saved on your Controller, a reset won’t affect anything)
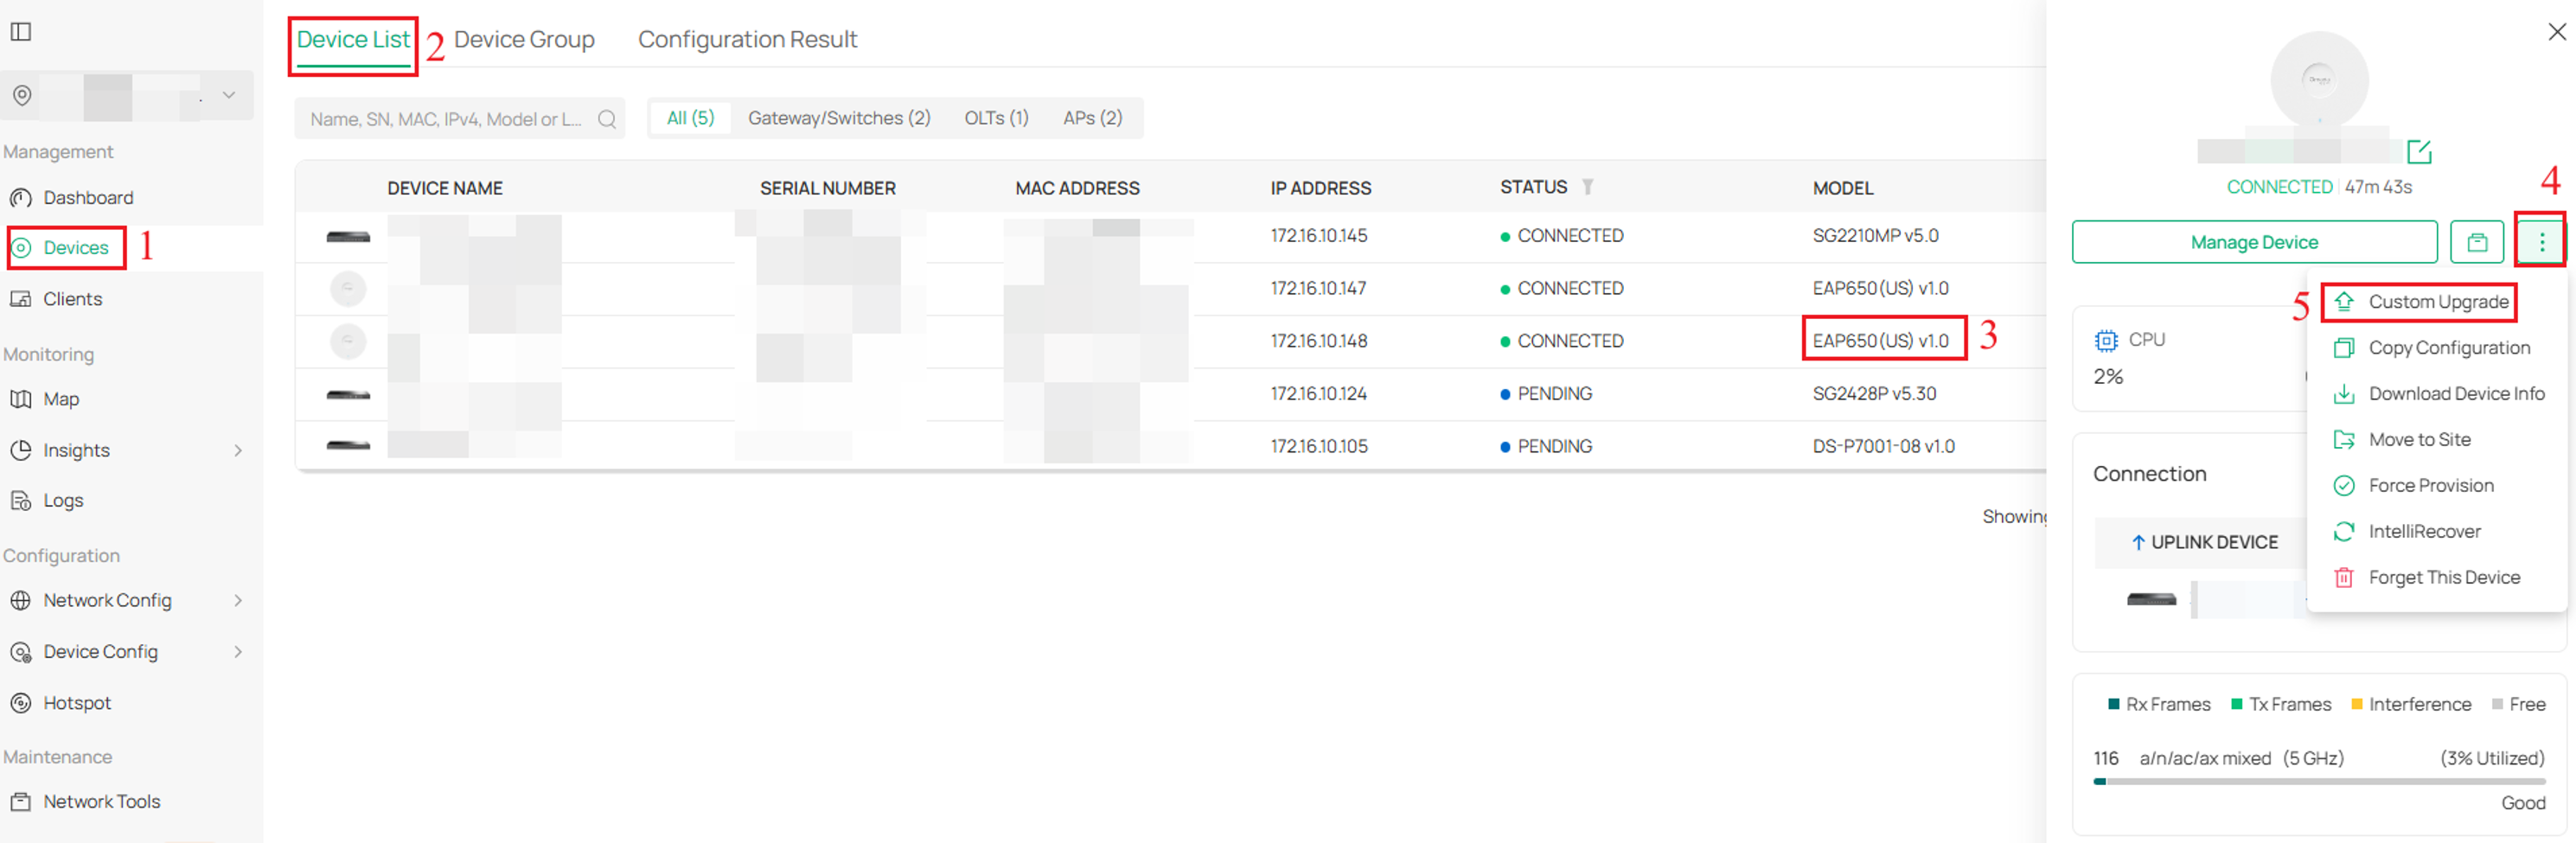
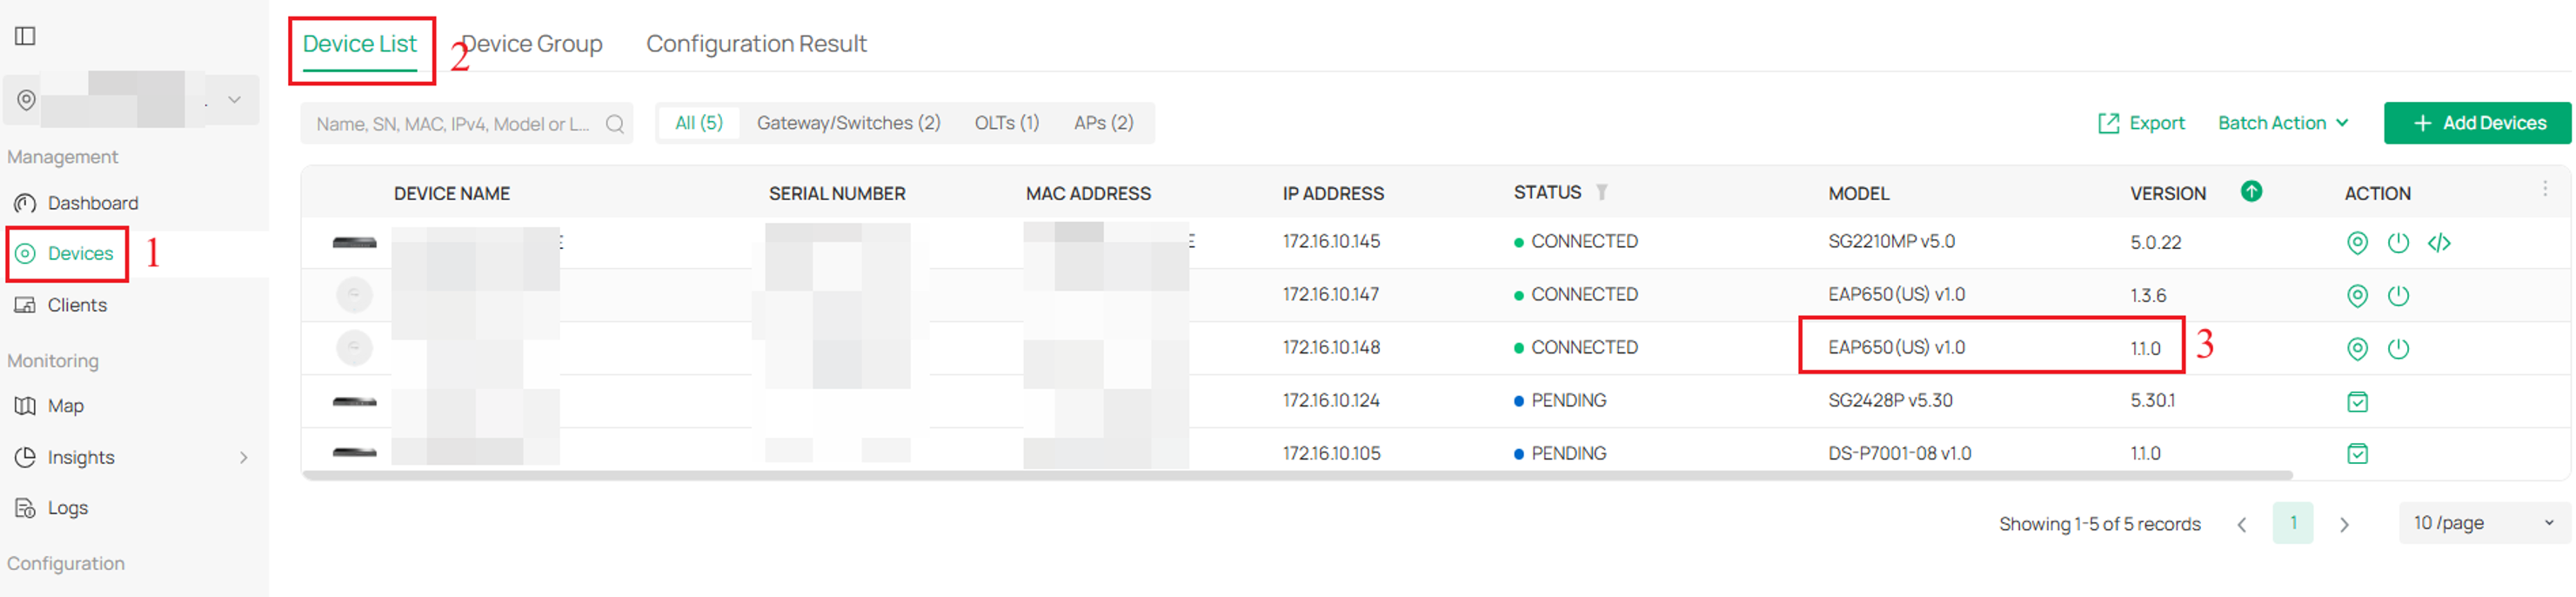
Step 1. Launch the Omada Controller and click Device > Device List > tap on EAP650 > tap > Custom Upgrade.
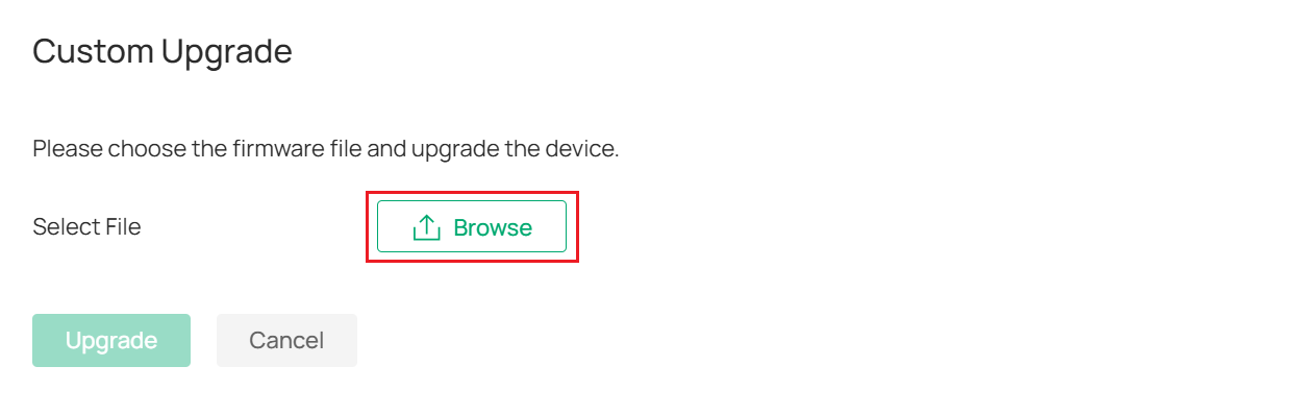
Step 2. In the pop-up Custom Upgrade window, click Browse.
Step 3. In the pop-up folder, locate the firmware version that you want to downgrade to. Select and Open the BIN file.
Note: You must first extract the firmware file from the downloaded package before selecting it.

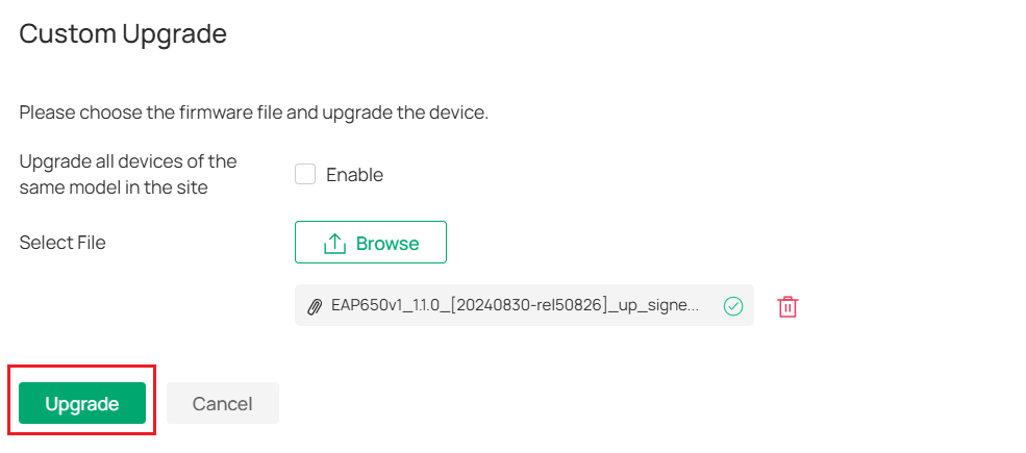
Step 4. In the pop-up Custom Upgrade window, after the selected firmware has been uploaded, click Upgrade to start the downgrade process.
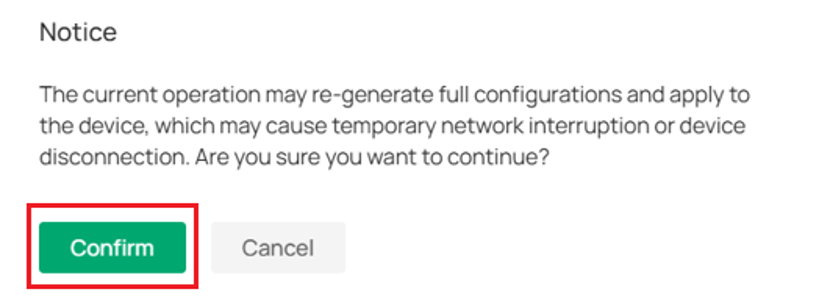
Step 5. A pop-up message will warn you that performing this operation may temporarily interrupt network connectivity or cause devices to disconnect. Click Confirm to proceed.
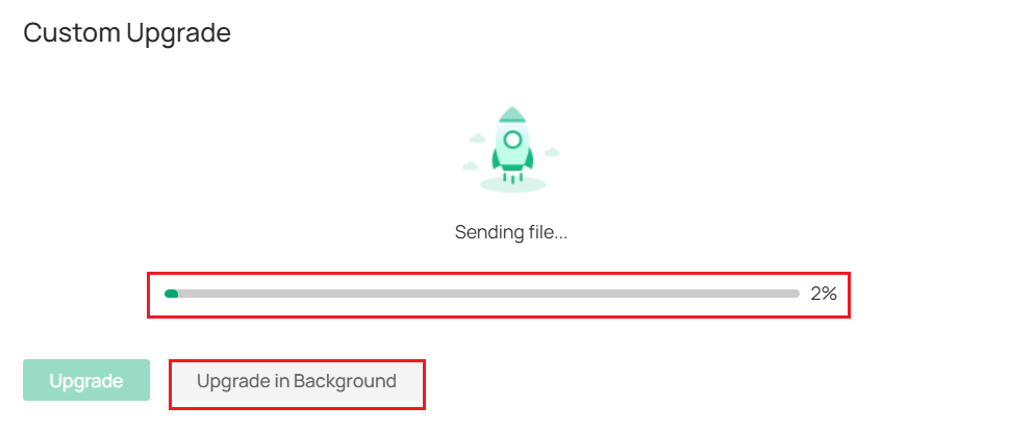
Step 6. Wait for the upgrade progress bar in the pop-up window to complete. Once it finishes, the firmware downgrade will be successfully completed.
Note: You can click Upgrade in Background to close the upgrade progress pop-up window.
Verification
Scenario 1: When EAP is working in standalone mode
Re-access the EAP web management interface, then navigate to System > Firmware Update. Check the Current Firmware Version. If it matches the firmware version you selected for upgrade, it indicates that the downgrade to the corresponding firmware was successful.
Scenario 2: When EAP is adopted by the Omada Controller
Navigate to Device > Device List, locate the EAP that you just selected for downgrade, and compare its current firmware version with the firmware you chose for the downgrade. If it is the same, it indicates that the downgrade to the selected firmware was successful.
Conclusion
You have now learned how to downgrade device firmware in both controller mode and standalone mode. Please note that this is only a temporary solution; for comprehensive troubleshooting assistance, please contact the Omada technical support team.
To learn more about each function and configuration, please visit Support Home to download or check the manual for your product.
