


How to Monitor and Manage Clients in Controller Mode using the Omada App
Client List Display and Status Filtering
Requirements
- TP-Link Omada Mobile App
- Omada Controller with devices adopted to it
Introduction
The Omada App allows you to easily view and manage all clients connected to your Omada network. Through features such as the client list display, status filtering, condition sorting, search, and status description, you can quickly see client details such as connection type, signal strength, and data usage. You can also organize clients by network type or condition, locate specific users or devices, and monitor their real-time connection status. These tools make it simple to maintain full visibility and control over all connected clients anytime, anywhere.
Client List Display and Status Filtering
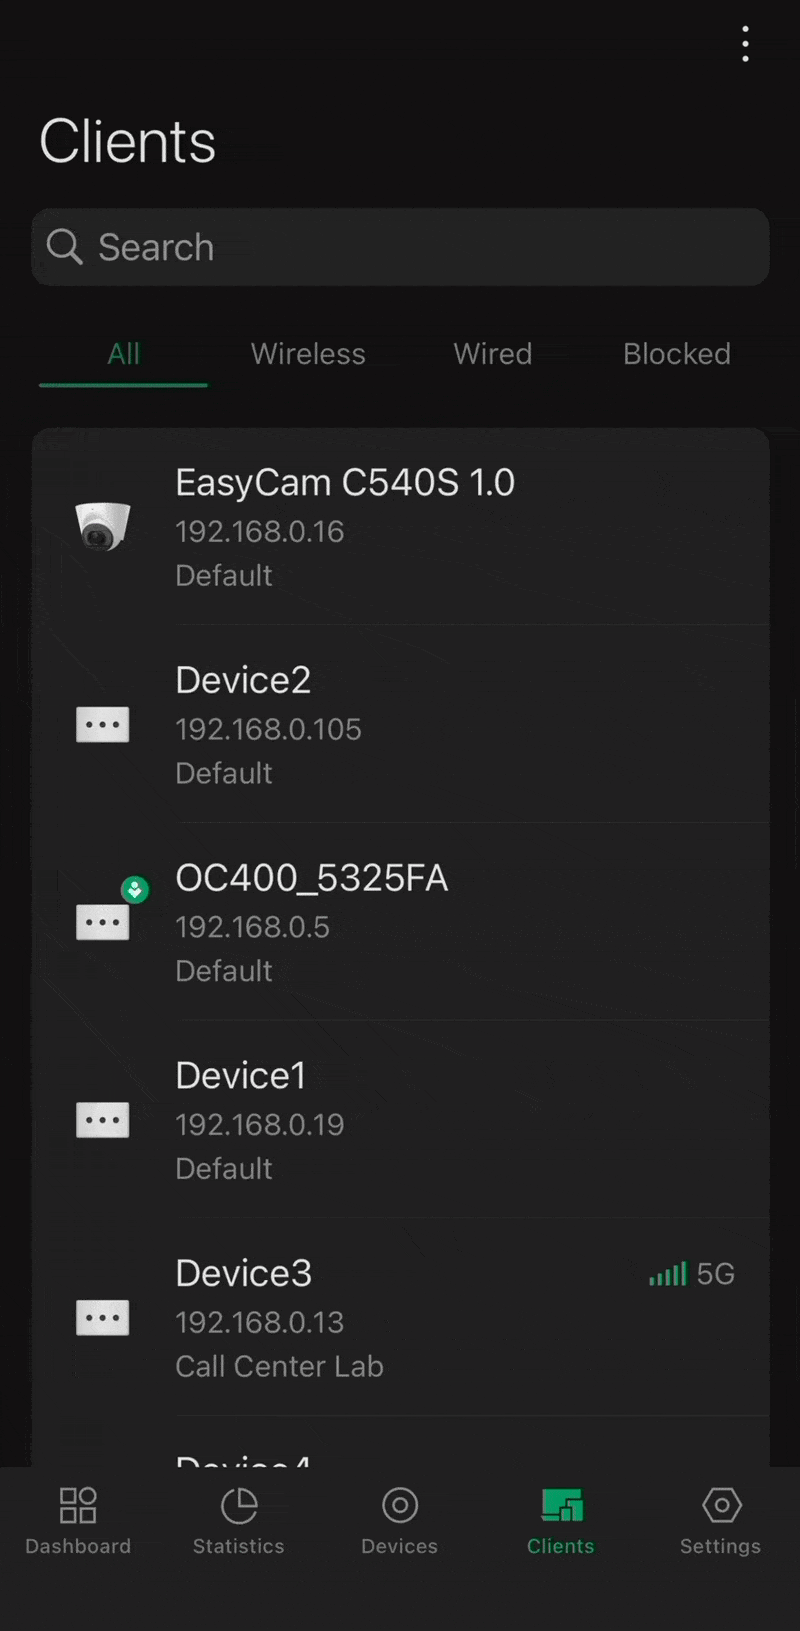
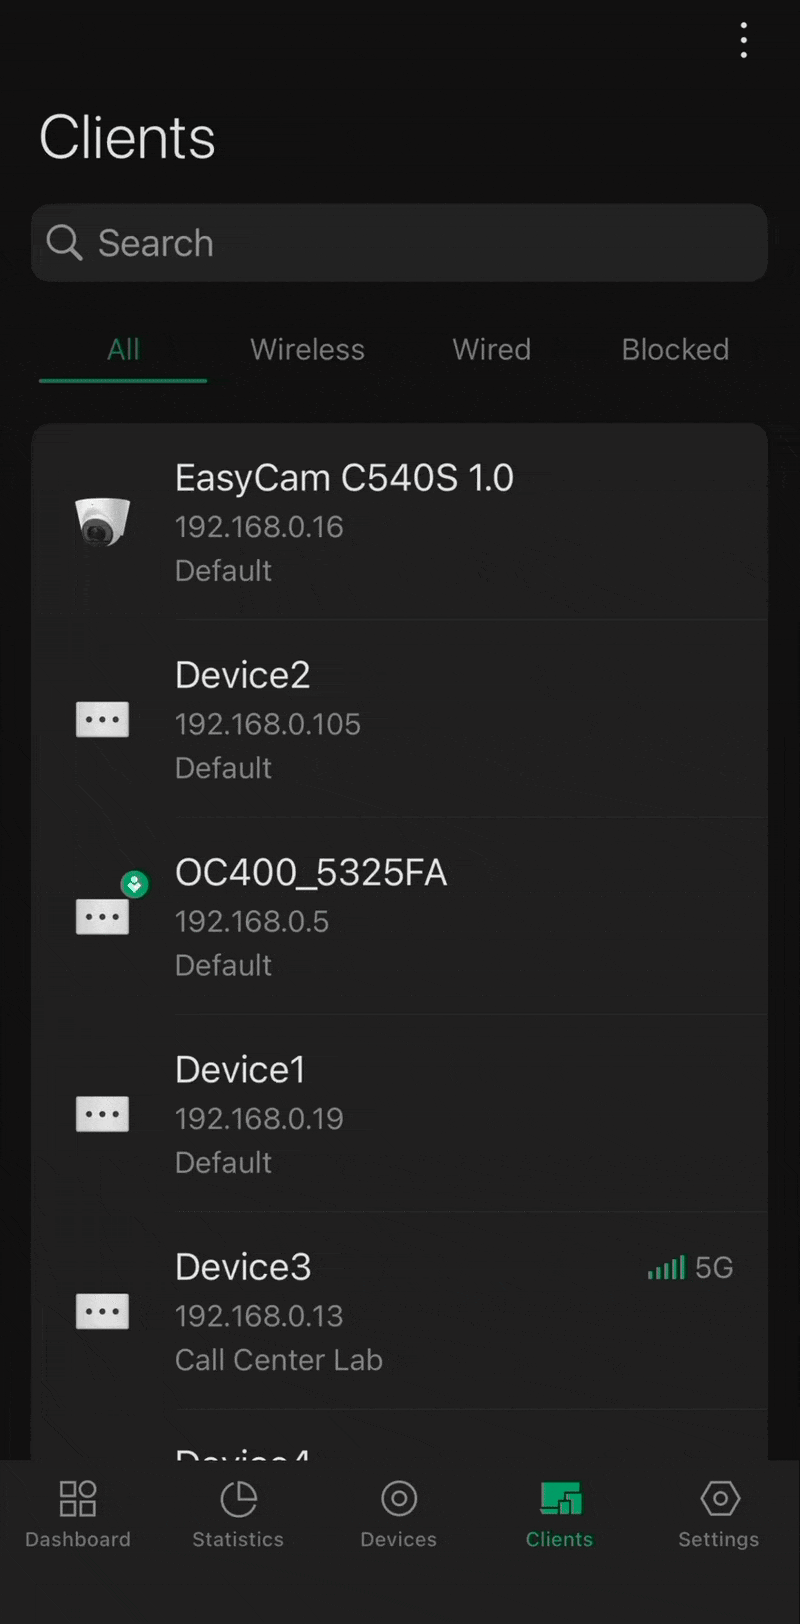
The Omada App’s Client List feature allows users to view, monitor, and manage all clients currently connected to their Omada-managed network. It displays essential details such as each client’s device name, IP address, connected network, and connection type (wired or wireless). Users can sort devices between a full list view, Wired or Wireless connection type, as well as view blocked clients.
A filter button will appear in the upper right corner of the clients page.
Filtering can be done by device, network, or SSID.
In short, the Omada App’s Client List provides a clear and organized overview of all connected clients, helping administrators easily track network activity, manage user connections, and maintain full visibility across the network anytime, anywhere.
To navigate to the Device List, you would go to the Omada Mobile App>Controller Mode Screen>Select Your Desired Controller>Clients
Client List Sorting
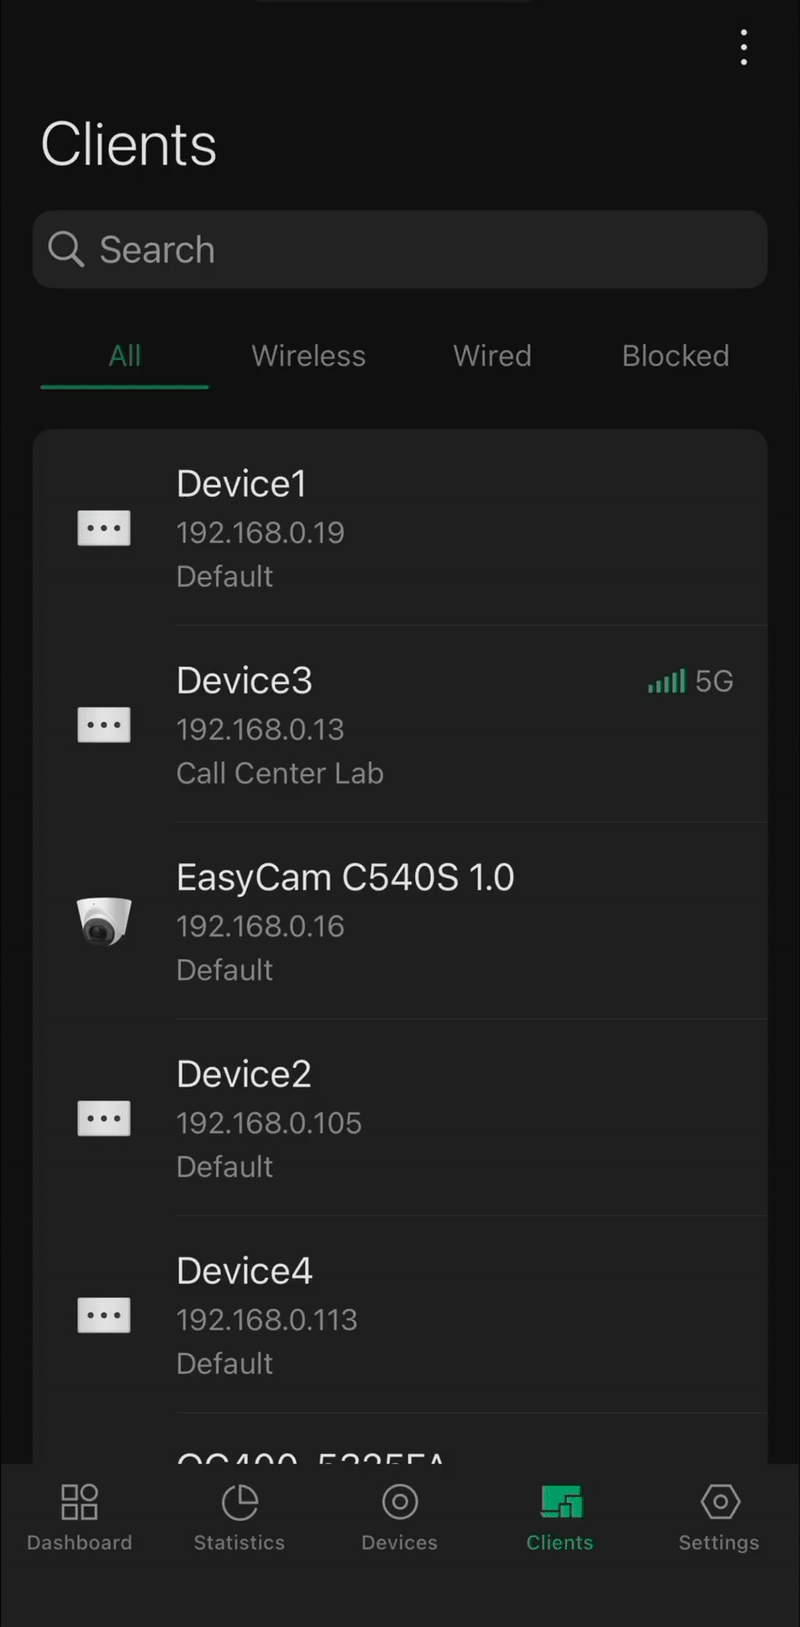
The Omada App’s Client List Sorting feature allows users to efficiently organize and manage all clients connected to their Omada SDN Controller directly from the Client List interface. Users can sort clients by key parameters such as name, IP address, MAC address, uptime, traffic statistics, band, signal strength, and connected SSID.
Each column can be sorted in either ascending or descending order, making it simple to quickly locate clients based on activity, performance, or connection type. This flexibility helps administrators easily identify devices with high traffic usage, weak signal strength, or specific SSID associations, enabling faster diagnostics and improved network management.
In short, the Client List Sorting feature in the Omada App streamlines client management by allowing users to sort and view connected client information in the most efficient and meaningful way for their workflow.
The GIF showcases how to sort by Traffic Statistics in Ascending Order. Within the Omada App’s Client List, users can sort by Ascending or Descending Order for Name, IP Address, MAC Address, Uptime, Traffic Statistics, Band, Signal Strength, and Connected SSID to gain full control and visibility over connected client data.
To Sort through the Device List, you would go to: Omada Mobile App>Controller Mode Screen>Select Your Desired Controller>Clients>Tap the “3 Dot Menu” on the Top Right>Sort by Desired Type
Client List Search
The Omada App’s Device Search feature allows users to quickly locate any client device connected to their SDN Controller from the Client List interface. Within the Client List, users can type keywords such as the device name to instantly filter and display only the relevant clients. This feature streamlines network management by removing the need to scroll through long client lists and allows users to immediately find and manage the client they need.
In short, the Client Search tool within the Omada App provides a fast and precise way to locate network clients, improving efficiency and helping administrators maintain full visibility and control over their managed environments anytime, anywhere.
To search for specific devices in the Omada App’s Devices Menu, you would go to: Omada Mobile App>Controller Mode Screen>Select Your Desired Controller>Client List>Type in the Top Search Bar in the Clients Screen
Conclusion
The Omada App provides an intuitive way to monitor and manage all clients connected to your Omada SDN network. Through the Client List interface, you can easily view detailed information for each connected client, including name, IP address, MAC address, connection type, and traffic statistics. You can also sort and filter clients based on various conditions, search for specific devices, and check their real-time connection status and performance.
These tools make it simple to maintain full visibility and control over all connected clients, helping administrators quickly identify active users, monitor bandwidth usage, and manage network performance anytime, anywhere.
Get to know more details of each function and configuration please go to Download Center to download the manual of your product.
QA
Q1: What do I need before I can monitor and manage clients with the Omada App?
You’ll need the TP-Link Omada Mobile App installed on your mobile device and Omada Controller Cloud Access enabled, with all your network devices adopted into the controller.
Q2: What is the Client List feature in the Omada App?
The Client List allows you to view, monitor, and manage all clients connected to your Omada network. It displays key details such as the client’s device name, IP address, connection type (wired or wireless), and associated network. You can easily switch views between wired, wireless, and blocked clients for clearer management.
Q3: How can I access the Client List in the Omada App?
Navigate to: Omada Mobile App → Controller Mode Screen → Select Your Desired Controller → Clients.
Q4: What does the Client List Sorting feature do?
The Client List Sorting feature lets you organize clients by various parameters such as name, IP address, MAC address, uptime, traffic statistics, band, signal strength, and connected SSID. You can sort each column in ascending or descending order to quickly identify devices based on performance, signal quality, or usage.
Q5: How do I sort clients in the Omada App?
Go to: Omada Mobile App → Controller Mode Screen → Select Controller → Clients → Tap the “⋮” (three dots) Menu → Sort by Desired Type.
Q6: Can I search for a specific client in the Omada App?
Yes. The Client Search tool lets you quickly locate any device by typing the device name or other identifiers in the top search bar of the Clients screen. This instantly filters results and helps manage large networks efficiently.
Q7: What kind of details can I see for each client?
You can view each client’s device name, IP address, MAC address, connection type, uptime, traffic statistics, band, and connected SSID—providing full visibility of network activity.
Q8: Can I identify devices with weak signal strength or high traffic usage?
Yes. By sorting or filtering the client list based on signal strength or traffic statistics, you can quickly identify devices that may need attention or optimization.
Q9: What are the benefits of using the Omada App for client management?
The Omada App provides real-time monitoring, quick access, and efficient management of all connected clients. You can sort, filter, and search for devices instantly, check performance metrics, and maintain control of your entire network from anywhere.
Q10: Where can I find more detailed configuration information?
For advanced settings and function details, visit the TP-Link Download Center to access the full product manual for your Omada Controller or App version.
