


How to install TP-Link Omada Discovery Utility on Windows and MacOS (V5.2.4 and above)


Contents
Introduction
This document introduces how to install Omada Discovery Utility V5.2.4 on a Windows PC and macOS PC, respectively. For other Omada Controller versions, please refer to another FAQ, How to Install TP-Link Omada Discovery Utility on Windows and MacOS PCs(V5.2.1 and below).
Requirements
- Omada Discovery Utility
- Windows OS or Mac OS
- Java 17 (Windows) or Zulu 17 JRE FX (macOS)
Configuration
Installation for Windows OS
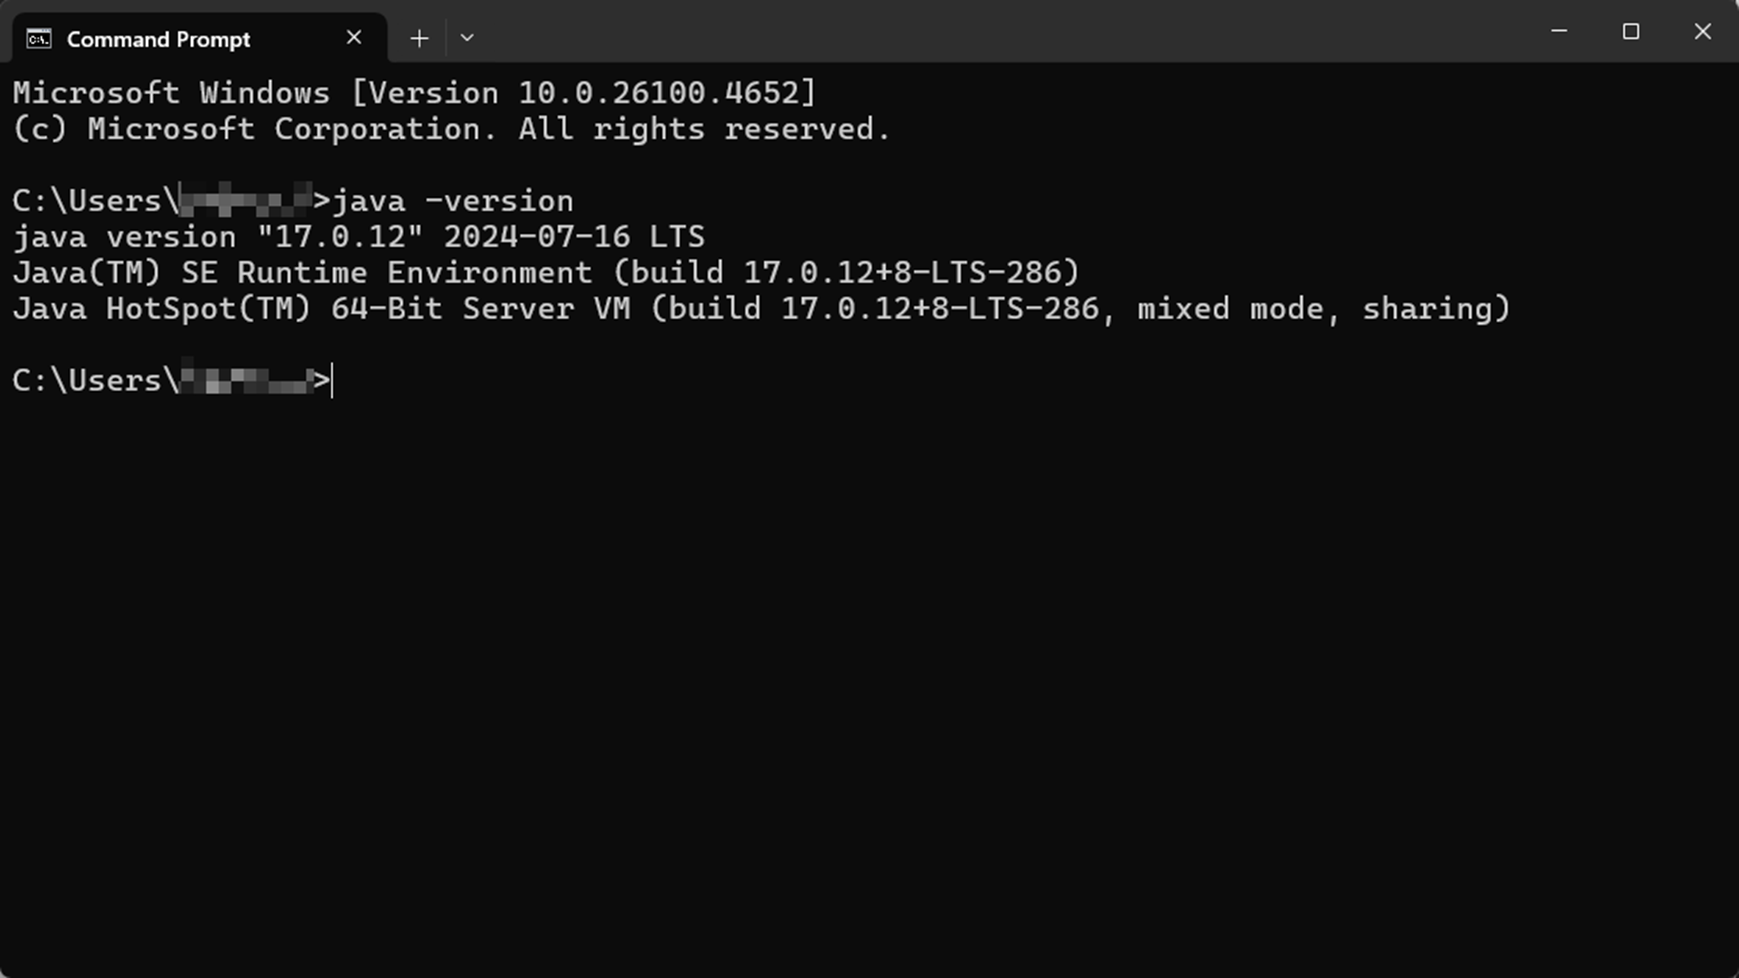
Step 1. Check If You’ve Installed Java SE Development Kit 17.
Omada Discovery Utility with V5.2.4 and above require the Java 17. To check if you’ve already installed Java 17, follow the steps below:
- Press the Windows logo key + R to open the Run dialog box.
- Type cmd and press Enter to open the Command Prompt.
- Run the command java –version. The output will display the current Java version if JRE is installed.
Step 2. Install Java 17.
Note: If your computer already has Java 17, skip to Step 3. Otherwise, follow the steps below to install it.
- Go to the Downloads page of Java SE Development Kit 17 (Java 17): Java Archive Downloads - Java SE 17.0.12 and earlier
- Select the correct installer for your system (e.g., Windows x64 Installer for Windows x64).
- Run the downloaded .exe file and follow the on-screen instructions to complete the installation.
Step 3. Run Omada Discovery Utility.
- Download the latest version of Omada Discovery Utility from the website Software Download | Omada Network Support.
- Unzip the downloaded file.
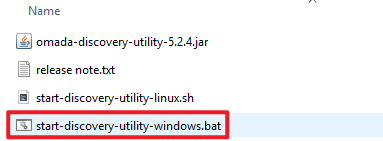
3. Double-click start-discovery-utility-windows.bat to launch the utility.
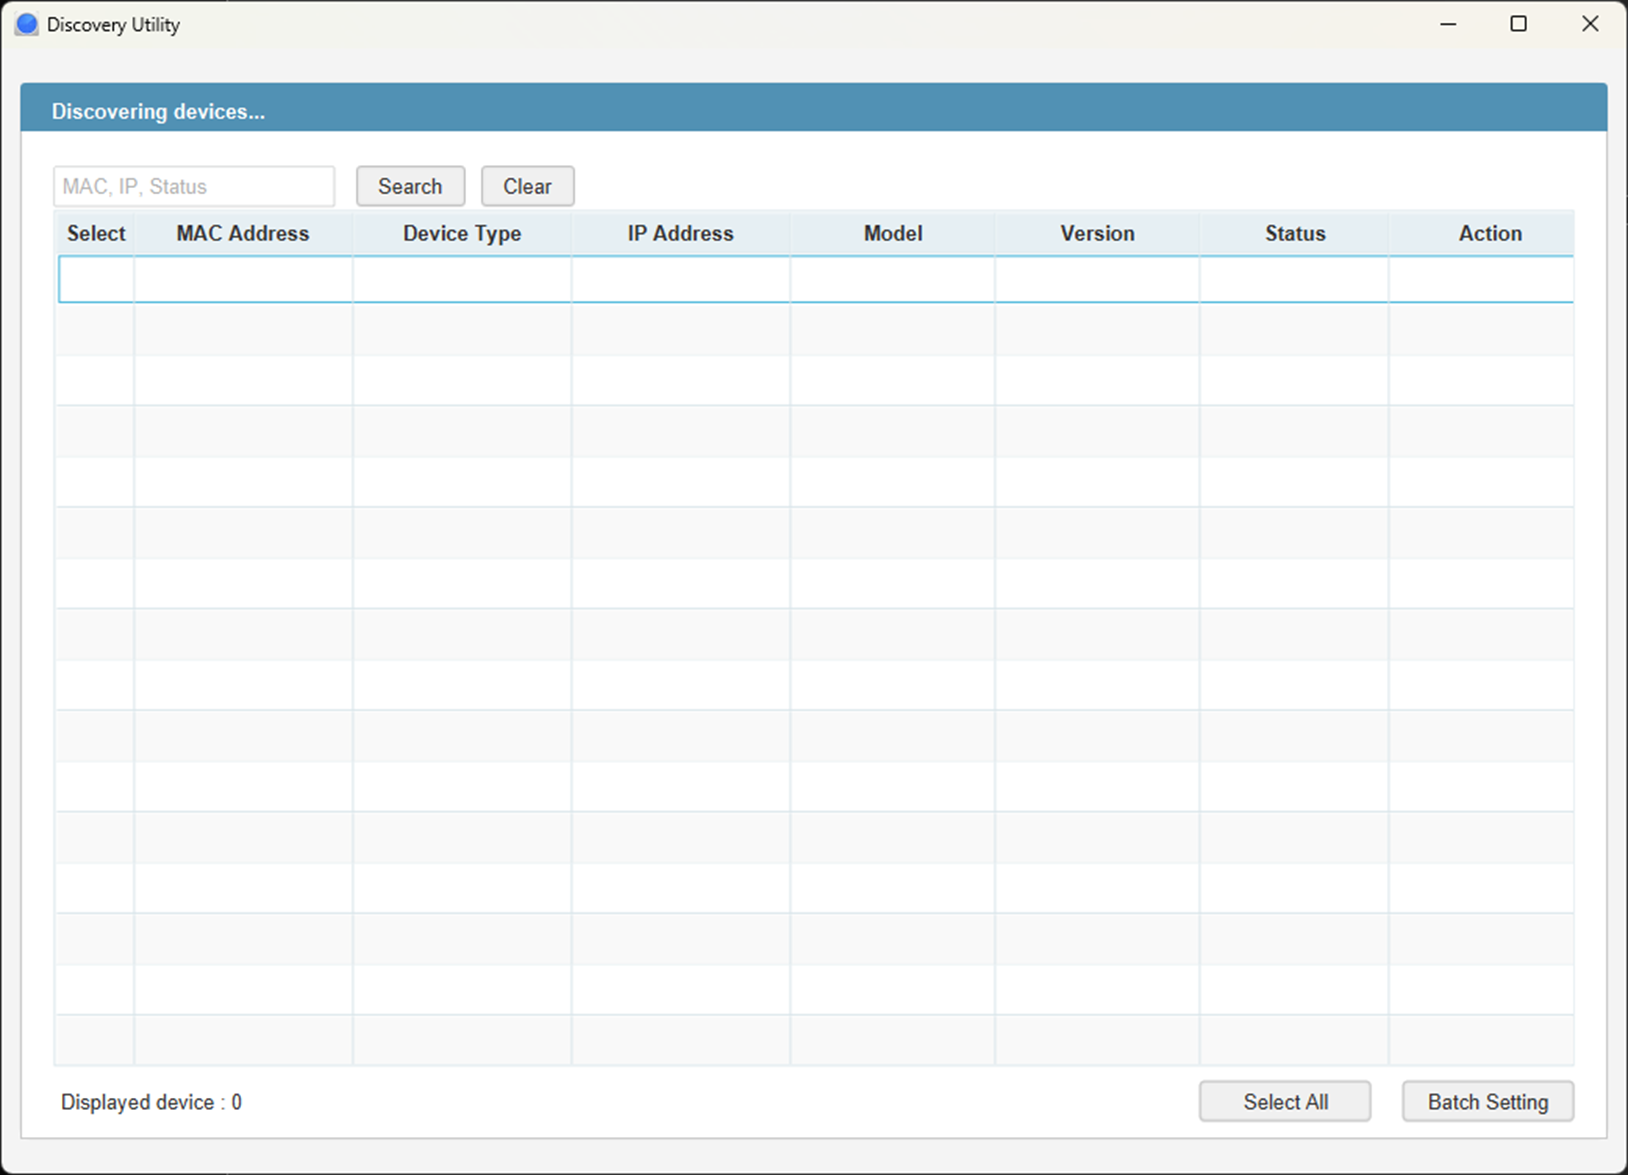
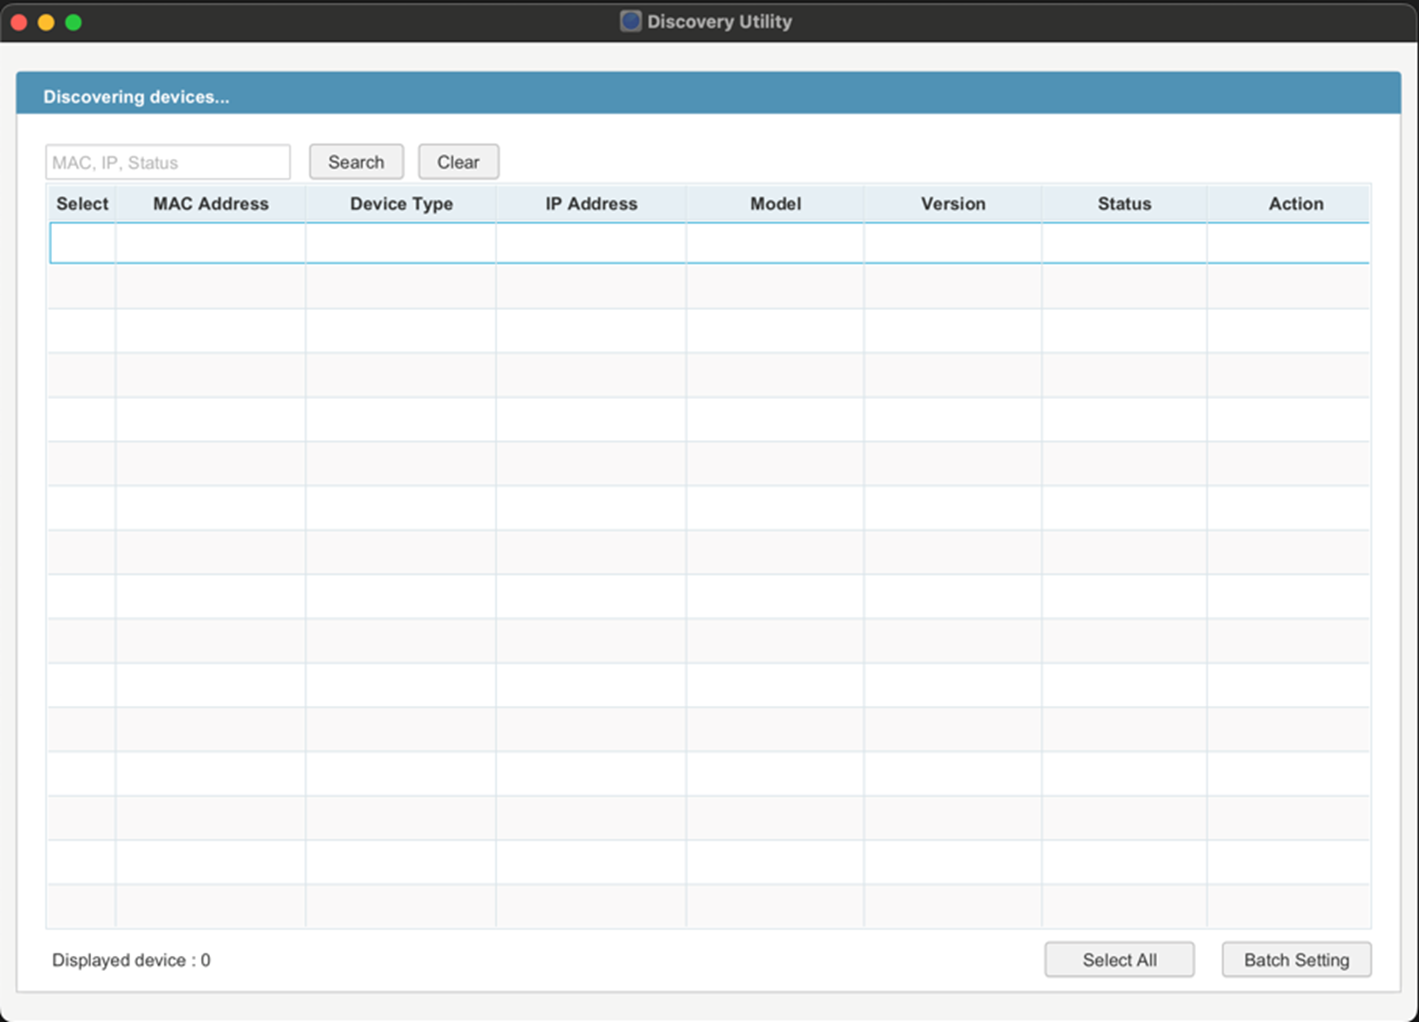
Once the home page of Omada Discovery Utility appears, the installation has been completed successfully.
Installation for Mac OS
Note: This version of Omada Discovery Utility does not support the standard JRE. You must install a JRE with built-in JavaFX.
If your PC is Mac, you could refer to the following suggestions:
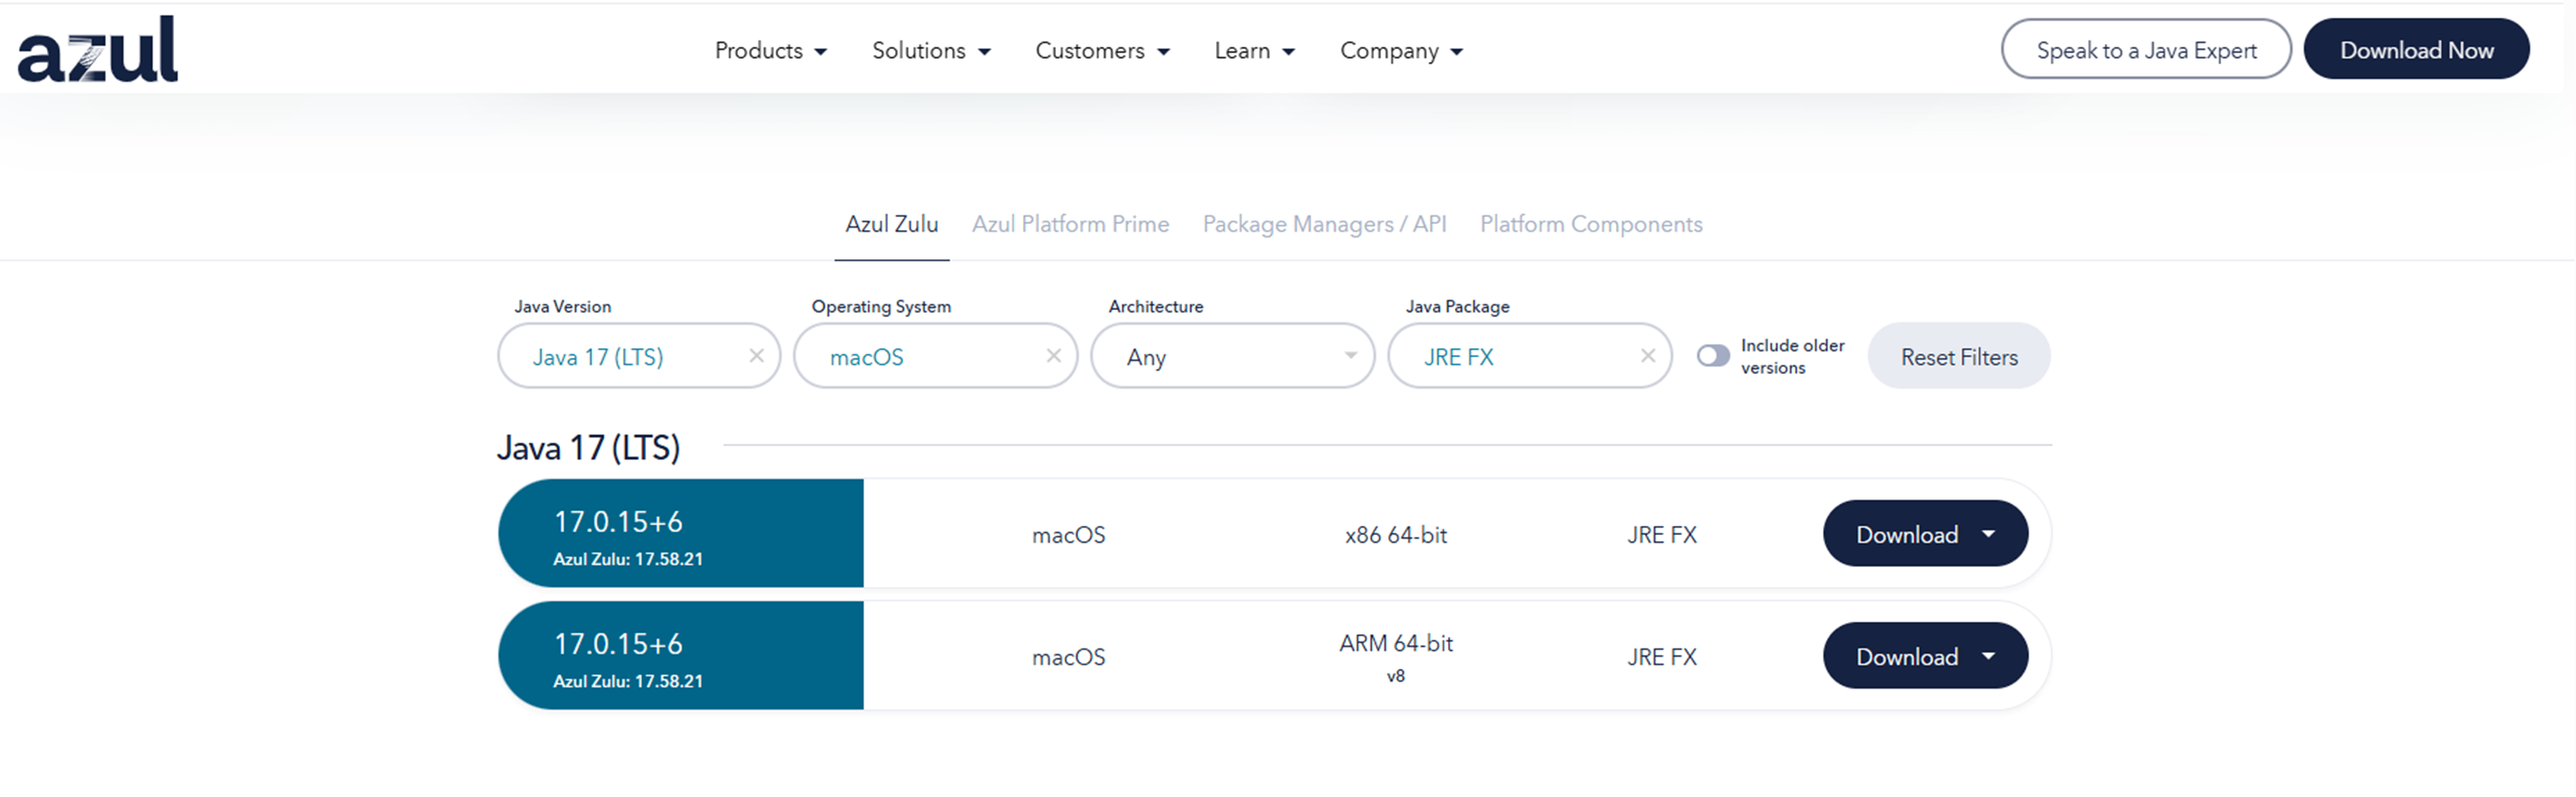
Step 1. Visit the Zulu JDK download page and install Zulu 17 JRE FX.
Select Zulu 17 JRE FX for your system:
- ARM version for Apple M-series processors
- x86 version for Intel-based Macs
Step 2. After installation, open Terminal and run the following command:
java --enable-native-access=ALL-UNNAMED -jar omada-discovery-utility-5.2.4.jar

Step 3. Then you can open the Discovery Utility. The Omada Discovery Utility home page will appear, indicating that the installation was successful.
Conclusion
To install Omada Discovery Utility successfully, ensure your system meets the Java requirements—Java 17 for Windows or Zulu 17 JRE FX for macOS. Follow the corresponding installation steps for your operating system, and the utility should launch without issues.
Get to know more details of each function and configuration please go to Download Center to download the manual of your product.
