


Contents
Set up Omada Wi-Fi Gateway via Standalone Web
Set up Omada Wi-Fi Gateway via Omada App
Objective
If you have an Omada Wi-Fi gateway without an Omada Controller, this article introduces how to set it up via the standalone web and the Omada App.
Requirements
- Omada Wi-Fi Gateway series
- Omada App
Introduction
When using the Omada Wi-Fi gateway for the first time, you may want to set up its Wi-Fi first. There are two ways to set up Wi-Fi, via standalone web or Omada App.
This article takes ER706W as an example to explain how to do this.
Configuration
Set up Omada Wi-Fi Gateway via Standalone Web
Step 1. Connect the modem to the WAN port on the Omada Wi-Fi router, and connect the computer to TP-Link Wi-Fi. The default wireless network name of Omada Wi-Fi router is printed on the bottom label.
Note: Please make sure you are able to access the internet with a direct wired connection from your computer to the modem. If the direct wired connection doesn’t work, please contact your Internet Service Provider (ISP).

Step 2. Access the web management page.
Please open a browser and input “192.168.0.1” or omadaer.net to the address bar to visit the management page of the router. It's recommended to use Firefox, Chrome, and Edge. You will be asked to set up the Username and Password for management.

Step 3.Select your Internet Connection Type.
If your ISP gives a Username and Password, please change the Connection type as PPPoE, put in the provided account to the corresponding box and click Next to enable the configuration. ISPs might provide a router with PPPoE or static IP set. If your PC can obtain a private IP from the ISP router, you may keep using a Dynamic IP here.
The Common connection types of regular ISPs we collected is for reference only.

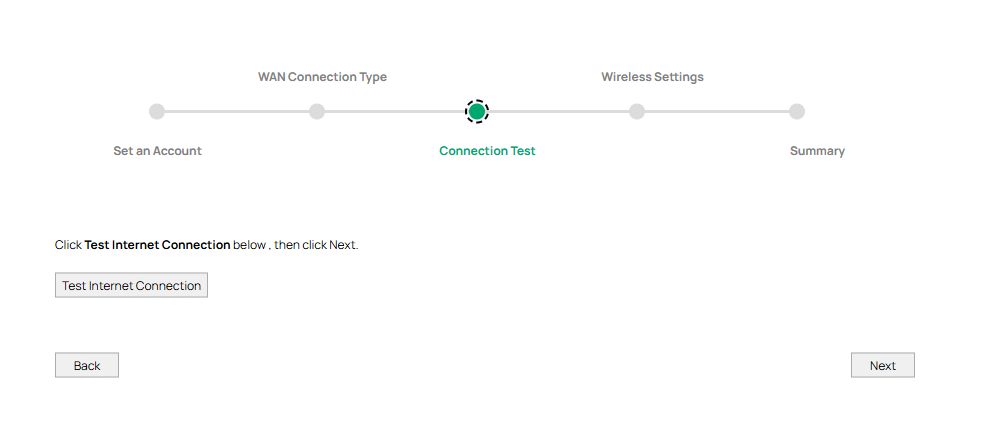
Step 4. Do Connection Test before go to the next step.
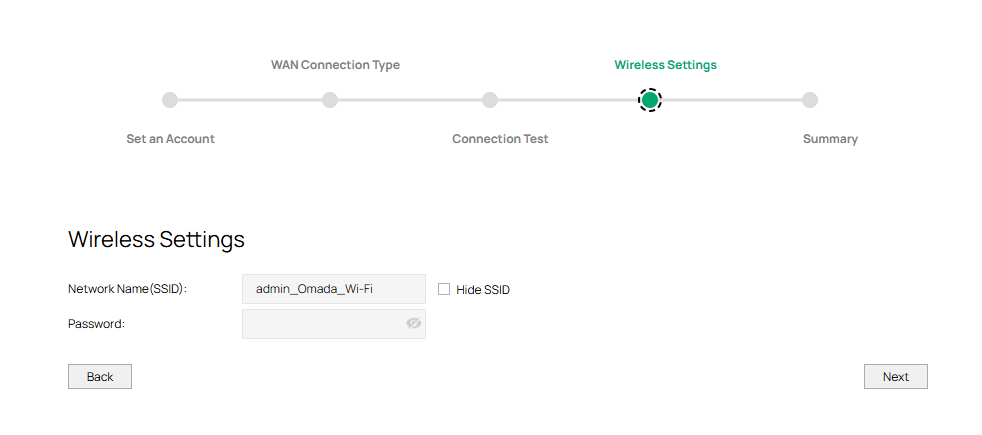
Step 5. Customize Wireless Network of Omada Wi-Fi gateway.
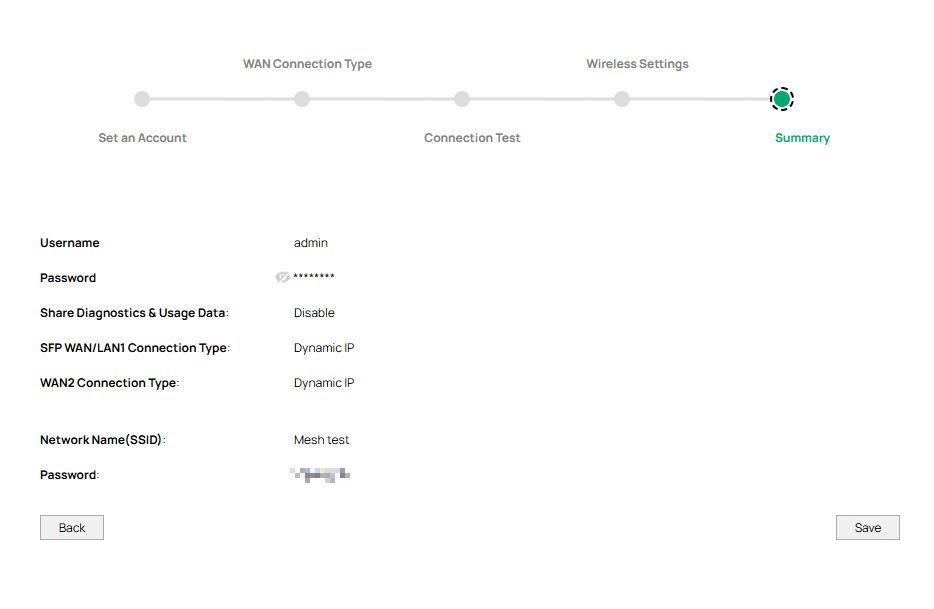
Step 6. Check the Summary info page.
Step 7. Done! Please enjoy your internet.
Setup Omada Wi-Fi Gateway via Omada App
Step 1. Connect Ethernet cable to your router’s WAN port from the modem.

Step 2. Connect your smartphone to TP-Link Wi-Fi. The default wireless network name of Omada wireless gateway is printed on the bottom label.
Step 3. Launch the Omada App on your phone.
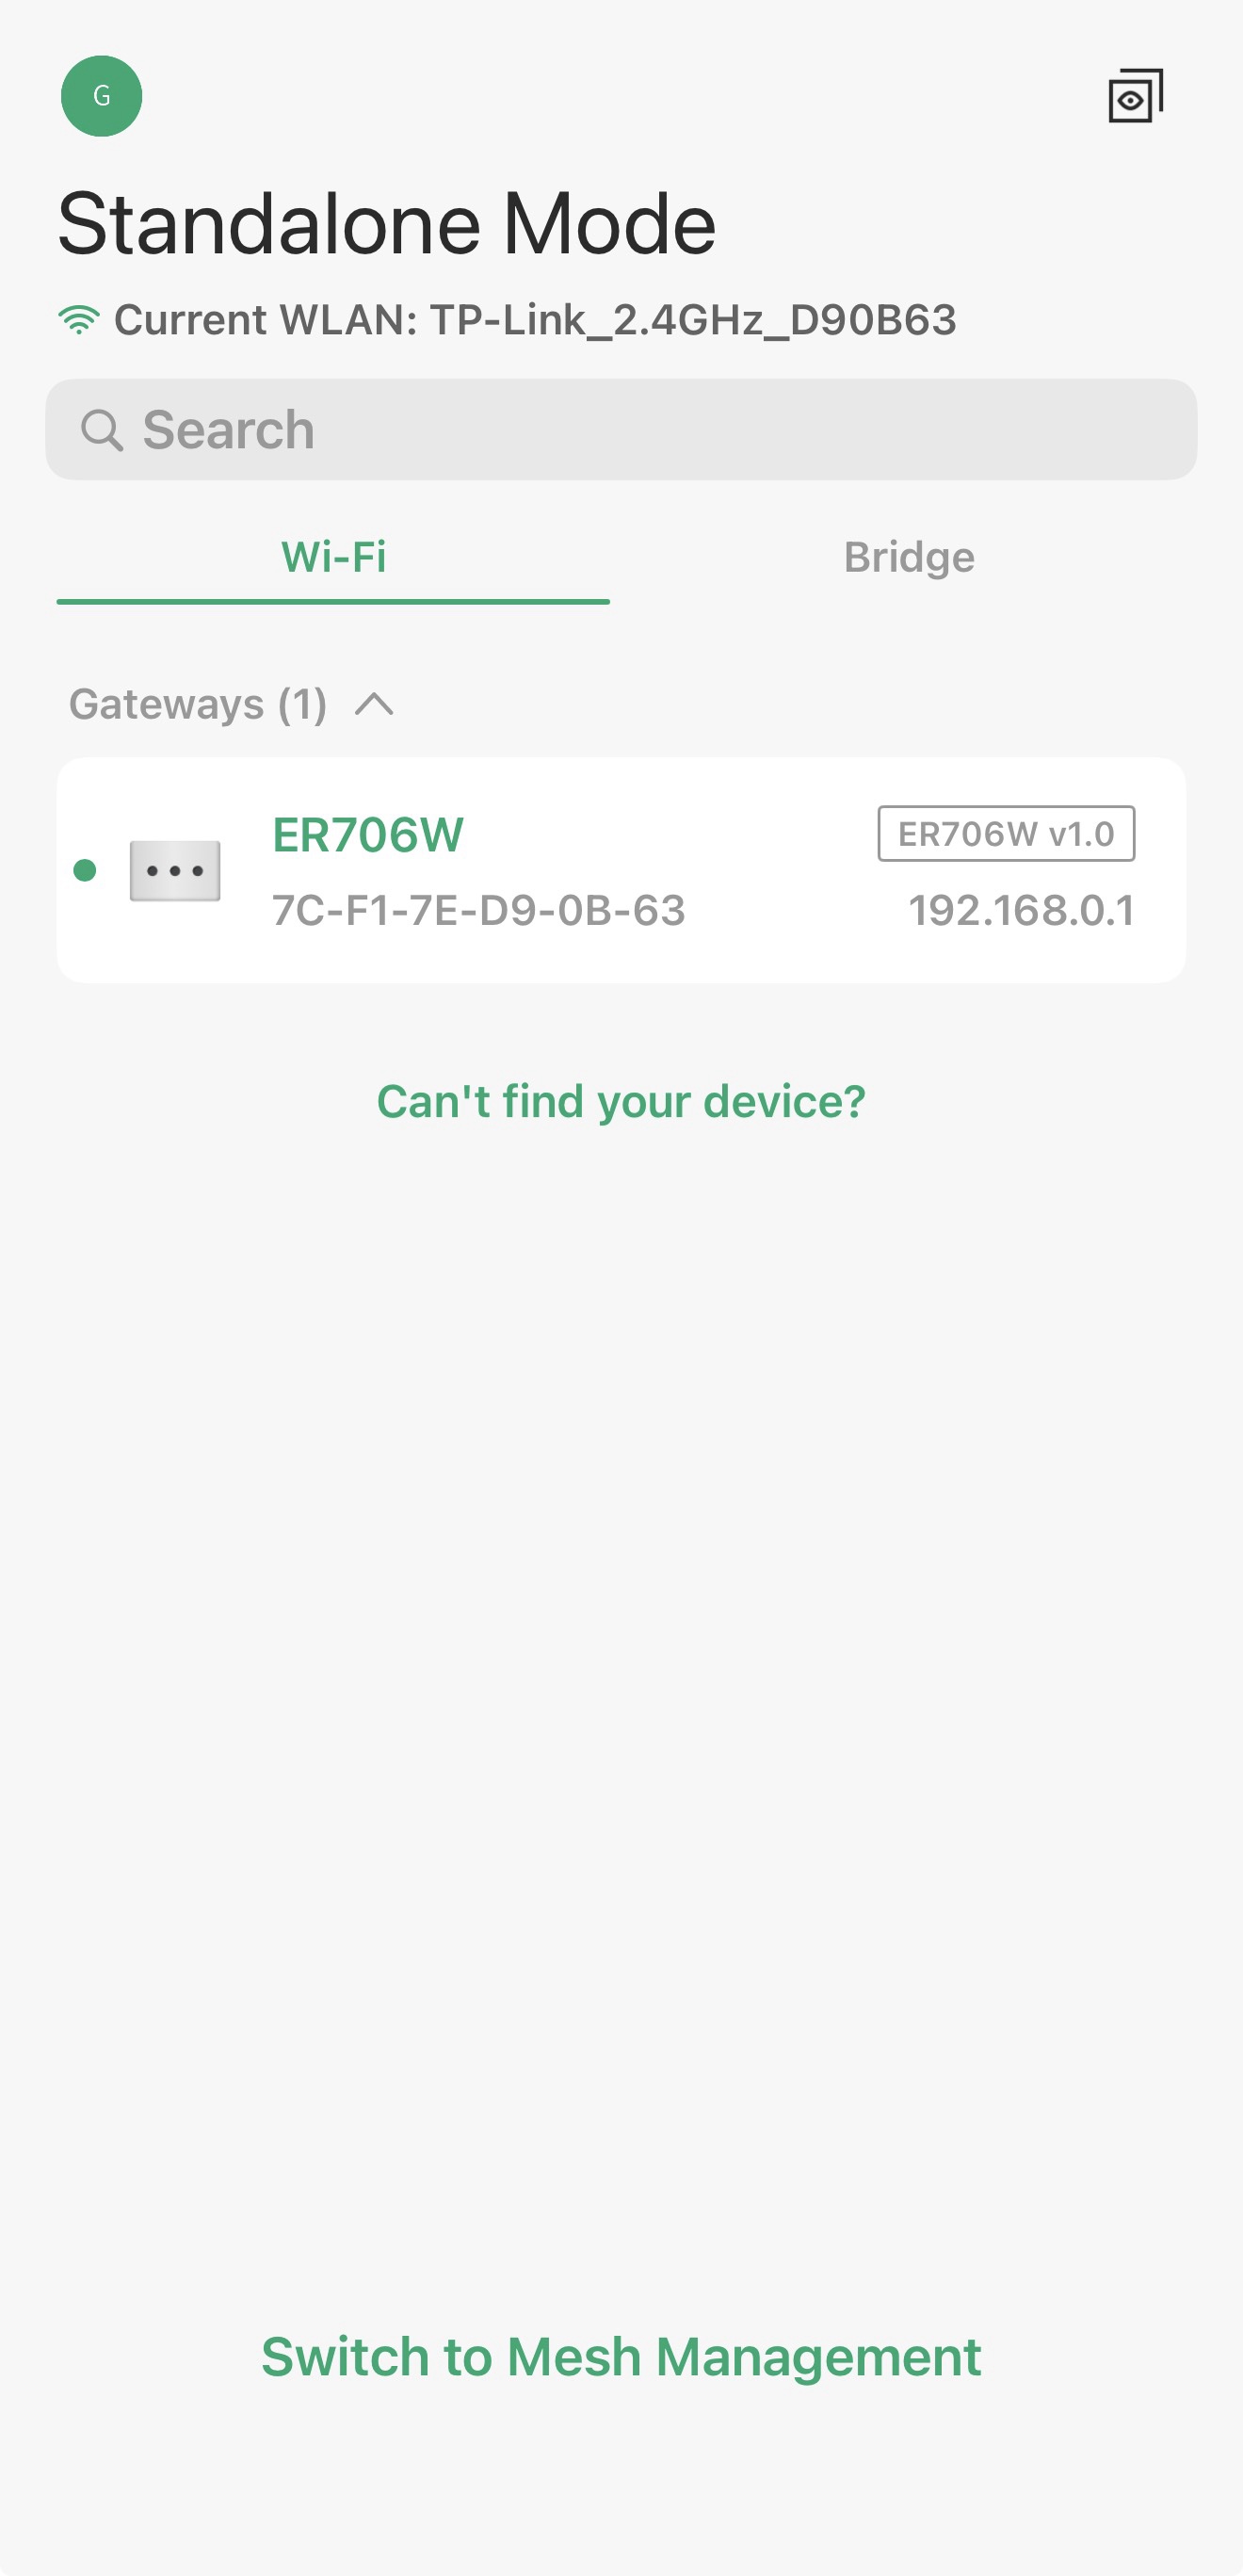
Step 4. Go to Standalone Mode and select your Omada Wi-Fi gateway from device list.
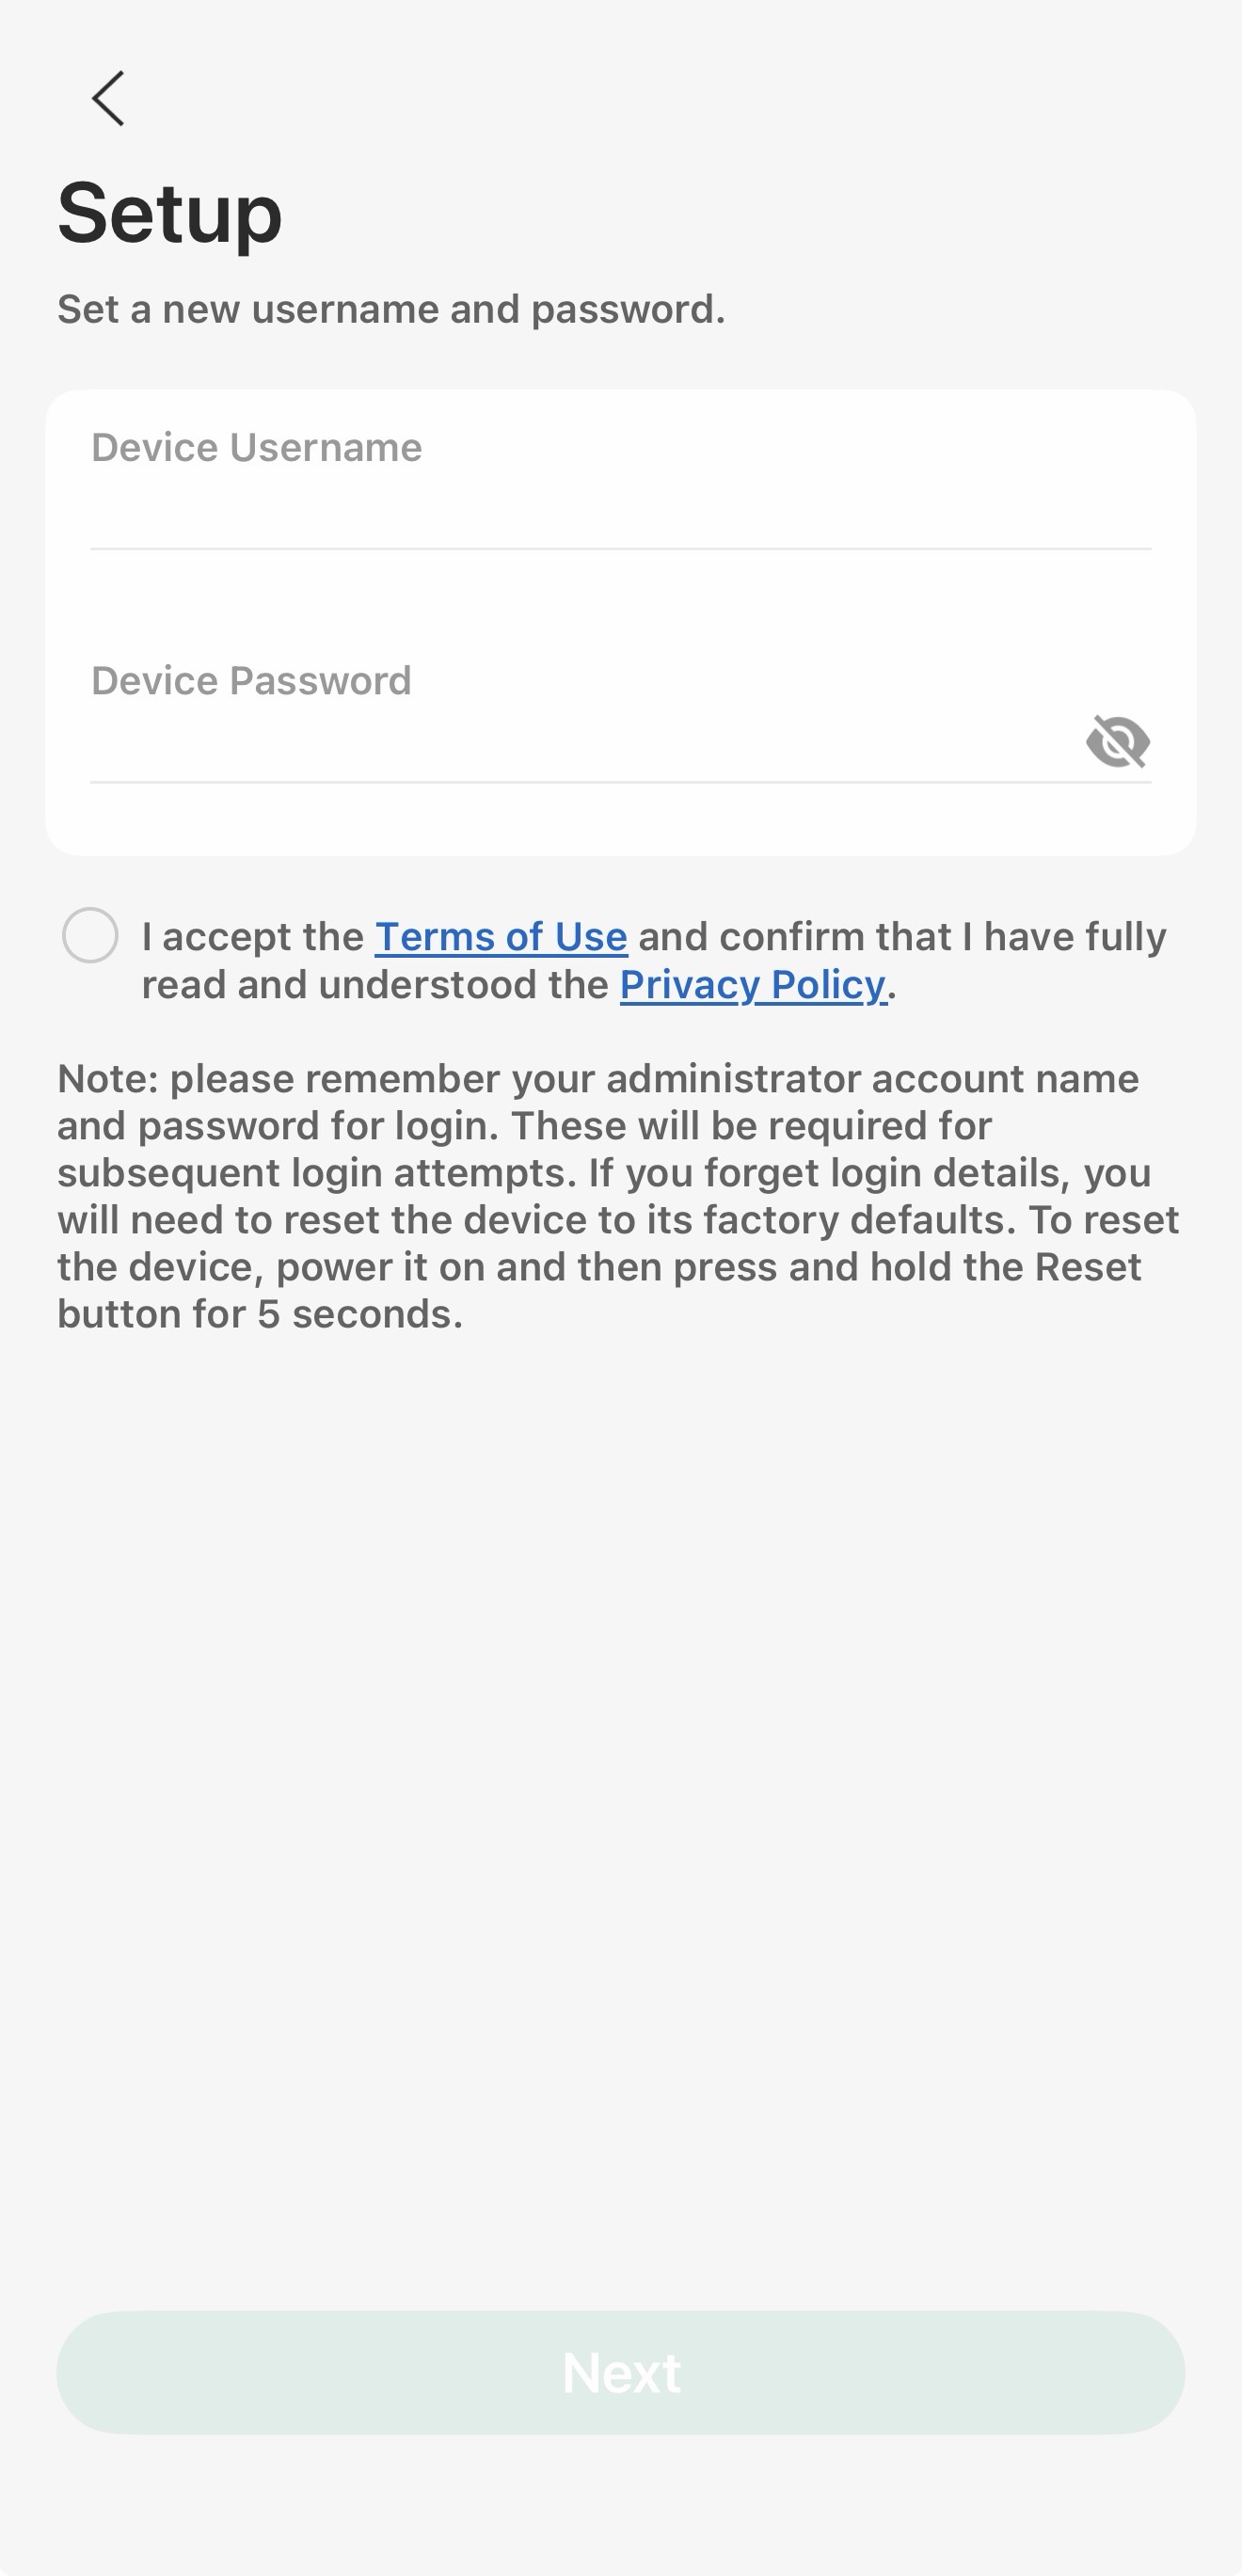
Step 5. Create login Username and Password for Omada Wi-Fi gateway.
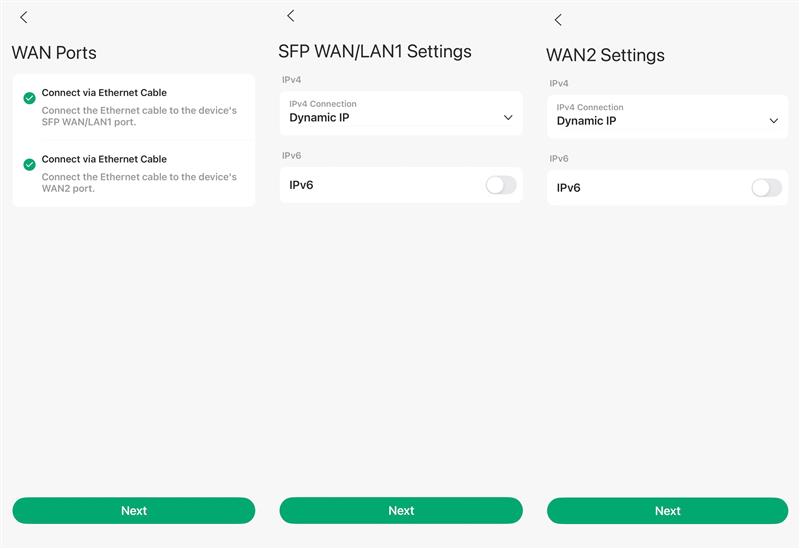
Step 6. Select WAN port and complete the WAN port information configuration.
Select connection type such as PPPoE, Dynamic IP, and Static IP, and fill in VLAN ID if ISP required, which all need to be confirmed with your ISP. The Common connection types of regular ISPs we collected is for reference only.
Note: For connection type: you may choose Dynamic IP when the TP-Link router wired to a main router like Pic 1, or you are suggested to confirm with ISP if your TP-Link router is wired to ISP directly like Pic 2.
Pic 1

Pic 2

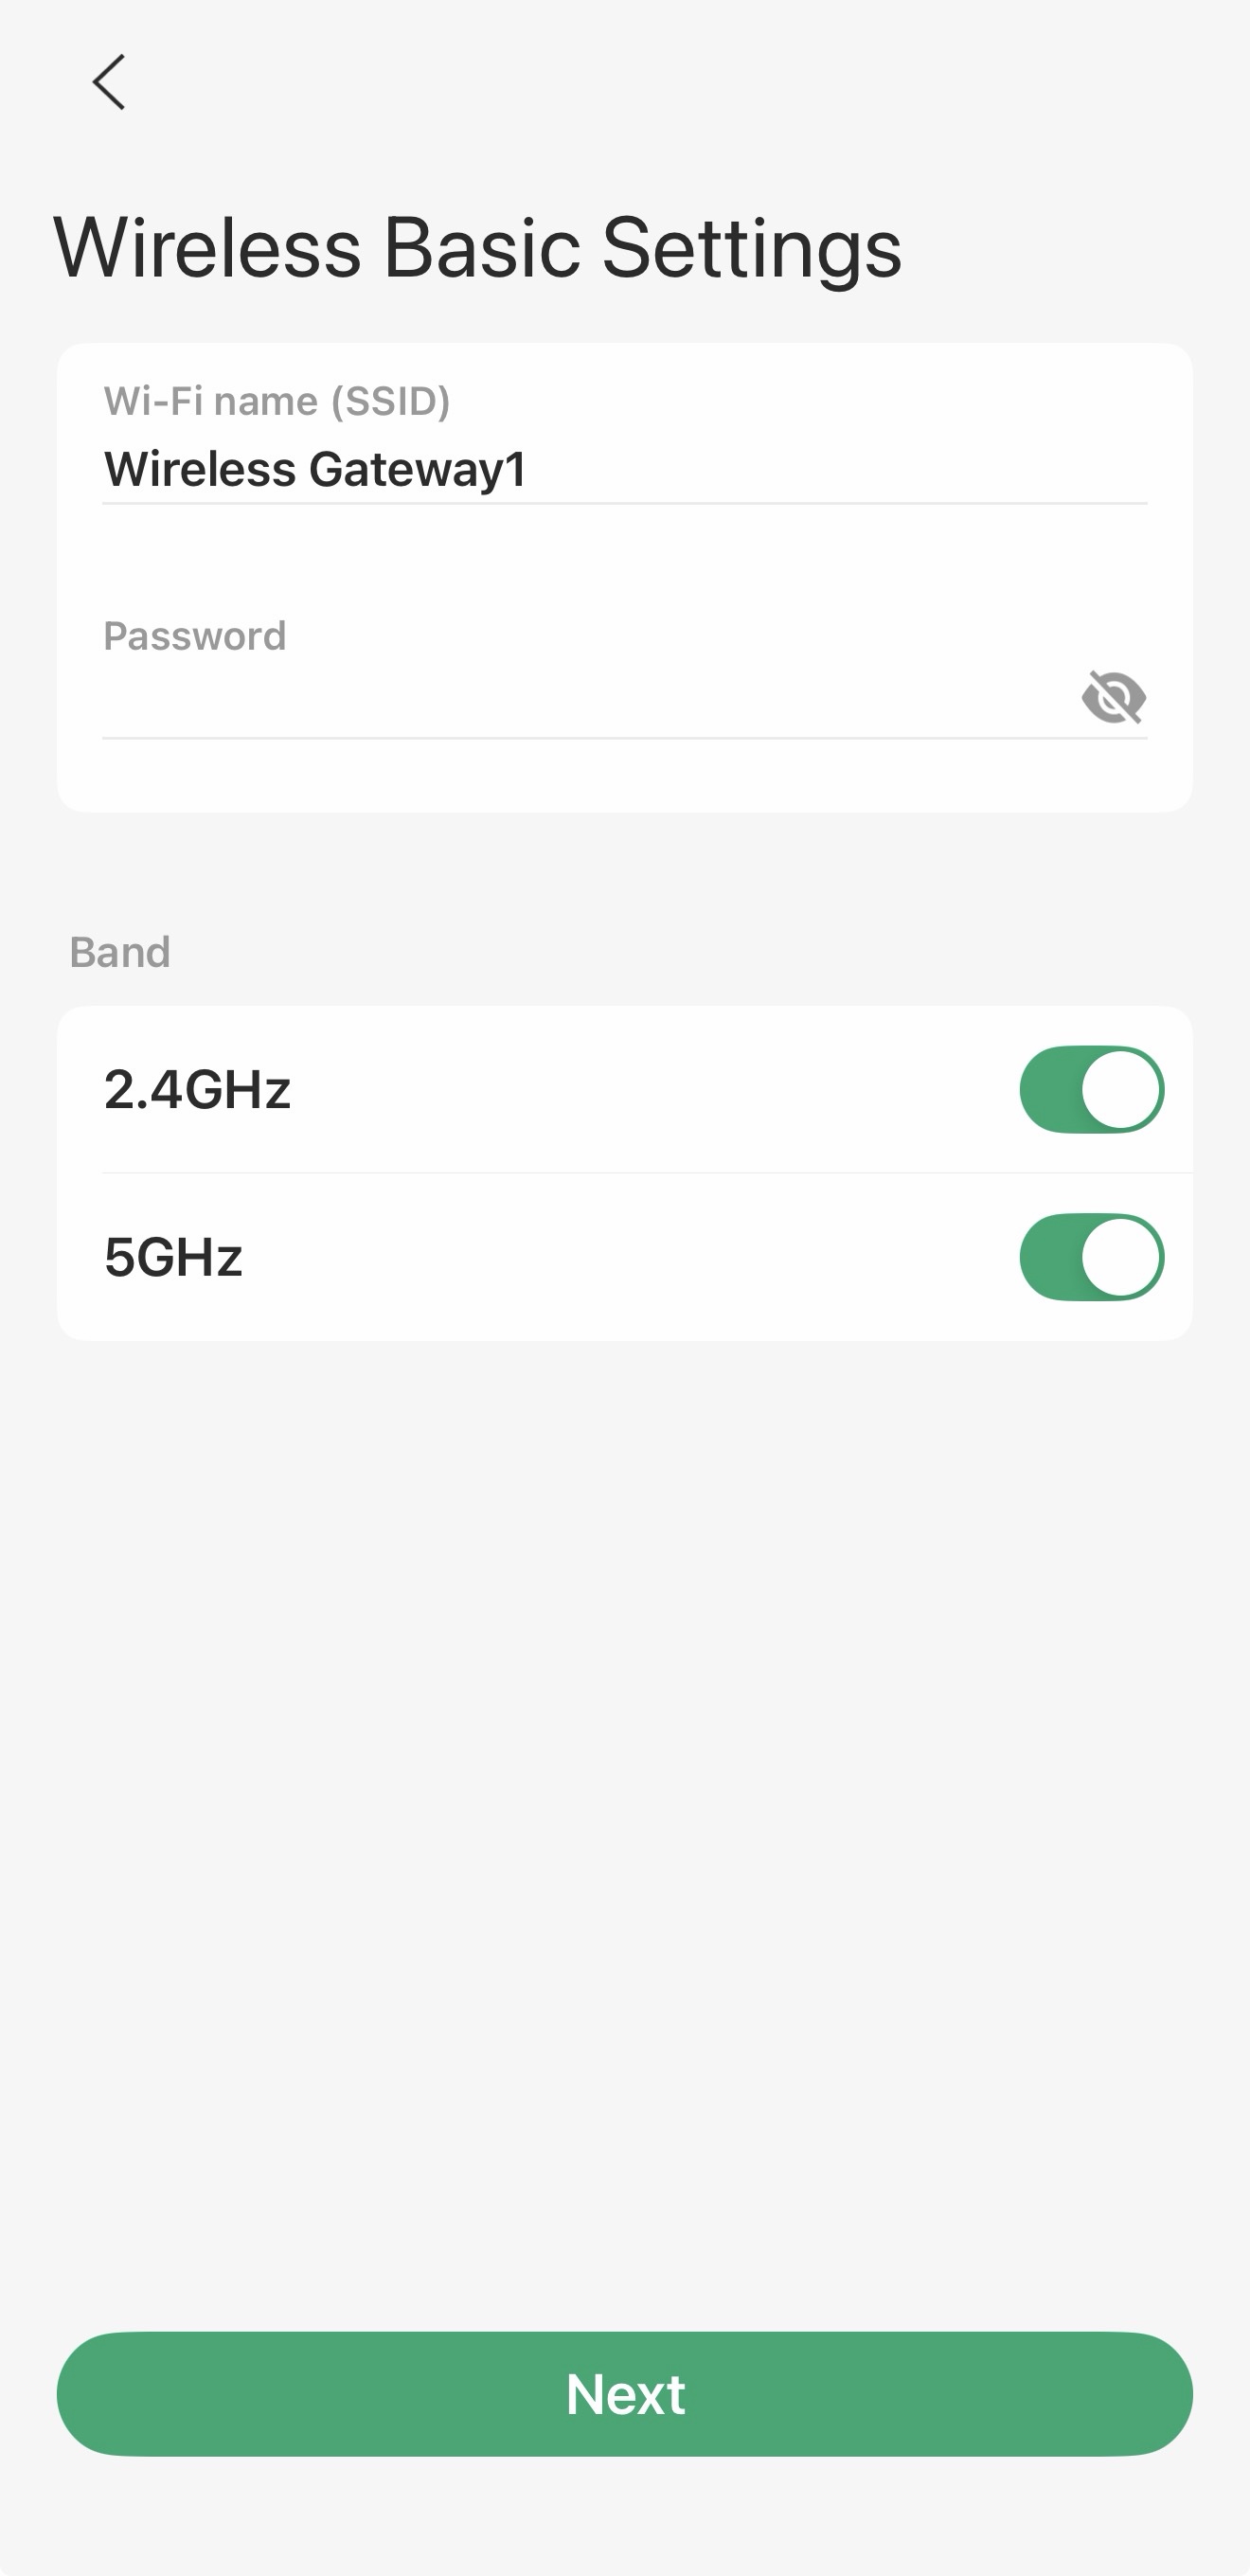
Step 7. Customize 2.4GHz and 5GHz Wireless Network of Omada wireless gateway. Connect your phone to the new SSID.
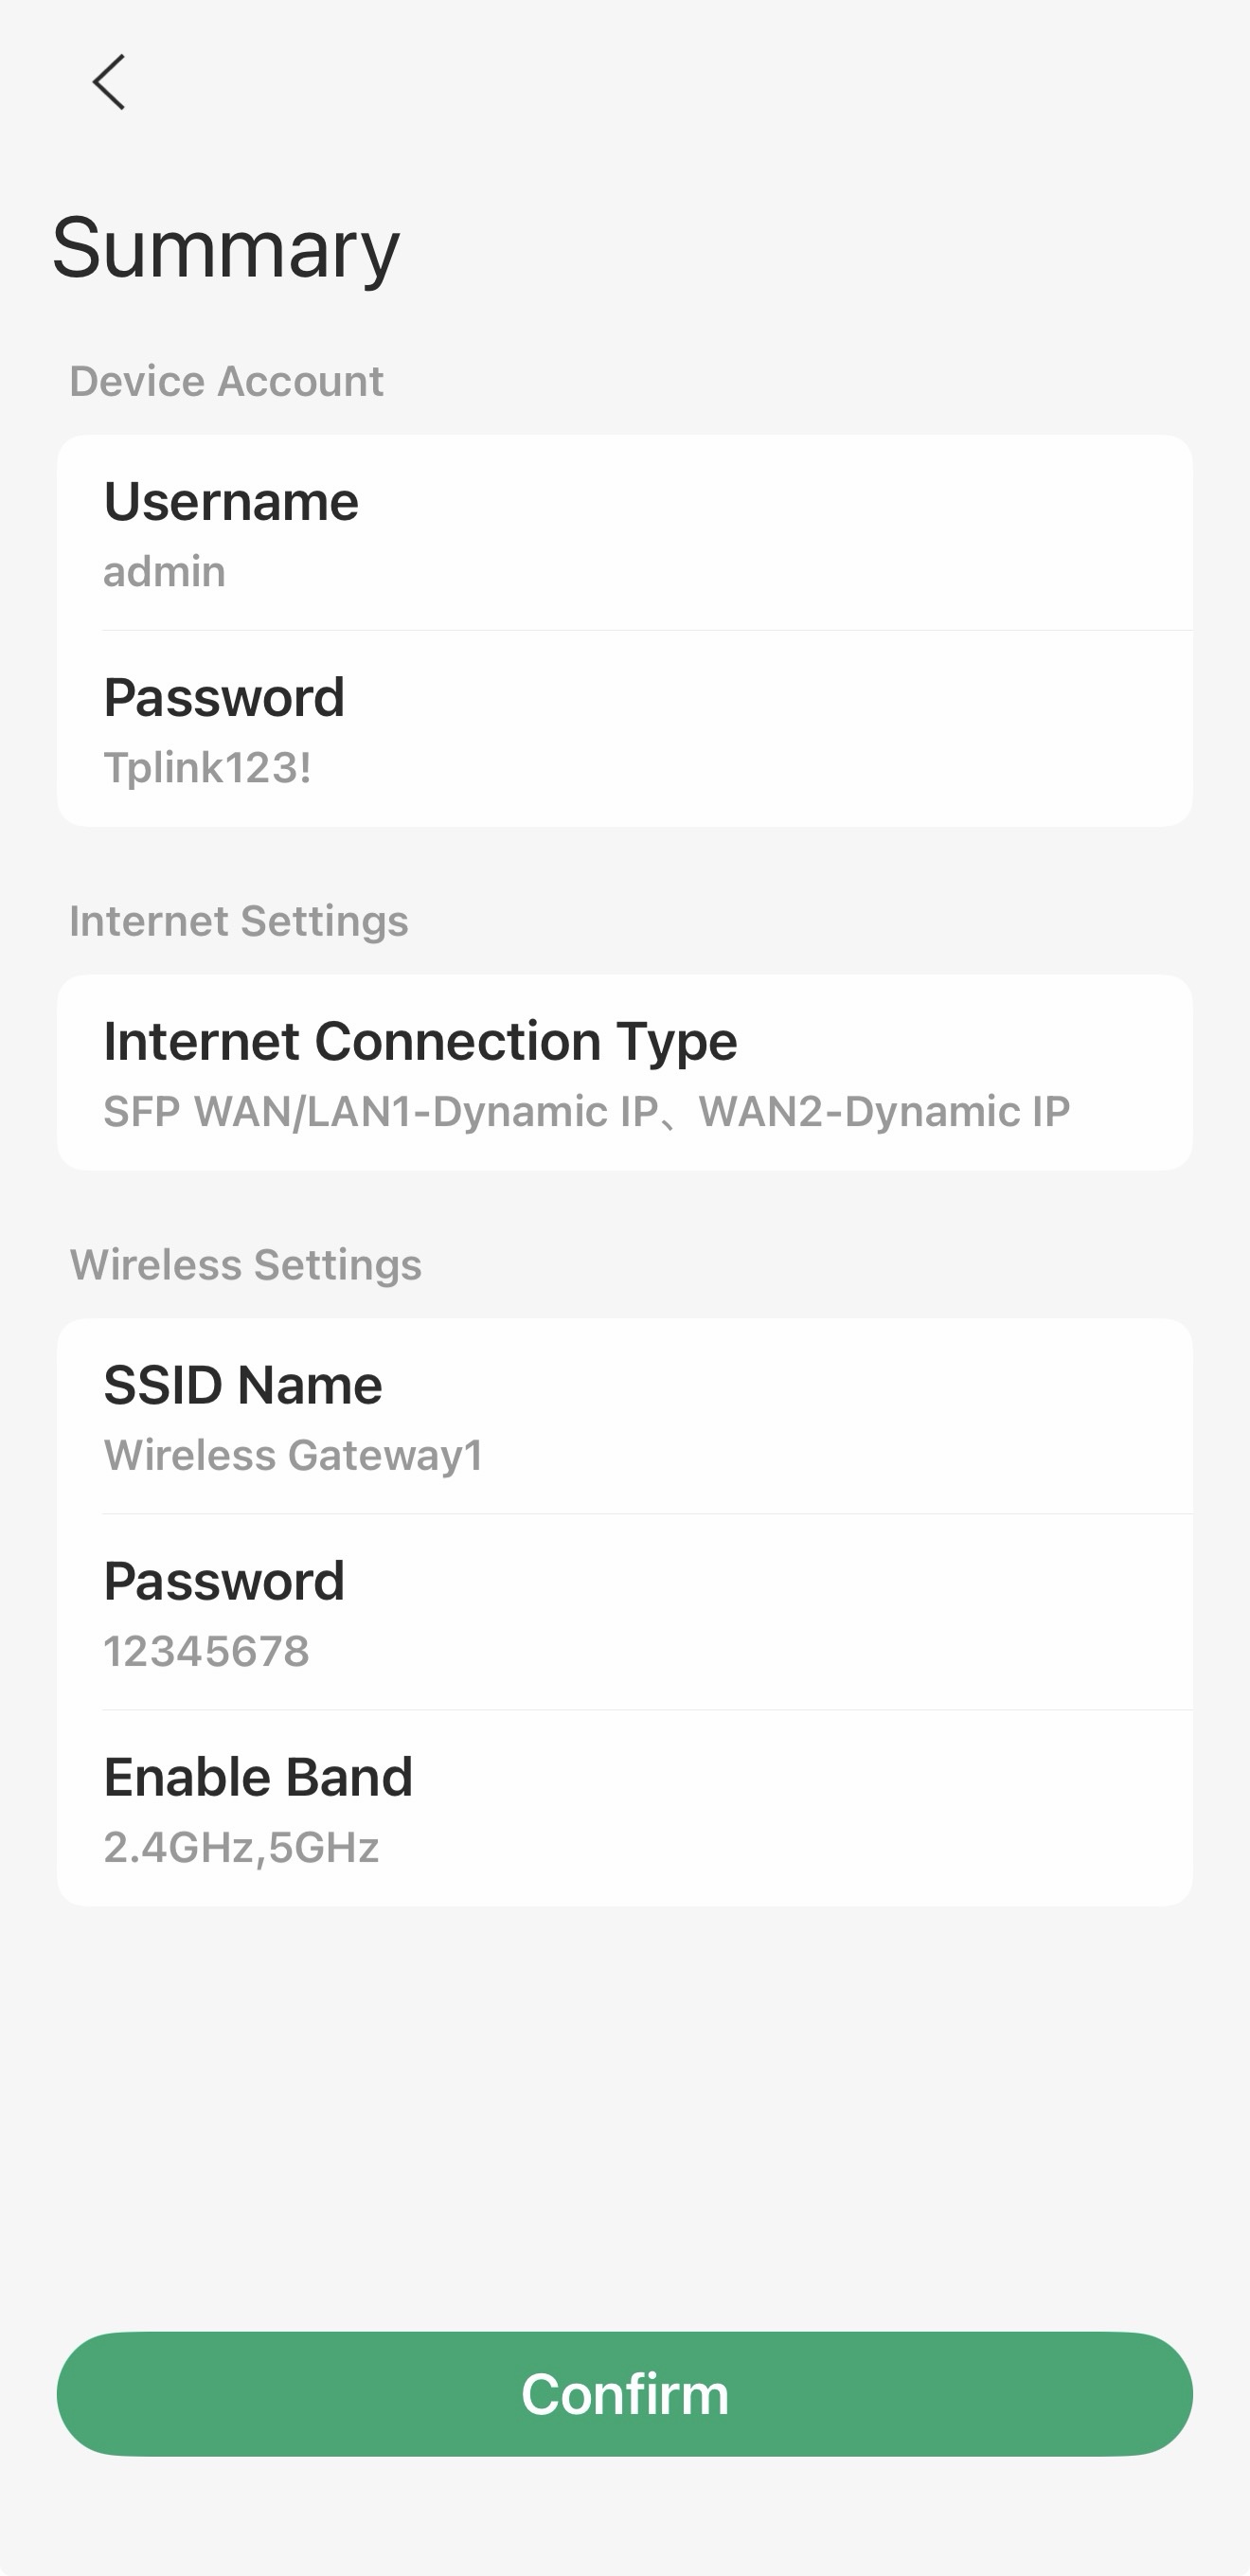
Step 8. Go back to the Omada App.Confirm and apply your settings. Then, Omada App will test your network connection and report to you if there is something wrong.
Step 10. Done! Please enjoy your internet.
Conclusion
The above is the configuration guide for Omada Wi-Fi gateway on web management page and Omada App.
QA
Q1: Why can't the Omada app detect the device?
A1: Here are some possible reasons:
- The Wi-Fi gateway has not yet fully started up.
- The phone didn't connect to the default SSID.
- Omada app version needs to be updated.
To learn more about each function and configuration, please visit Support Home to download or check the manual for your product.
