


How to configure the Session Limit and Bandwidth Control to control traffic on Omada Gateways


Configuration for Session Limit in Controller Mode
Configuration for Bandwidth Control in Controller Mode
Configuration for Session Limit in Standalone Mode
Configuration for Bandwidth Control in Standalone Mode
Introduction
Requirements
- Omada Gateway
- Omada Controller v6 or above
Configuration
Here, we will configure session limits for both the Standalone UI for our Omada Gateways and Omada Controller v6.
Configuration for Session Limit in Controller Mode
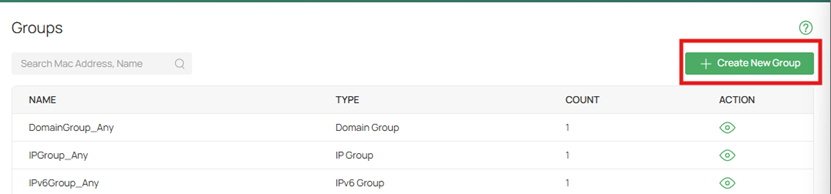
Step 1. Go to Network Config > Profile > Groups and click Create New Group.
Step 2. Enter the IP address of the hosts.
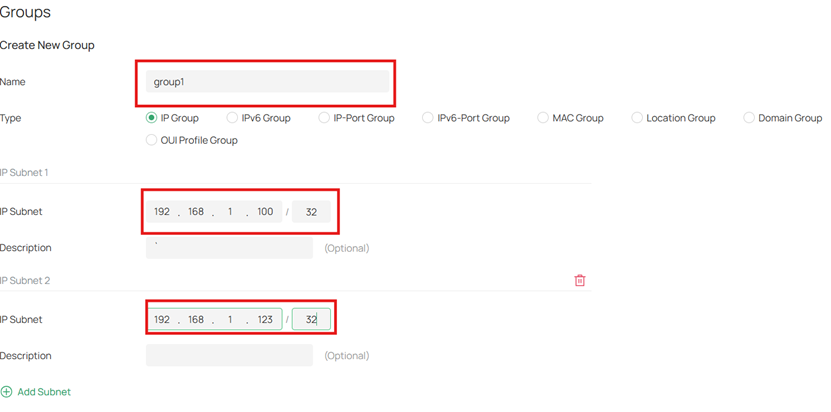
Note: On the controller, it is recommended to specify the session limit at the network level, but if you need that rule to apply only to specific hosts, follow the example above.
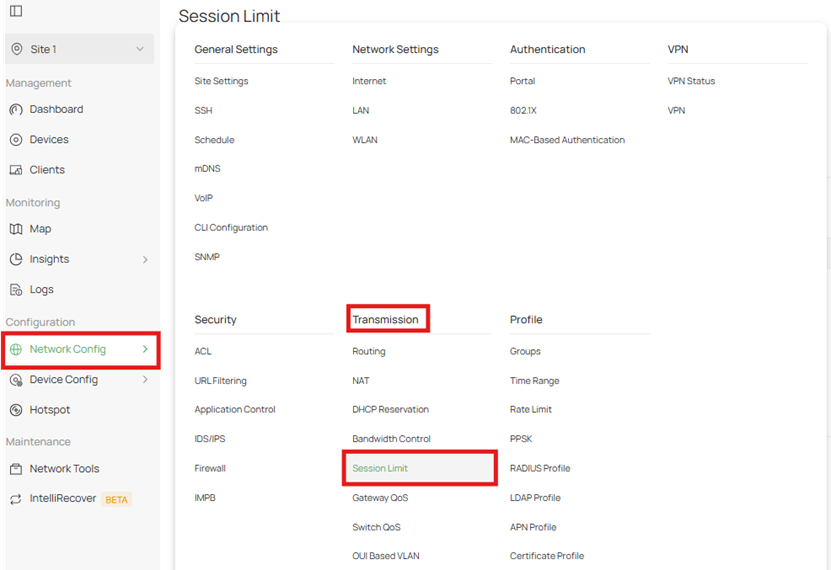
Step 3. Next navigate to Network Config > Transmission > Session Limit.
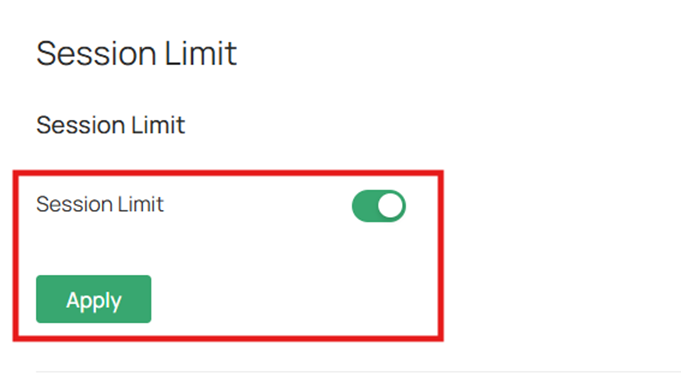
Step 4. Enable Session Limit globally.
Step 5. Next, create a new Session Limit rule by clicking Add.

Step 6. Fill in the parameters for the rule.
Maximum Sessions: Enter the maximum number of sessions for each source. The gateway will limit the source's sessions when the number exceeds the maximum.
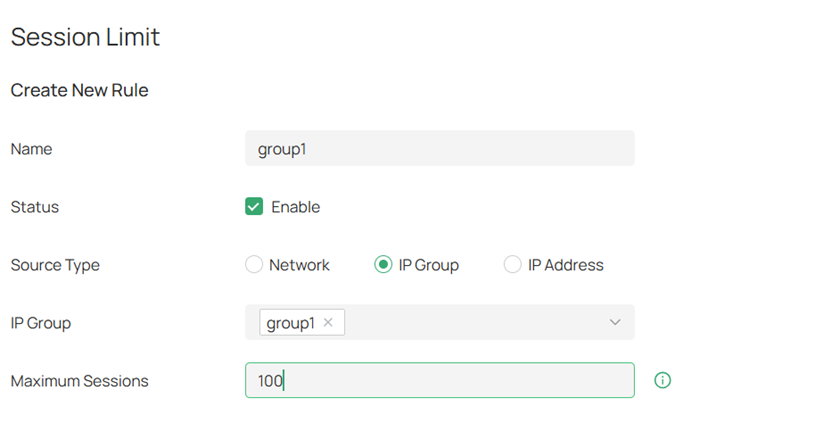
Note: Here you can specify the Source Type as either Network to target a whole subnet, a specified IP group which consists of a group of hosts, or a single IP Address.
Configuration for Bandwidth Control in Controller Mode
Step 1. Go to Network Config > Transmission > Bandwidth Control and enable Bandwidth Control.
Threshold Control: Specify a percentage as the threshold for the bandwidth control to take effect. With this enabled, bandwidth control takes effect only when the total bandwidth usage reaches the specified percentage.

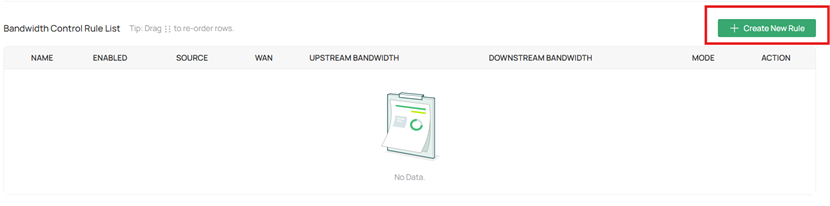
Step 2. In the Bandwidth Control Rule List, click on Create New Rule.
Step 3. Fill in the parameters to add the rule to the site.
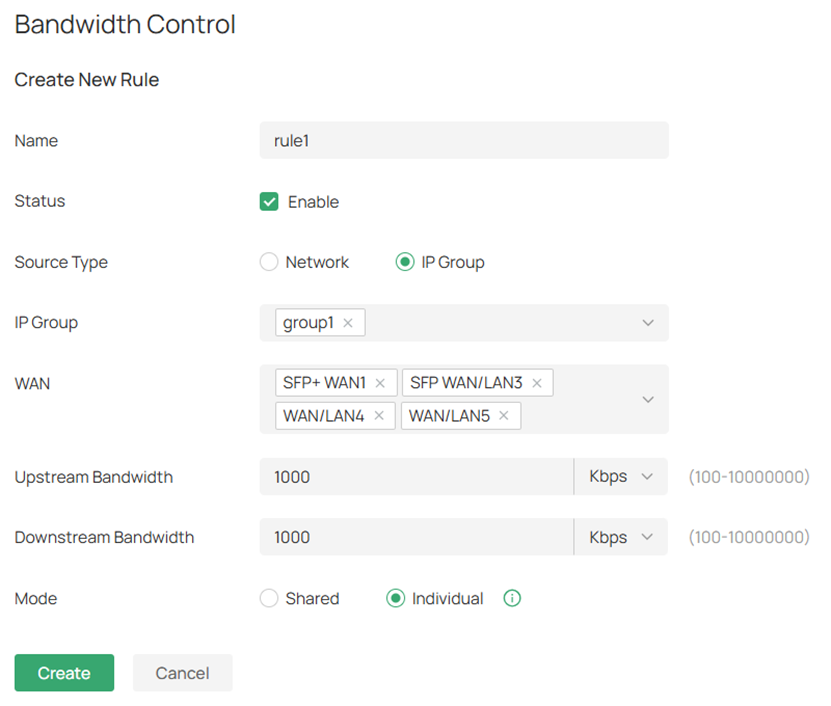
- Name: Enter a name to identify the bandwidth control rule.
- Status: Click the checkbox to enable the bandwidth control rule.
- Source Type: Select the source type of the created rule.
- Network: The rule applies to specific LAN networks. With this option selected, choose the network. If you want to create or customize networks, go to Network Config > Network Settings > LAN.
- IP Group: The rule applies to specific IP groups. With this option selected, choose the IP group. If you want to create IP groups, click + Create New IP Group from the drop-down list or go to Network Config > Profile > Groups. To edit or delete the existing groups, go to Network Config > Profile > Groups.
- WAN: Select the WAN port which the rule applies to.
- Upstream Bandwidth: Specify the limit of upstream bandwidth for the specific user to transmit traffic to the Internet through the gateway.
- Downstream Bandwidth: Specify the limit of downstream bandwidth for the specific user to receive traffic from the Internet through the gateway.
- Mode: Select the bandwidth control mode for the controller users.
- Shared: The total bandwidth for all users is equal to the specified values in upstream and downstream bandwidth.
- Individual: The bandwidth for each user is equal to the specified value in upstream and downstream bandwidth.
Configuration for Session Limit in Standalone Mode
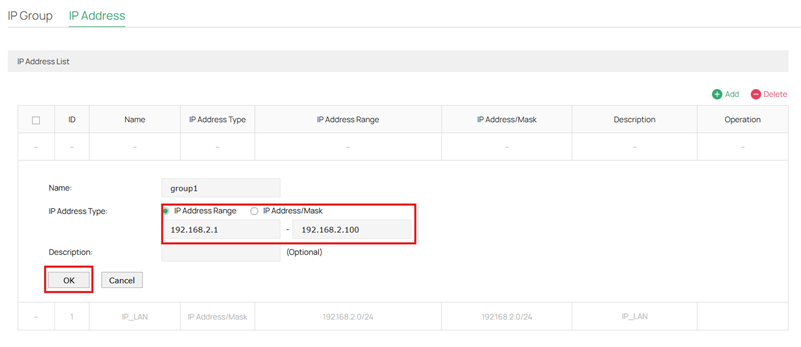
Step 1. Go to Preference > IP Group > IP Address and click Add .

Step 2. Configure an IP range of the hosts to be restricted.
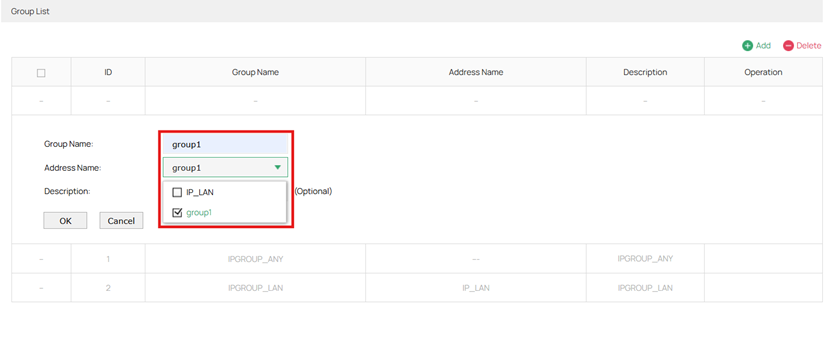
Step 3. Go to Preference > IP Group > IP Group and click Add.

Step 4. Bind the IP range you just created to the IP group.
Step 5. Go to Transmission > Session Limit > Session Limit and enable.
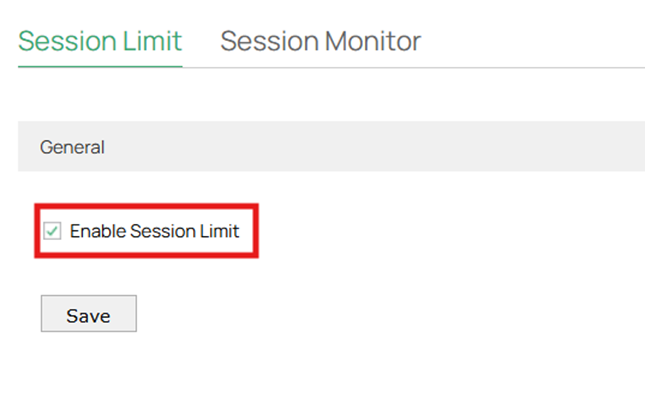
Step 6. On the same page, add a Session Limit Rule.

Step 7. Input the IP Group and max sessions for this rule.

Configuration for Bandwidth Control in Standalone Mode
Step 1. Go to > Transmission > Bandwidth Control to enable on the Omada Gateway.
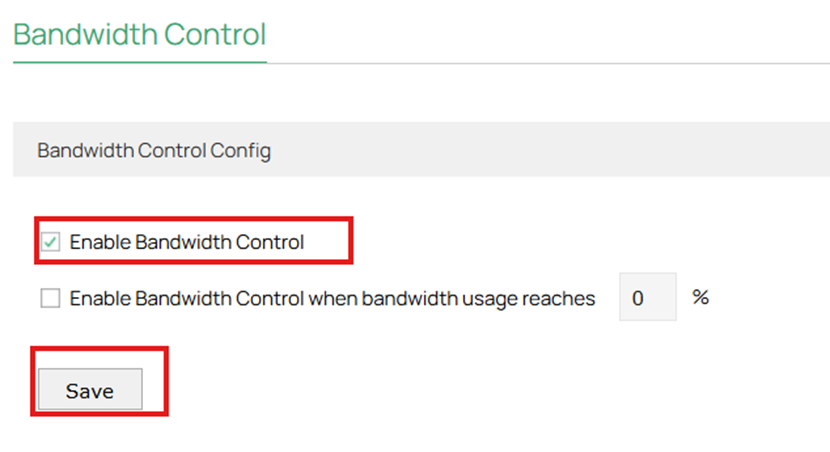
Note: With Enable Bandwidth Control selected, you can specify a percentage, and the Bandwidth Control will take effect only when the bandwidth usage reaches the percentage you specified.
Step 2. Add a new Bandwidth Control rule.

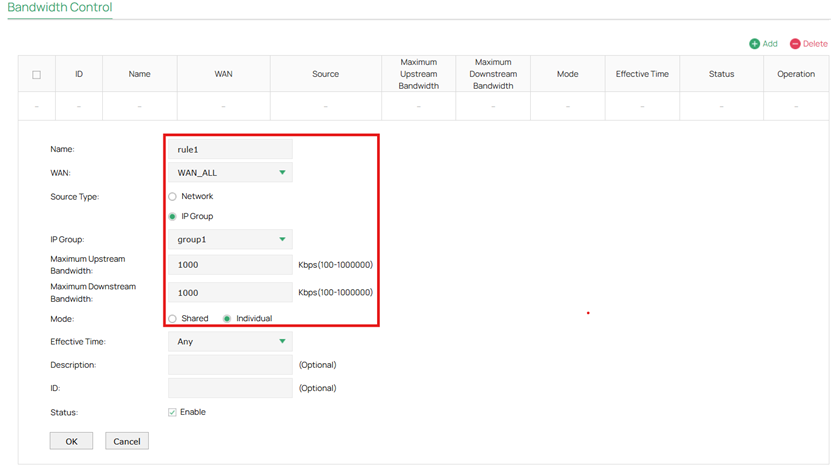
Note: The upper limits of “Maximum Upstream Bandwidth” and “Maximum Downstream Bandwidth” are the values with the “Upstream Bandwidth” and “Downstream Bandwidth” configured on the Network > WAN >WAN page of each WAN interface.
- Name: Enter a name to identify the bandwidth control rule.
- WAN: Select the WAN port which the rule applies to.
- Source Type: Select the source type of the created rule.
- Network: The rule applies to specific LAN networks. With this option selected, choose the network. If you want to create or customize networks, go to Wired Networks > LAN.
- IP Group: The rule applies to specific IP groups. With this option selected, choose the IP group. If you want to create IP groups, click + Create New IP Group from the drop-down list or go to Profiles > Groups. To edit or delete the existing groups, go to Profiles > Groups.
- Maximum Upstream Bandwidth: Specify the limit of upstream bandwidth for the specific user to transmit traffic to the internet through the router.
- Maximum Downstream Bandwidth: Specify the limit of upstream bandwidth for the specific user to transmit traffic to the internet through the router.
- Mode: Select the bandwidth control mode for the controller users.
- Shared: The total bandwidth for all users is equal to the specified values in upstream and downstream bandwidth.
- Individual: The bandwidth for each user is equal to the specified upstream and downstream bandwidth values.
- Effective Time: Specify the time for the rule to take effect. Any means it always takes effect. If no desired time ranges have been configured, go to Preferences > Time Range page to create one.
Conclusion
Using Session Limit and Bandwidth Control on Omada Gateways helps prevent individual hosts from consuming excessive network resources, ensuring fair bandwidth distribution and stable network performance. By properly configuring these features in either Standalone Mode or Controller Mode, users can effectively manage traffic, protect the router’s session table from being overwhelmed, and maintain a more reliable network environment for all connected devices.
Get to know more details of each function and configuration please go to Download Center to download the manual of your product.
QA
Q1: What happens if the configuration do not work?
A1: Check your IP Groups or network its intended for and recheck all the settings.
