


Contents
Methods to locate Omada Device’s IP address:
Method 1: Using the Router’s DHCP Client list
Method 2: Using the On-Premises Controller Devices Page
Method 4: Using Omada APP Standalone mode
Method 5: Using Omada APP Controller mode
Method 6: Using Omada Discover Utility
Introduction
By default, Omada devices use dynamic IP addresses. Whether connected to the internet or not, devices such as EAPs or switches should automatically obtain an IP address as long as they are connected to a local network or a DHCP server. There are different ways to find the IP address of an Omada device. Whether the device is in standalone mode or controller mode, you can also use the Omada APP or Discover Utility to find it.
Requirements
- Gateway or DHCP server
- Omada Devices
- Omada APP
- Omada Controller
Methods to locate Omada Device’s IP address:
Method 1: Using the Router’s DHCP Client list
Step 1. Connect your computer to the same subnet as your Omada device via wired or wireless connection.
Step 2. Check the IPv4 address and default gateway of your computer, you can also follow this link on How to find IP address on your devices
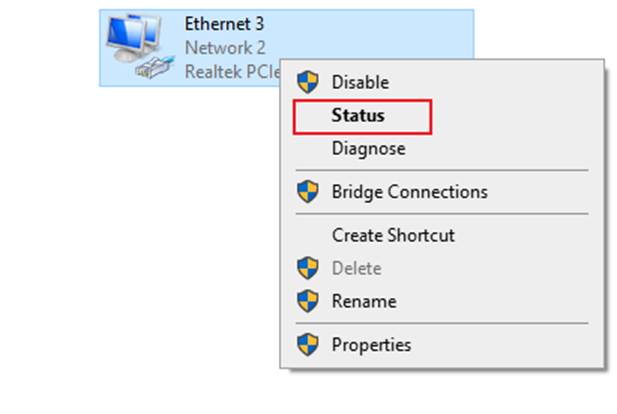
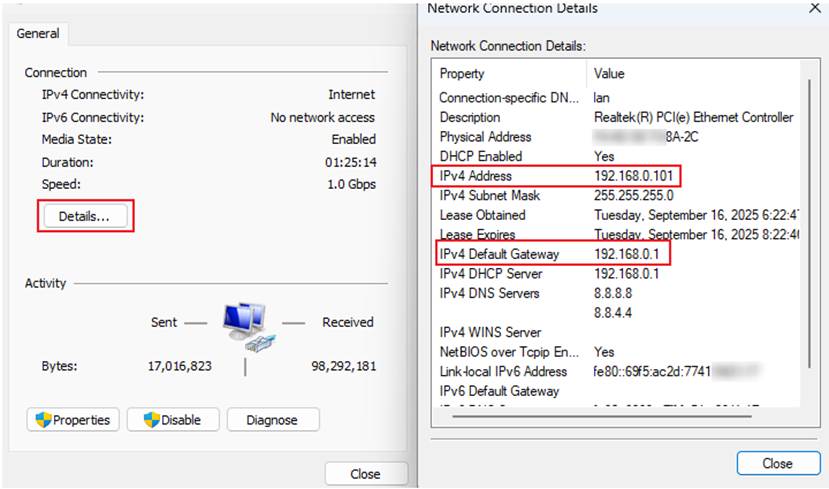
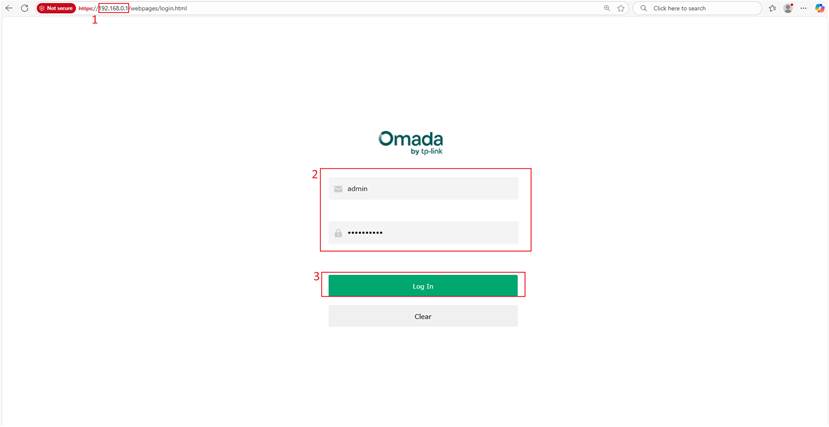
Step 3. Launch a web browser, enter the IPv4 default gateway IP address in the address bar, and press the Enter key. Enter the router’s admin username and password to log in.
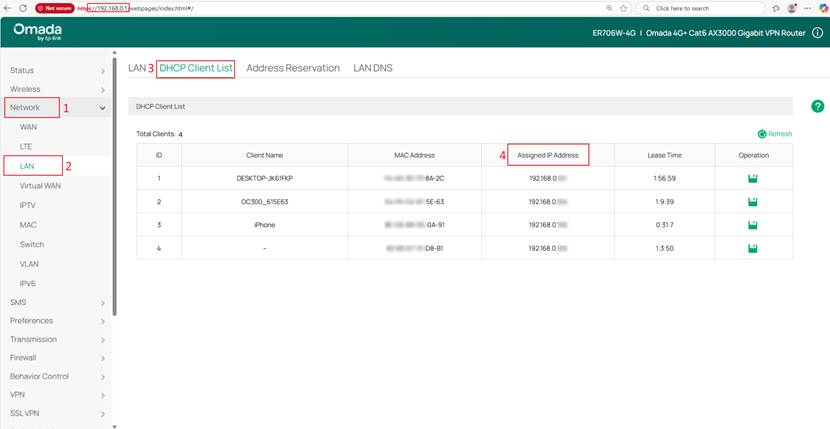
Step 4. Go to the DHCP Client List of your router to find the IP address of the Omada devices.
Note: “DHCP Client List” name and location may vary depending on the router model.
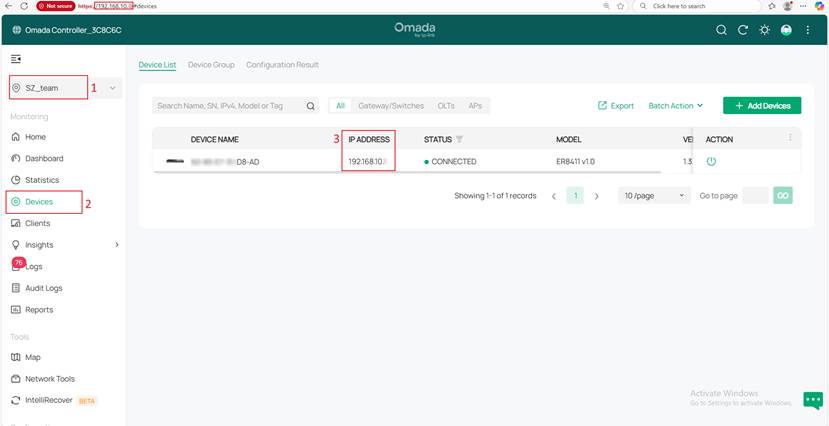
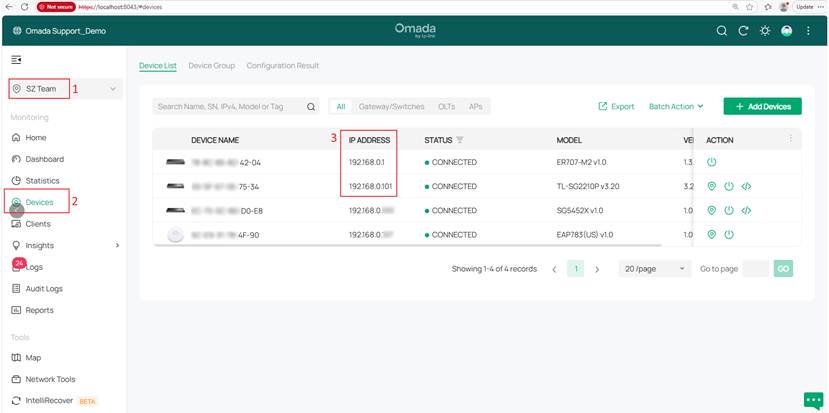
Method 2: Using the On-Premises Controller Devices Page
The On-Premises controller will display the IP address of the Omada device. To access the device page, you need to log in to the controller first.
- For Hardware controller, you may refer to this: How to configure Omada Hardware Controller via a Web Browser
- For Software controller, you need to consider the following instructions:
Step1. Make sure the Software Controller is installed and running on your computer in the taskbar hidden tray icon. If not shown, please launch the Software Controller.
Step 2. Check the IP address of the computer with the Software Controller in the command window using ipconfig.
You may also refer to this FAQ: How to find your IP address on Windows OS
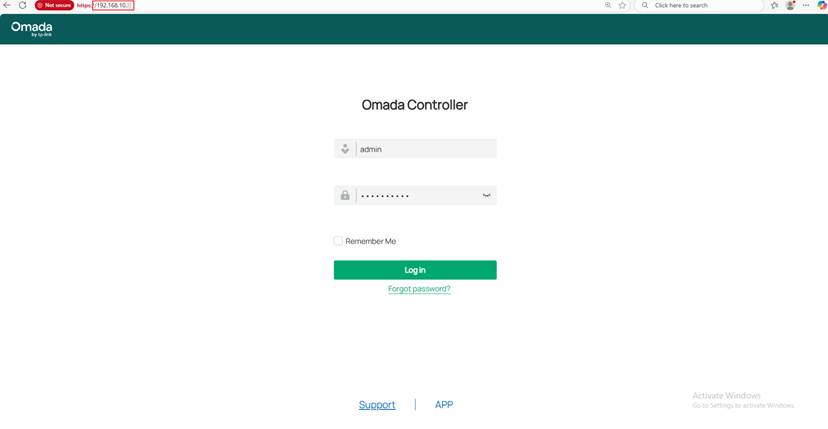
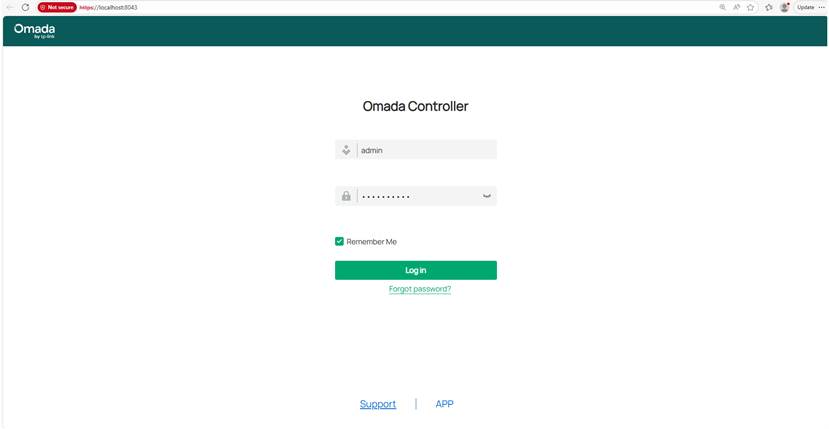
Step 3. Log in to the Software controller in the browser by entering https://<your-computer-ip>:8043 in the address bar, and go to the Device page.
You can also refer to Getting started with an Omada Controller to log in on the Omada Controller.
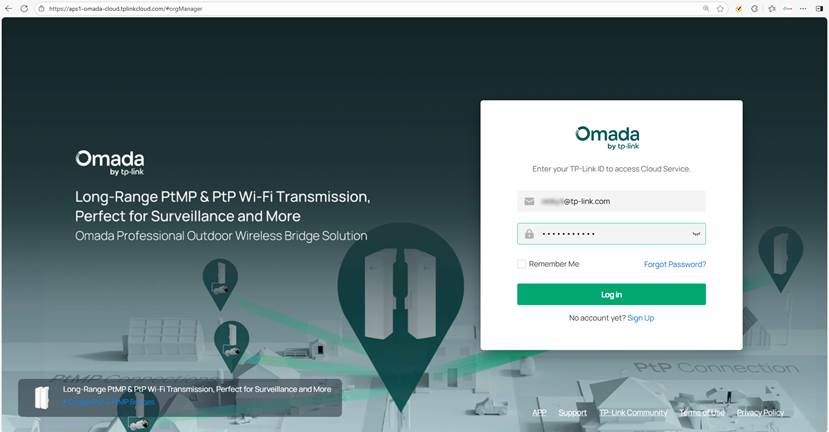
Method 3: Using Omada Cloud
Step 1. Using your computer connected to the network. Launch a web browser, enter https://omada.tplinkcloud.com/ in the address bar, and press the Enter Key. Enter your TP-Link ID and password.
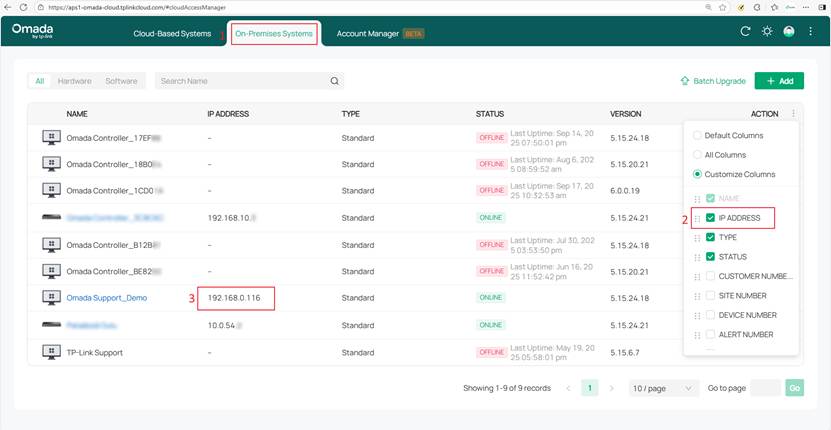
Step 2. Go to On-Premises Systems to check the IP address of the On-Premises controller (Hardware or Software controller).
Note: If the IP address is not showing, click the action menu to customize the columns and add the IP ADDRESS.
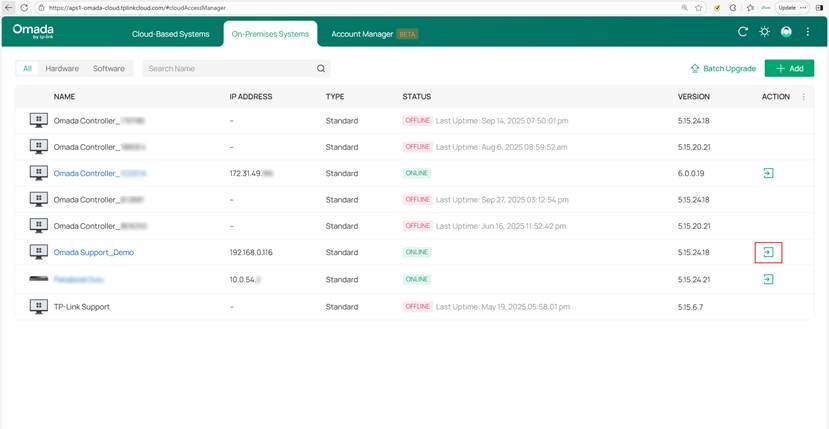
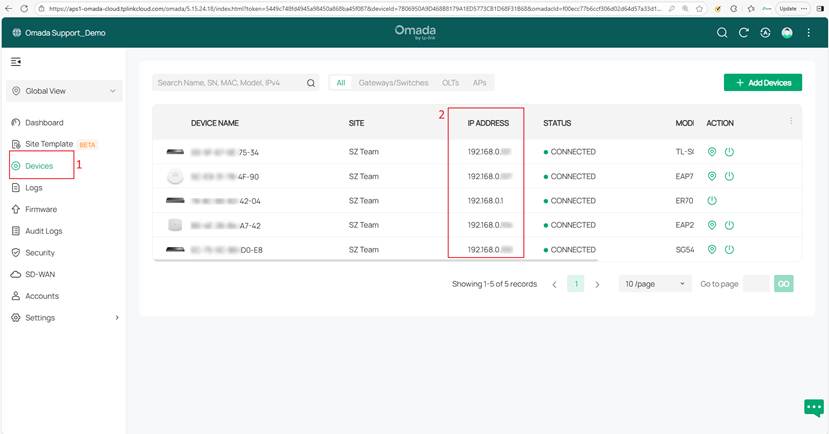
Step 3. To check the Omada Device IP address, launch the Controller, and go to the Device page.
Method 4: Using Omada APP Standalone mode
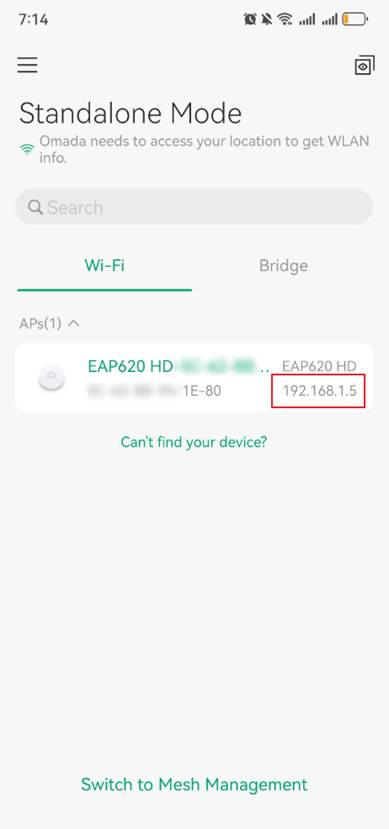
Step 1. Make sure your mobile device with the Omada APP is connected to the network on the same subnet as the Omada device.
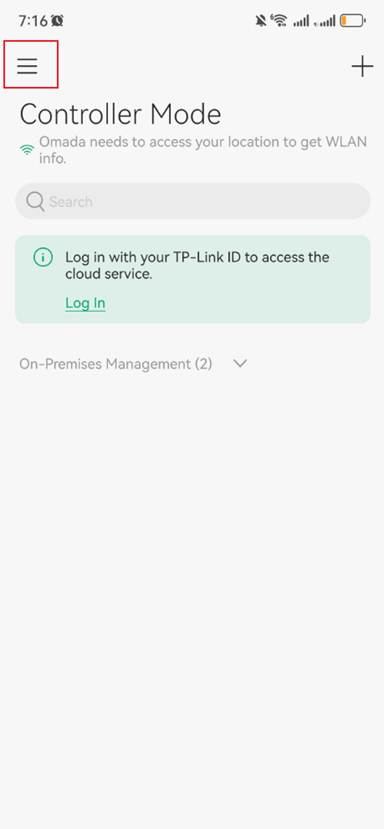
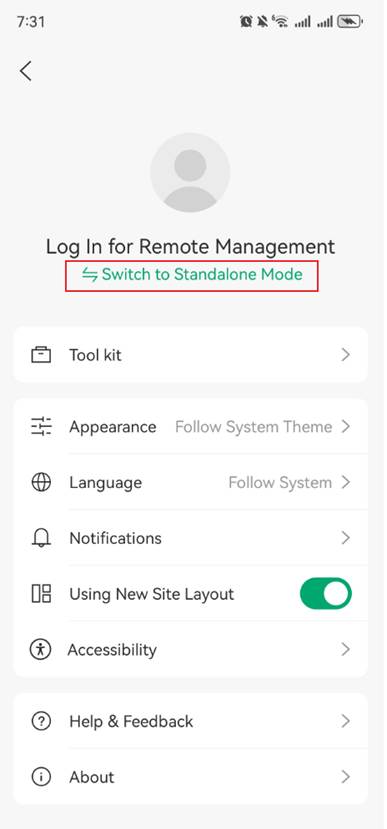
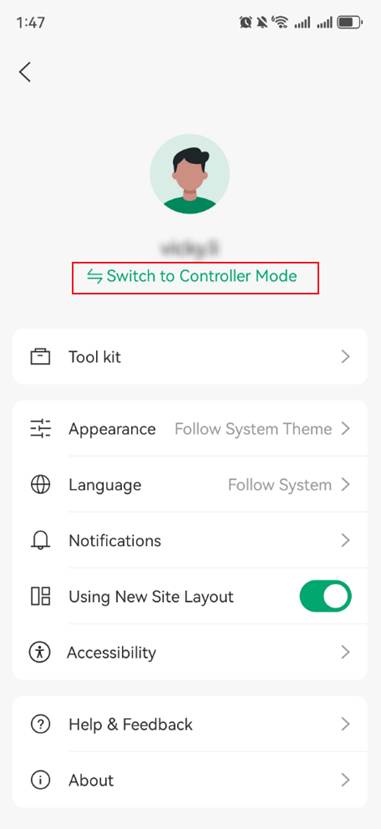
Step 2. Open the Omada APP and click the three horizontal lines in the top left corner of the Omada APP to Switch to Standalone Mode.
Note:
- For users in standalone mode only, log in using the TP-Link ID is not required
- Wi-Fi is for Wireless Devices like an Access point or a Wireless Router
- Bridge is for Bridge Kit Access point
- Switch to Mesh Management is for some Omada Access points that are set up in Standalone Mesh
Method 5: Using Omada APP Controller mode
Step 1. Make sure your mobile device with Omada APP is connected to the network.
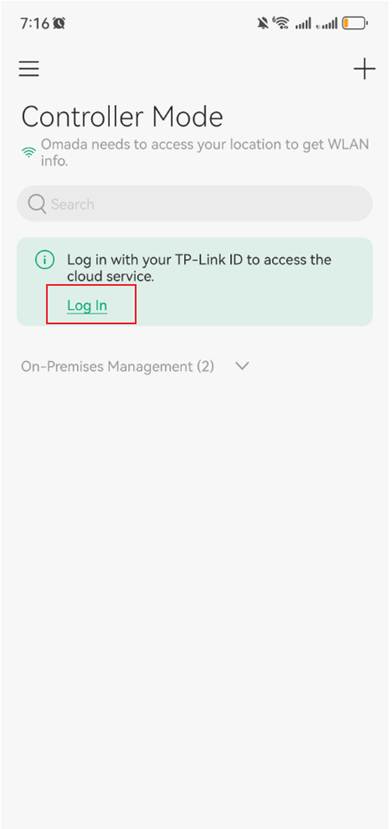
Step 2. Open the Omada APP and log in with your TP-Link ID. Then, click the three horizontal lines in the top left corner of the Omada APP to Switch to Controller Mode.
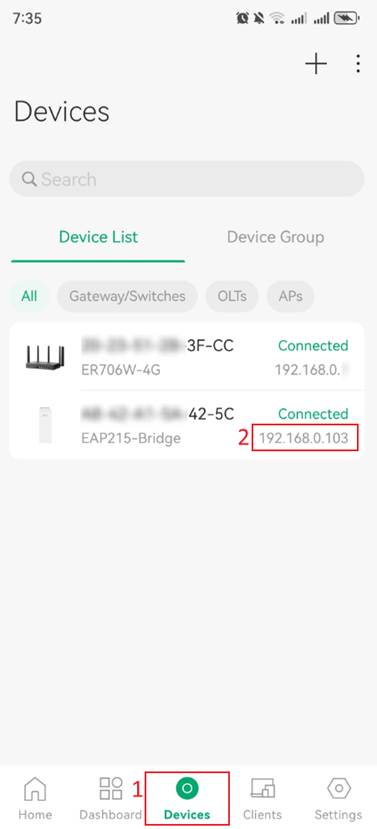
Step 3. For On-premises controllers like the Software Controller, you can find the IP address under Controller Mode.

Step 4. For Omada Devices, select the controller and go to the Devices page.

Method 6: Using Omada Discover Utility
Install and run the Discover Utility on your computer on the same network as the Omada devices. You may refer to: How to install TP-Link Omada Discovery Utility on Windows and MacOS (V5.2.4 and above) or How to Install TP-Link Omada Discovery Utility on Windows and MacOS PCs(V5.2.1 and below)

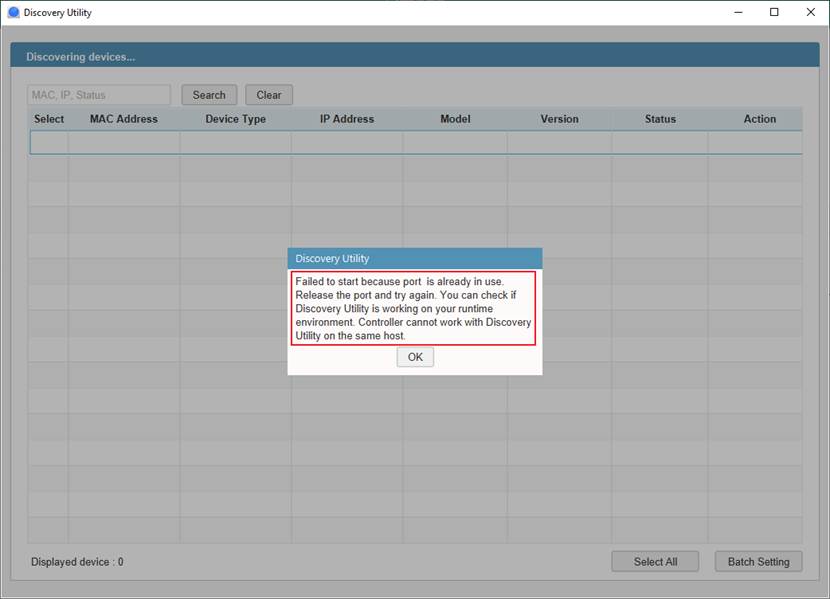
Note: The Software controller and the Discover utility use the same port. If you get an error “Failed to start because port is already in use”, please check if a Software controller is running on the computer, or try to reboot the computer to release the port.
Conclusion
Now you have learned how to find the Omada device IP using the methods mentioned above.
Get to know more details of each function and configuration please go to Download Center to download the manual of your product.
QA
What should I do if I fail to get the IP address of the Omada devices in standalone mode?
Re. Here are some troubleshooting steps that you may follow:
Step 1: Check the physical connection, make sure the Ethernet cable is properly connected.
Step 2: Some non-TP-Link routers do not show the name of the Omada device. You can check the IP by matching it with the MAC address located on the label of the packaging box or the bottom of the device.
Step 3: Connect a computer or mobile phone to the Omada device and make sure that you can get a valid IP address from the local network.
